As a homeowner, it’s important to understand that mold problems may require professional mold removal or mold remediation services at some point. While these terms are often used interchangeably, they are not the same. Mold removal focuses on physically removing mold growth from affected surfaces, while mold remediation involves identifying and addressing the underlying moisture source to help prevent the mold from returning.
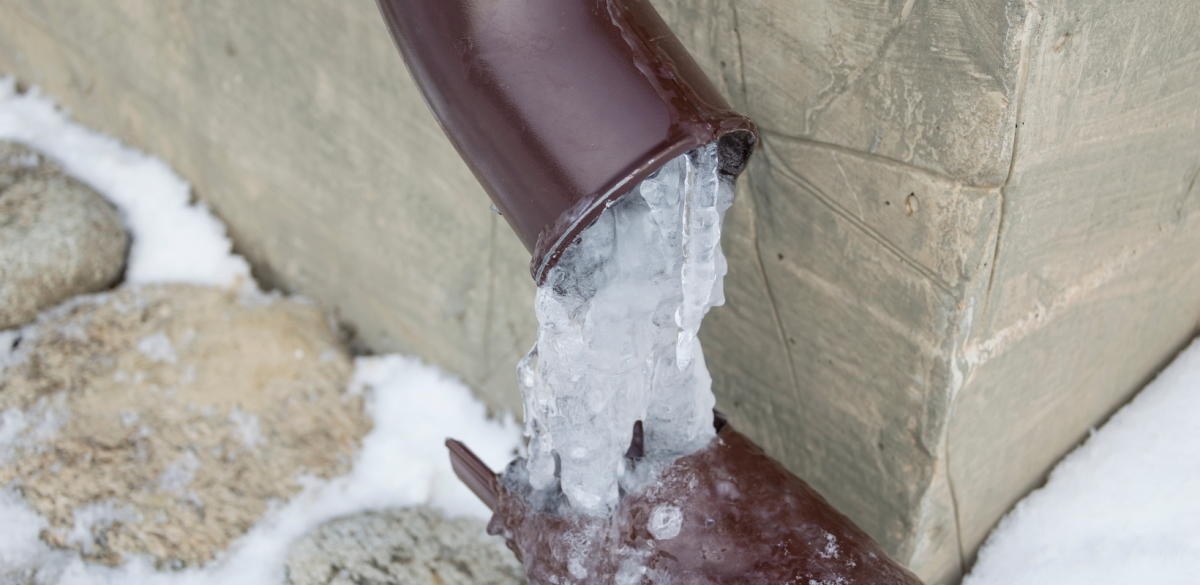
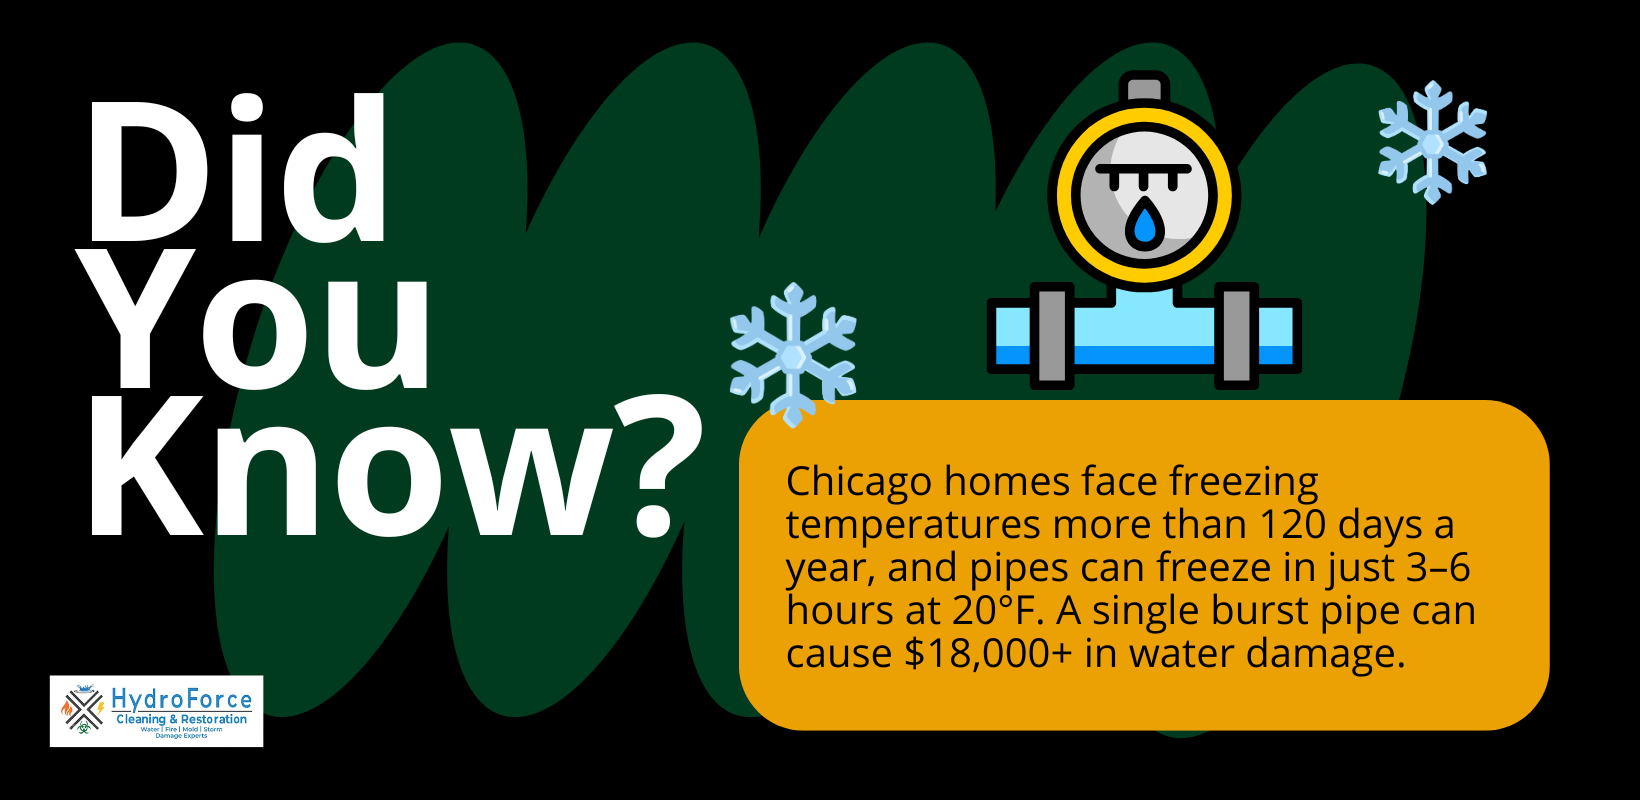
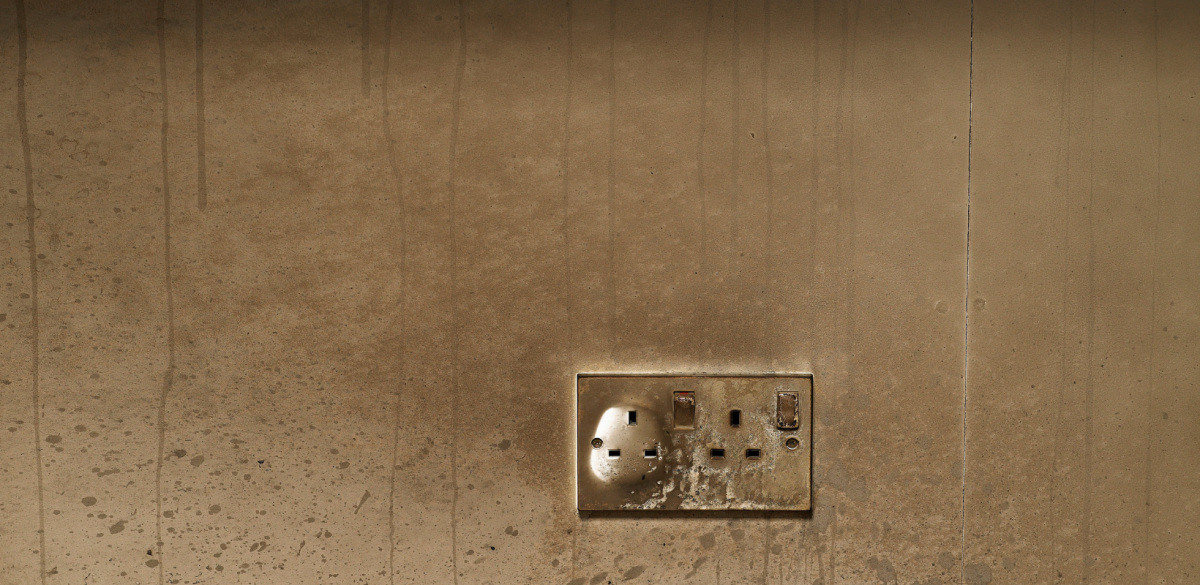
Homeowners in Chicago, IL, and surrounding areas commonly experience mold issues after flooding, plumbing leaks, excess humidity, roof leaks, or water damage that goes untreated.
In this article, we’ll explain the difference between mold removal and mold remediation, why understanding the distinction matters, and what each process involves. We’ll also cover the key differences between mold removal and remediation, how to determine which service you may need, what to expect during the process, and whether mold can be safely handled on your own or if it’s best to hire a professional.
Quick Answer: The Difference Between Mold Removal & Remediation
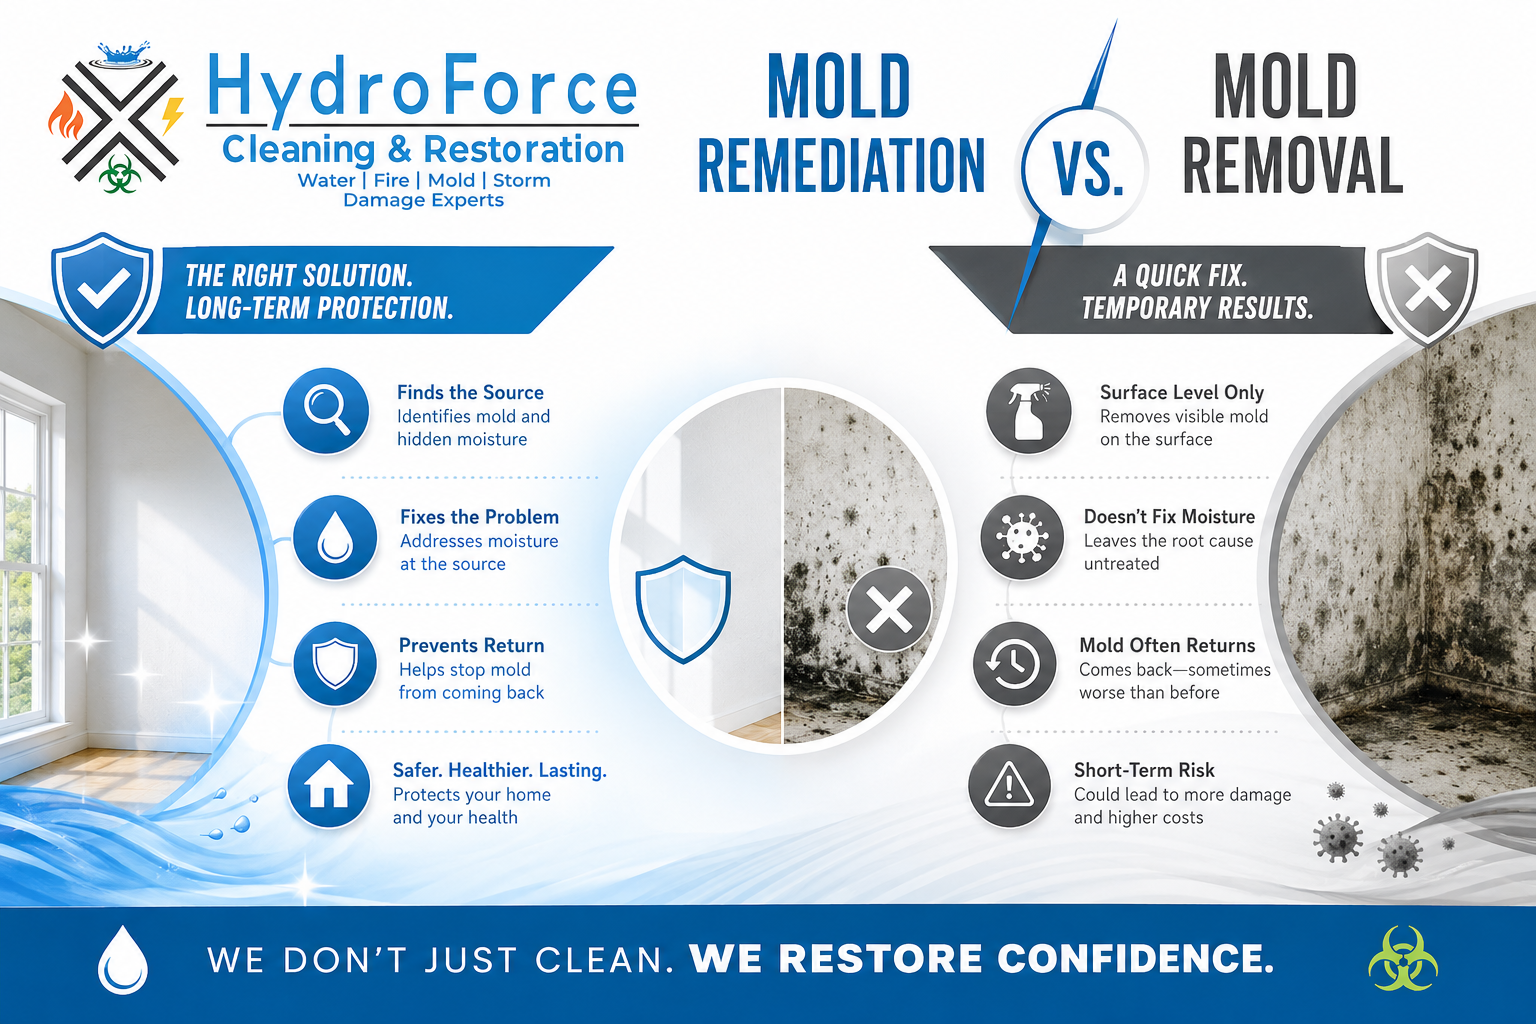
Mold removal focuses on cleaning and eliminating visible mold from surfaces, while mold remediation addresses both the mold and the moisture issue causing it. Mold remediation is considered the more complete long-term solution because it helps prevent mold from returning and improves indoor air quality.
What Is the Difference Between Mold Removal and Mold Remediation?
Although the terms “mold removal” and “mold remediation” are often used interchangeably, they refer to different processes. Understanding the difference is important because simply removing visible mold may not fully solve the problem if the underlying cause is left untreated.
Mold removal focuses on physically removing mold growth from affected surfaces and materials. This may include cleaning or disposing of contaminated drywall, carpeting, insulation, or other porous materials. While mold removal can eliminate visible mold, it does not necessarily address the moisture issue that allowed the mold to grow in the first place.
Mold remediation is a more comprehensive process. In addition to removing and cleaning mold-contaminated areas, remediation involves identifying and correcting the source of moisture, such as leaks, humidity issues, or water damage. The goal of mold remediation is not only to clean up existing mold but also to help prevent it from returning in the future.
In many cases, effective mold remediation includes mold removal as one step within the overall process. By addressing both the mold itself and the conditions causing it, remediation provides a more complete and long-term solution for protecting your home and indoor air quality.
Why the Difference Between Mold Removal and Remediation Matters
Understanding the difference between mold removal and mold remediation is essential for addressing mold problems effectively. Mold removal may be sufficient for small, isolated areas of mold growth, but mold remediation is often necessary for persistent, recurring, or widespread mold issues. Remediation not only removes the mold but also addresses the underlying moisture problem to help create a healthier and safer indoor environment.
Working with certified mold professionals is important to ensure the problem is handled properly and thoroughly. A complete remediation process helps prevent mold from returning, protects your property from further damage, and improves the overall air quality within your home.
What Is Mold Removal?
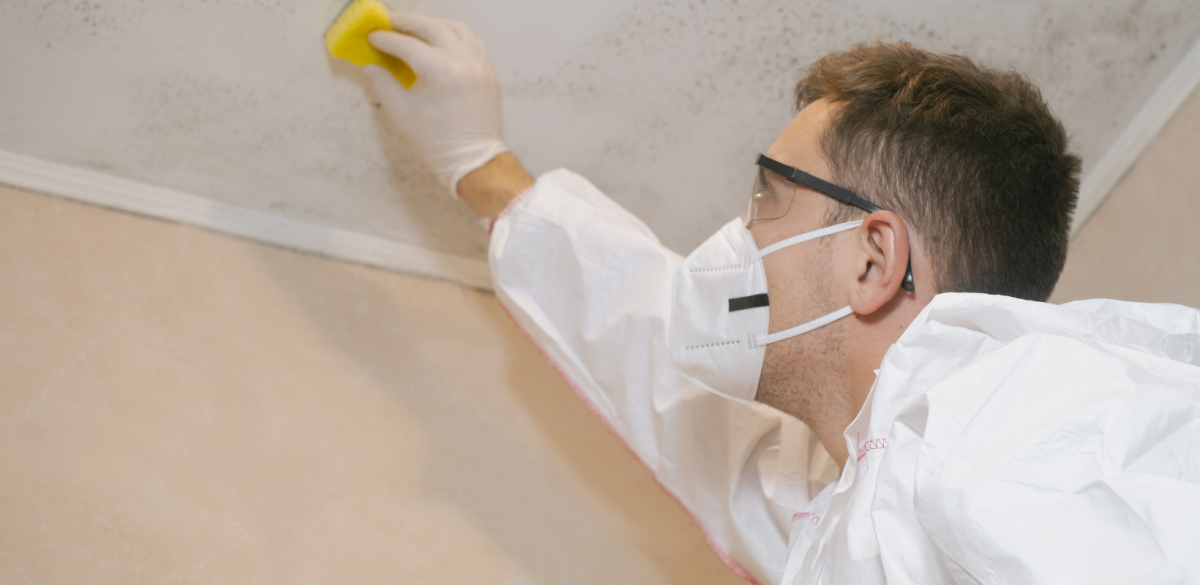
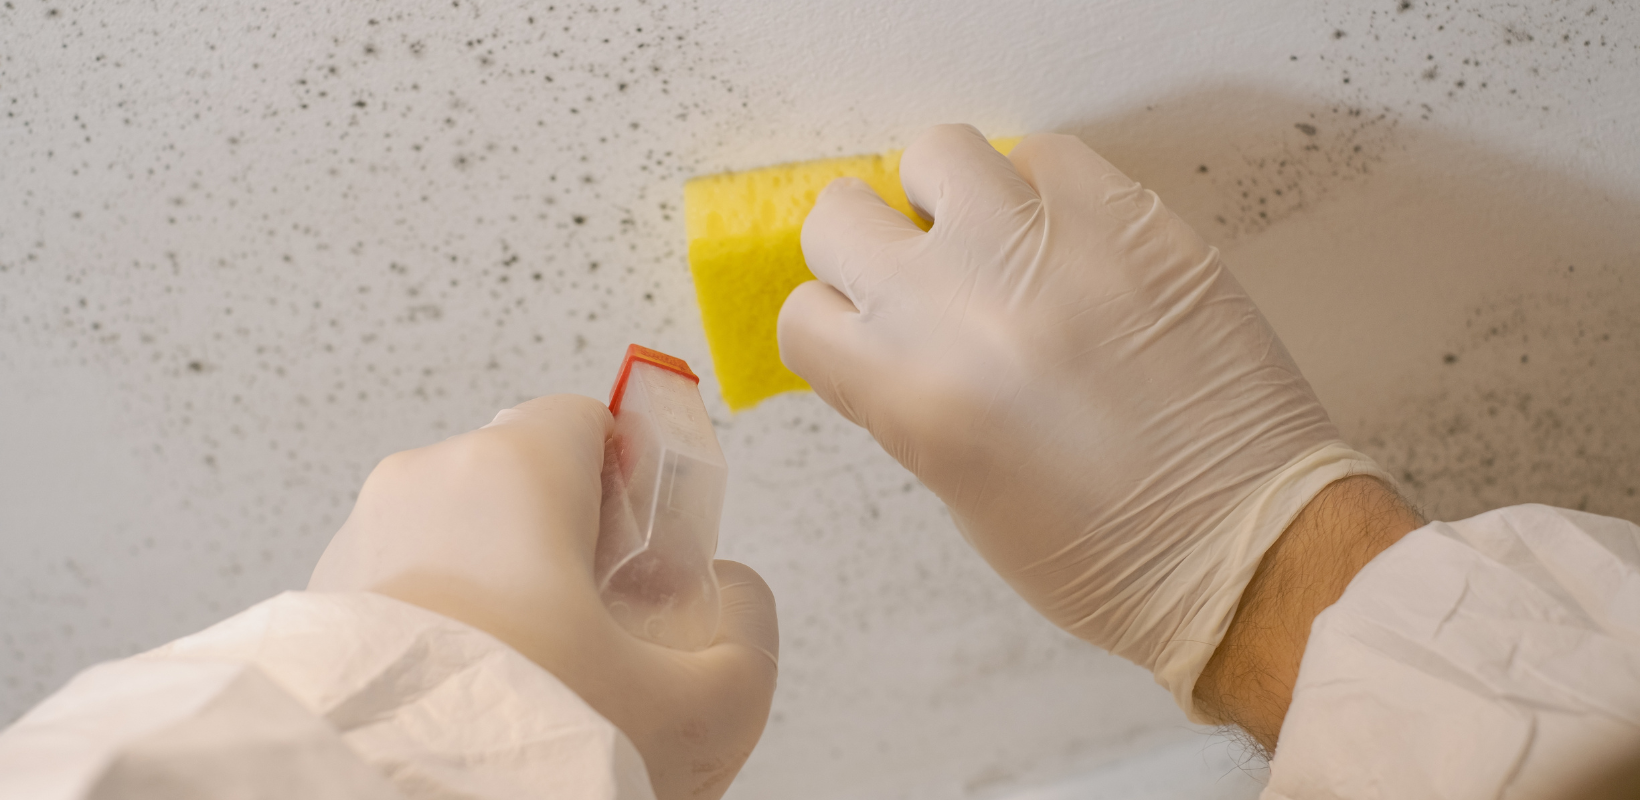
Mold removal is the process of eliminating visible mold growth from affected surfaces and materials. This typically involves cleaning, scrubbing, and treating contaminated areas using specialized products and techniques designed to remove mold safely and effectively.
Mold removal is often used for smaller or isolated mold problems where the growth has not spread extensively throughout the property.
What Does Mold Removal Include?
The mold removal process generally includes several important steps to help clean and restore the affected area, including:
- Inspection of the affected areas to identify visible mold growth
- Containment measures to help prevent mold spores from spreading
- Cleaning and disinfecting contaminated surfaces
- Removal of heavily damaged or contaminated materials when necessary
- Moisture control to reduce conditions that support mold growth
- Preventative measures to help minimize future mold problems
While mold removal can improve the appearance and cleanliness of affected surfaces, it is important to understand that it may not fully resolve the underlying issue if the moisture source is not addressed.
Limitations of Mold Removal
Although mold removal can be effective in certain situations, there are several limitations homeowners should be aware of.
Incomplete Treatment of Porous Surfaces
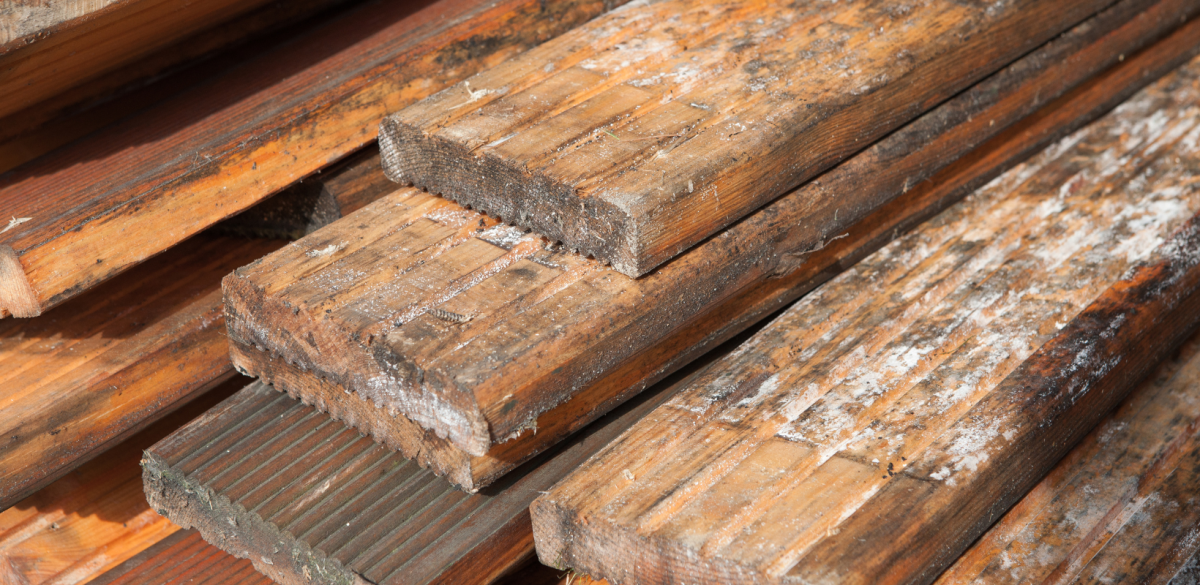
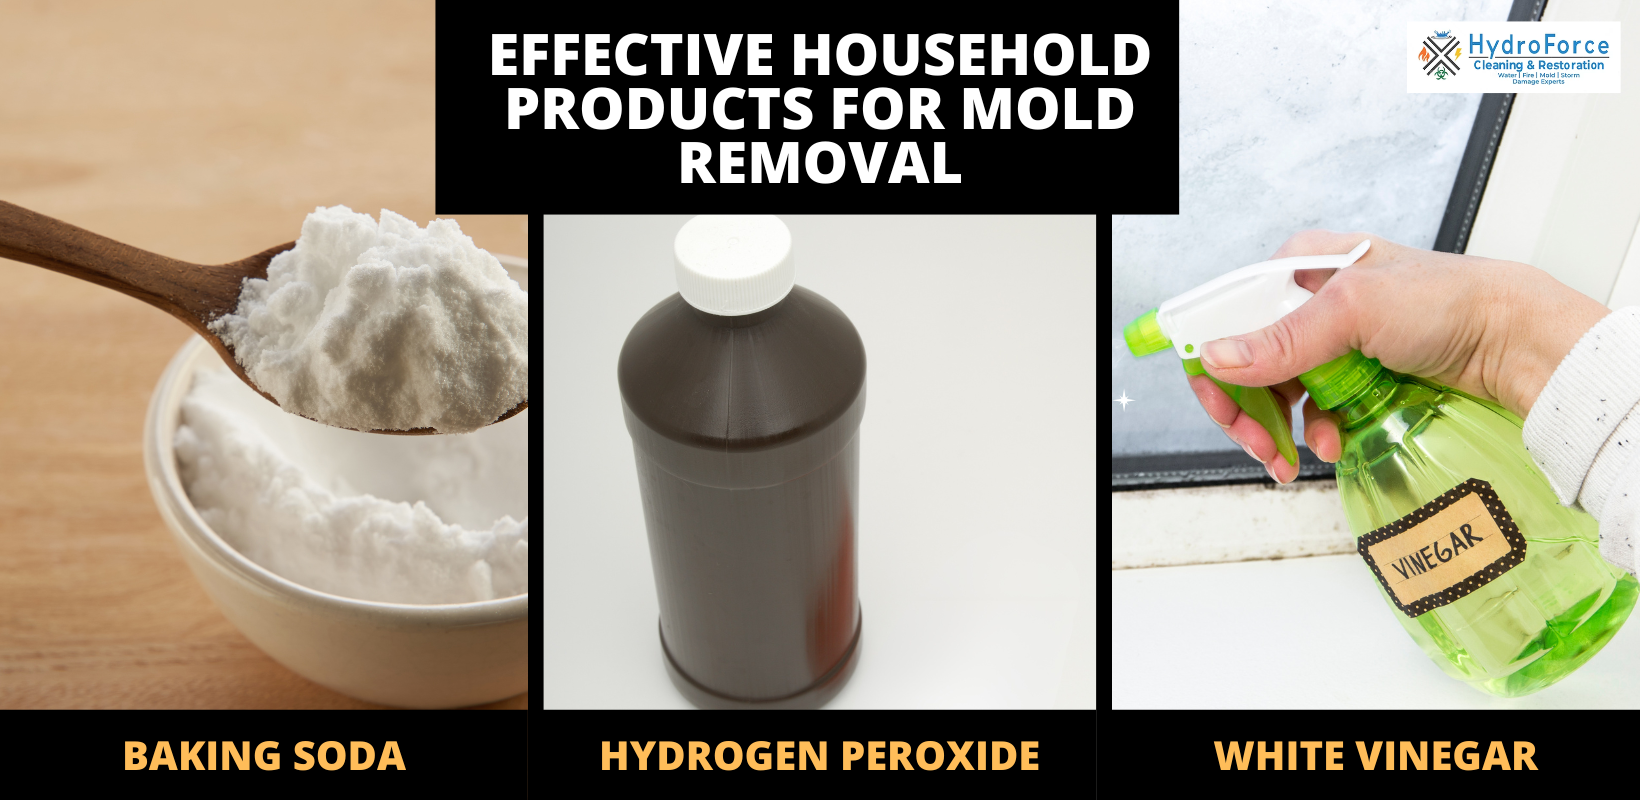
Many household cleaners, including bleach, may only remove mold from the surface of non-porous materials like tile and glass. However, porous materials such as drywall, wood, carpeting, and insulation can absorb moisture and allow mold to continue growing beneath the surface.
Failure to Address the Moisture Source
Removing visible mold does not guarantee that the problem is gone permanently. If the underlying moisture issue such as a leak, humidity problem, or water intrusion is not corrected, mold is likely to return.
Airborne Mold Spores and Health Risks
Cleaning or disturbing mold can release microscopic spores into the air. Without proper containment and protective equipment, these spores can spread throughout the home and potentially trigger respiratory issues, allergic reactions, headaches, coughing, or eye irritation.
Limited Effectiveness of Certain Cleaning Products
Some cleaning products and biocides lose effectiveness as they dry or evaporate, potentially leaving moisture behind that can contribute to future mold growth. In some cases, these products may only provide a temporary cosmetic improvement.
Heavily Contaminated Materials May Need Replacement
When mold growth is extensive or deeply embedded in porous materials, cleaning alone may not be enough. Materials such as drywall, carpeting, insulation, or upholstered furniture may need to be removed and replaced.
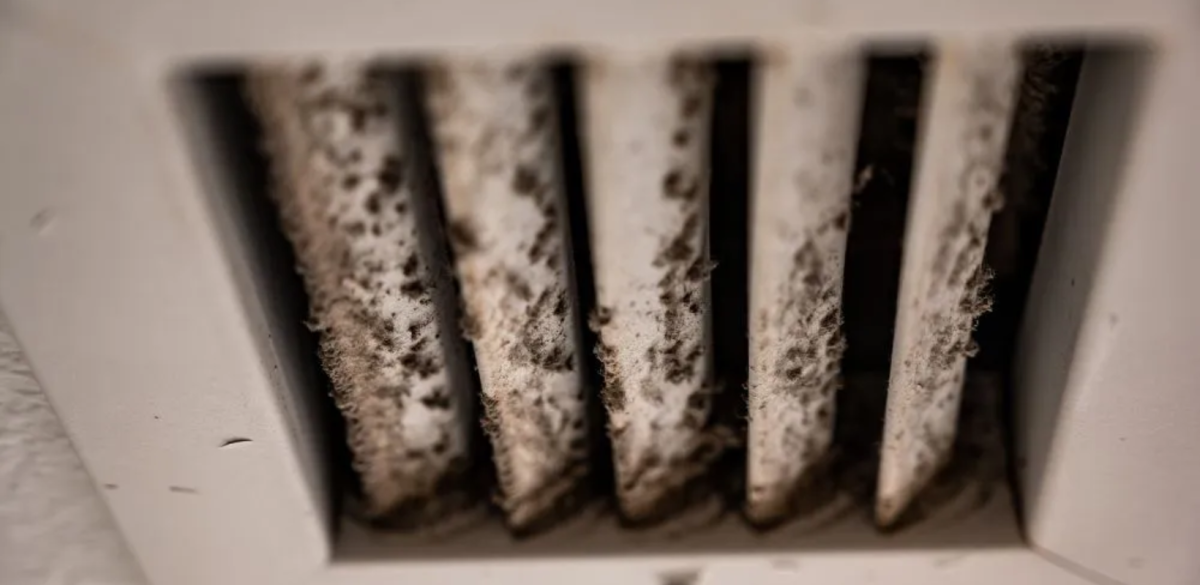
Hidden Mold Growth
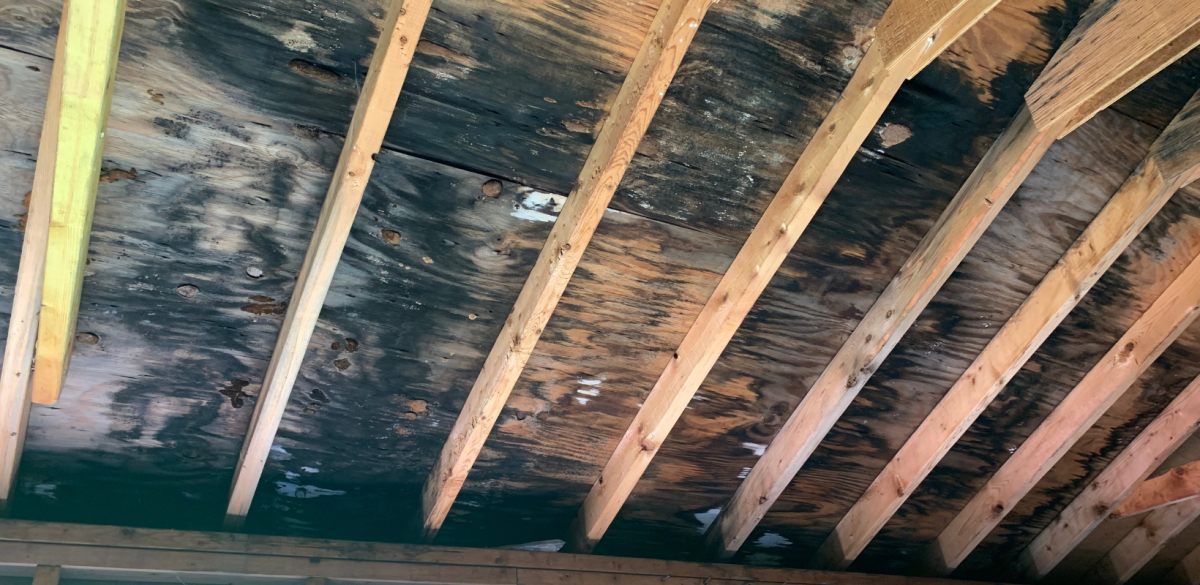
Mold is not always visible. It can grow behind walls, beneath flooring, inside crawl spaces, attics, or within HVAC systems, making it difficult to fully address without a professional inspection.
Safety and Regulatory Concerns
Using strong chemicals or biocides improperly indoors can create additional health risks. Professional mold remediation companies use HEPA filtration systems, containment barriers, and industry-approved procedures to help protect occupants during cleanup.
When Is Mold a Serious Health Risk?
Mold exposure can affect people differently depending on the type of mold, the amount of contamination, and individual sensitivities. While not all mold is considered toxic, prolonged exposure to mold spores can negatively impact indoor air quality and contribute to health concerns.
People who may be more vulnerable to mold exposure include:
- Children and infants
- Seniors
- Individuals with asthma
- People with allergies
- Those with weakened immune systems
- Individuals with respiratory conditions
If mold contamination is extensive or continues returning after cleaning, professional remediation is strongly recommended.
How Mold Affects Indoor Air Quality
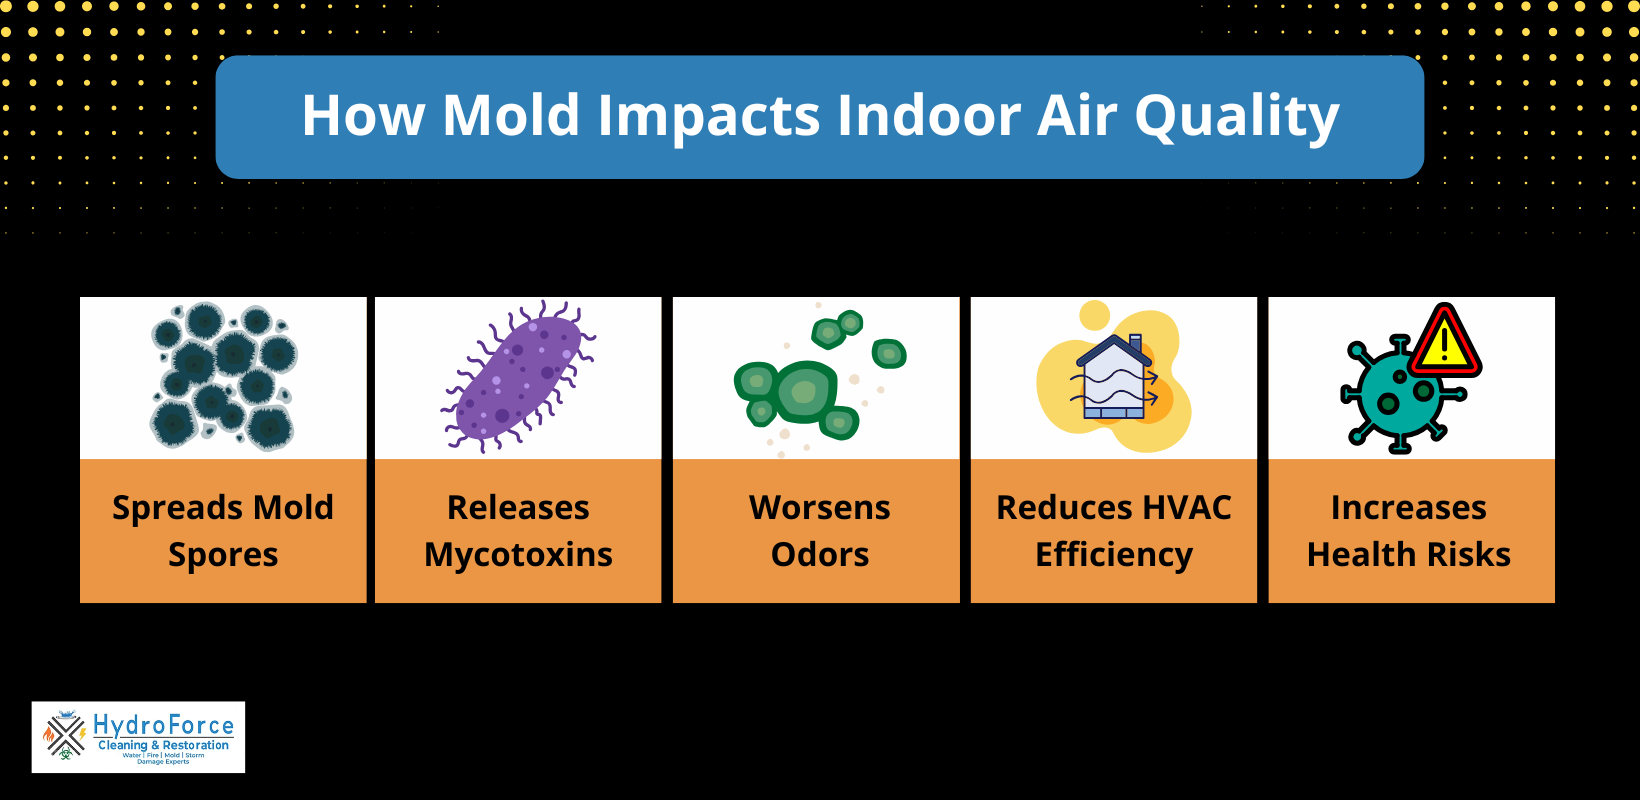
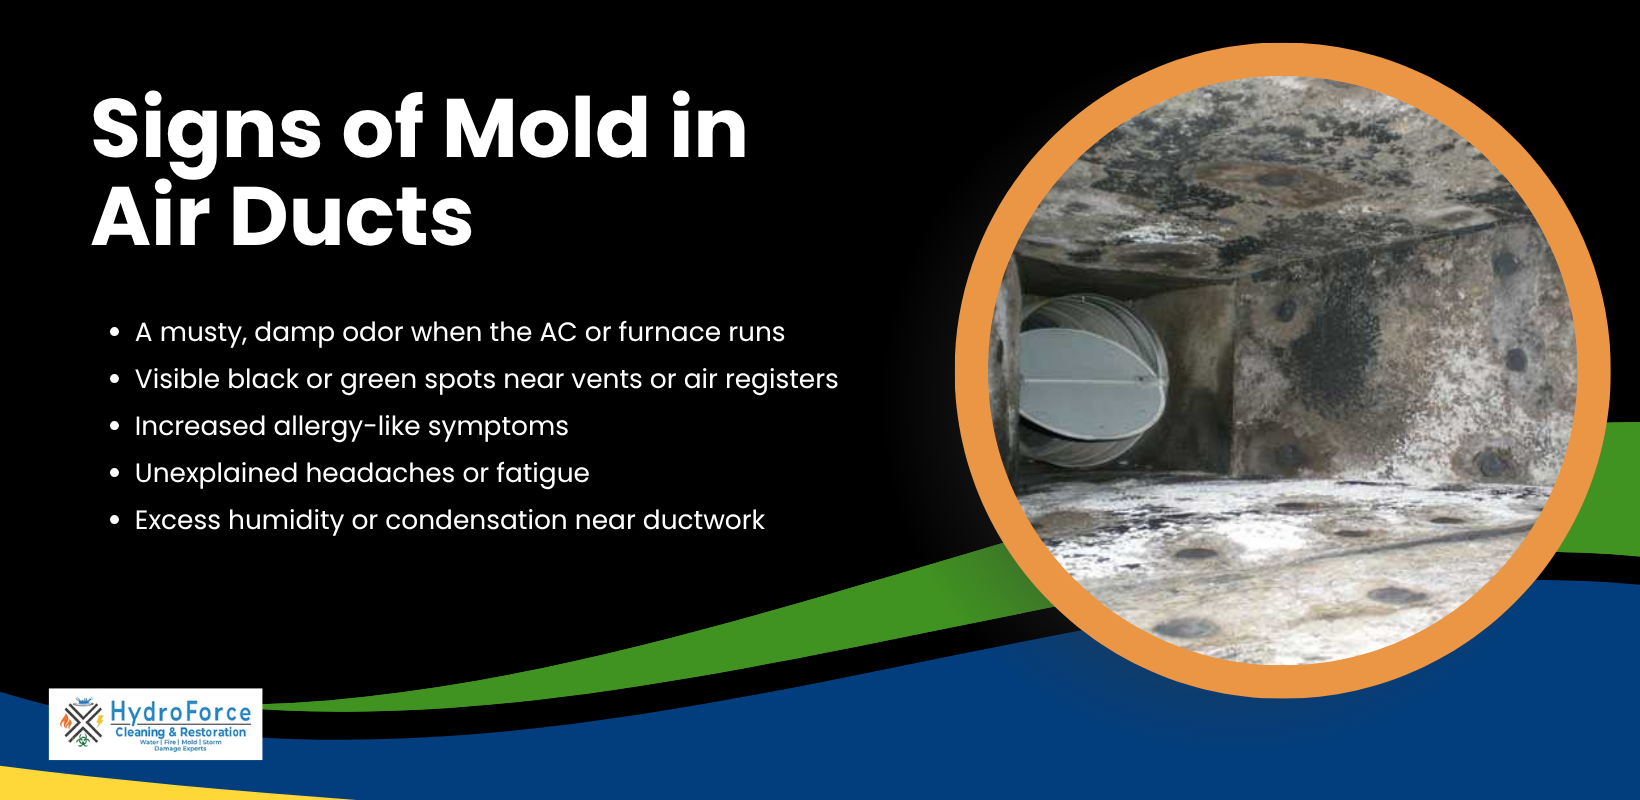
Mold can significantly impact indoor air quality by releasing microscopic spores into the air. These airborne particles can spread throughout the property through airflow, HVAC systems, and ventilation pathways.
Poor indoor air quality caused by mold contamination may contribute to:
- Persistent musty odors
- Increased allergy symptoms
- Respiratory irritation
- Reduced comfort within the home
- Ongoing airborne contamination
Professional remediation often includes HEPA air filtration, containment systems, and moisture control measures to help restore healthier indoor air conditions.
What Is Mold Remediation?
Mold remediation is a comprehensive process designed to identify, contain, remove, and prevent mold growth in a home or building. Unlike basic mold removal, remediation focuses not only on cleaning visible mold but also on addressing the underlying moisture problem that allowed the mold to develop in the first place.
The goal of mold remediation is to restore a safe and healthy indoor environment while helping prevent future mold outbreaks.
What Does Mold Remediation Include?
Mold remediation involves several important steps to protect both the property and the health of those inside the home. The process typically includes:
- Identifying the source of moisture contributing to mold growth
- Inspecting visible and hidden areas for contamination
- Containing affected areas to prevent the spread of spores
- Removing mold-damaged materials when necessary
- Cleaning and disinfecting affected surfaces
- Drying and dehumidifying the space
- Conducting post-remediation inspections or testing if needed
Because mold can spread quickly and hide behind walls, under flooring, or inside HVAC systems, professional remediation is often recommended for safe and effective treatment.
Step-by-Step Mold Remediation Process
Professional mold remediation companies follow a structured process to properly address mold contamination and reduce the risk of recurrence.
Assessment and Inspection
The first step is a thorough inspection to determine the presence and extent of mold growth. Professionals inspect both visible and hidden areas and may use moisture meters, hygrometers, and thermal imaging cameras to detect damp materials and elevated humidity levels.
Containment of the Affected Area
Once mold is identified, the affected area is contained to help prevent mold spores from spreading to other parts of the property. This may involve sealing rooms with plastic sheeting, creating negative air pressure, and limiting access to contaminated spaces.
Removal of Mold-Infested Materials
Porous materials heavily contaminated with mold, such as drywall, insulation, carpeting, or ceiling tiles, may need to be removed and safely discarded. Non-porous or semi-porous materials can often be cleaned using specialized mold-cleaning solutions and techniques.
Cleaning and Disinfection
After contaminated materials are removed, remaining surfaces are thoroughly cleaned and disinfected to eliminate residual mold spores and contaminants. Professionals may also use HEPA vacuums and air filtration equipment to improve indoor air quality during the process.
Drying and Moisture Control
Drying the affected area is a critical step in mold remediation. Professionals use dehumidifiers, fans, and proper ventilation to remove excess moisture and lower humidity levels, helping prevent mold from returning.
Post-Remediation Inspection and Prevention
Once remediation is complete and moisture levels are stabilized, additional air or surface testing may be performed to confirm that mold levels are safe. Professionals may also recommend repairs or preventative measures to reduce the risk of future mold growth.
Do You Need Mold Removal or Mold Remediation?
To determine whether you need mold removal or mold remediation in your home, it’s important to understand what each process involves.
Small, isolated mold spots on hard surfaces may only require mold removal. However, larger infestations, recurring mold growth, hidden contamination, or mold associated with water damage often require professional mold remediation.
In general:
- Small isolated mold = mold removal may be sufficient
- Recurring or widespread mold = remediation is usually recommended
- Hidden mold growth = professional remediation is often necessary
- Water damage-related mold = remediation is strongly advised
Mold Removal vs. Remediation Cost: What to Expect
Mold removal involves professionals physically eliminating visible mold, while mold remediation is a more comprehensive process that also identifies and addresses the underlying moisture source to help prevent future growth.
Because of this difference in scope, costs can vary significantly depending on the severity of the problem and the extent of the damage.
- The national average of mold removal typically costs between $1,200 and $3,750, with the average homeowner spending approximately $2,368.
- Professional mold remediation generally ranges from $1,500 to $9,000, with most homeowners paying around $3,500, depending on the size of the affected area and the complexity of the issue.
Can You Remove Mold Yourself or Should You Hire a Professional?
Mold removal may be handled as a DIY project when the affected area is small (generally less than 10 square feet) and located on non-porous, hard surfaces such as tile or glass. In these cases, careful cleaning with appropriate products may be sufficient.
However, if the mold covers a larger area, is hidden behind walls or under flooring, or is associated with structural damage or ongoing moisture issues, it is important to hire a professional mold remediation specialist. Professionals have the training and equipment to safely contain the contamination, address the underlying cause, and help prevent the mold from returning.
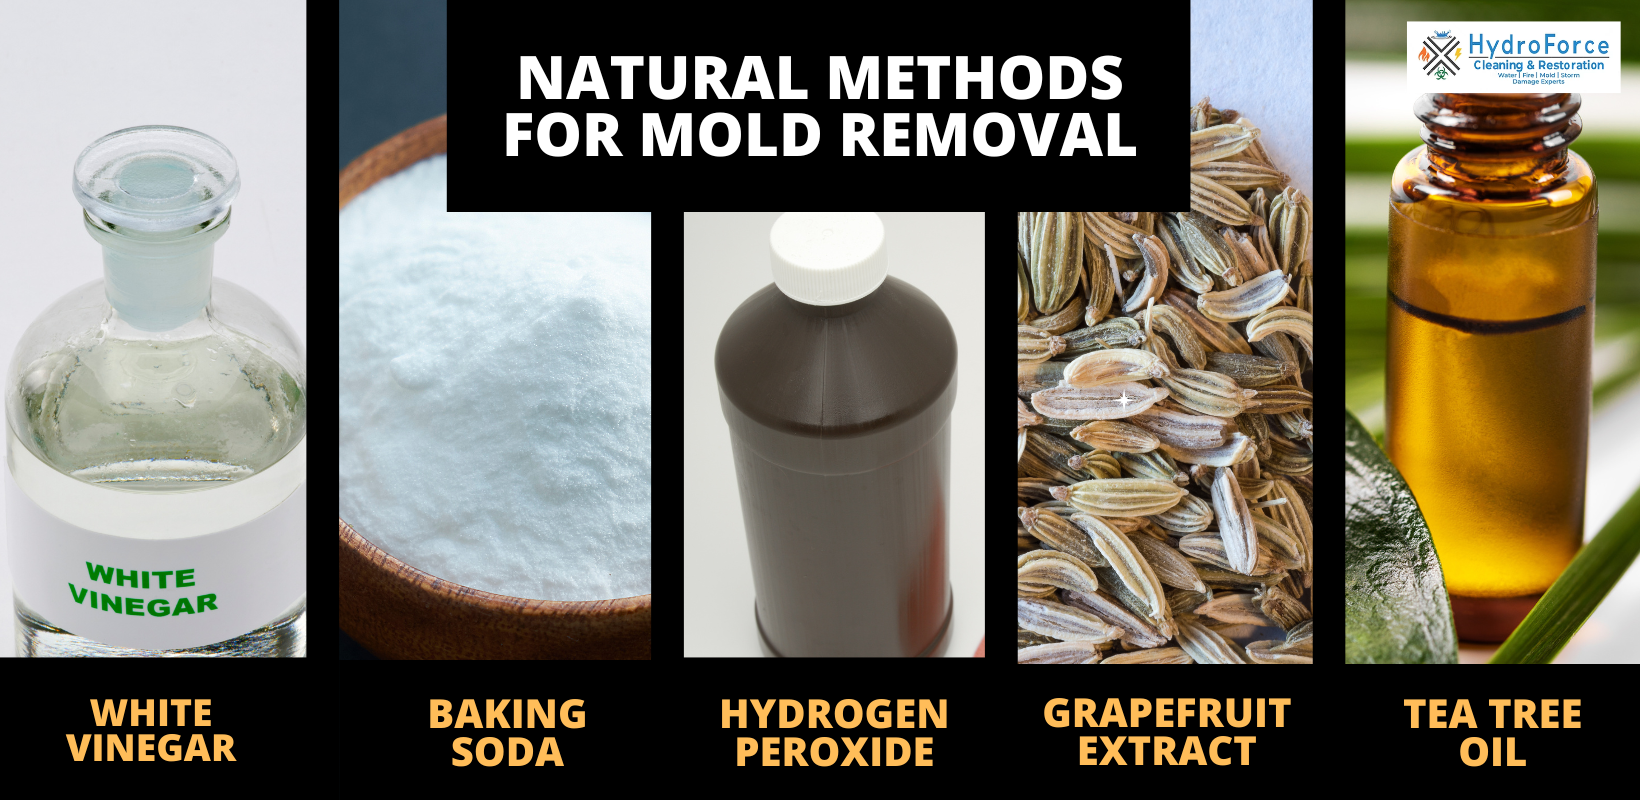
Read: Eco-Friendly Mold Removal & Prevention: Natural Ways to Stop Mold Growth
Protecting Your Home with Professional Mold Remediation
Mold issues should never be ignored, as even small growths can quickly develop into larger problems if moisture conditions remain unresolved. Understanding the difference between mold removal and mold remediation is the first step in choosing the right solution for your home. While mold removal may address visible growth on the surface, it does not always correct the underlying moisture issue that allowed the mold to develop. Mold remediation, on the other hand, provides a more complete approach by treating both the mold and its source, helping to reduce the risk of it returning.
For homeowners dealing with recurring, widespread, or hidden mold problems, professional remediation is often the safest and most effective option. Certified experts have the tools, training, and experience needed to properly contain contamination, eliminate affected materials, and restore healthy indoor air quality.
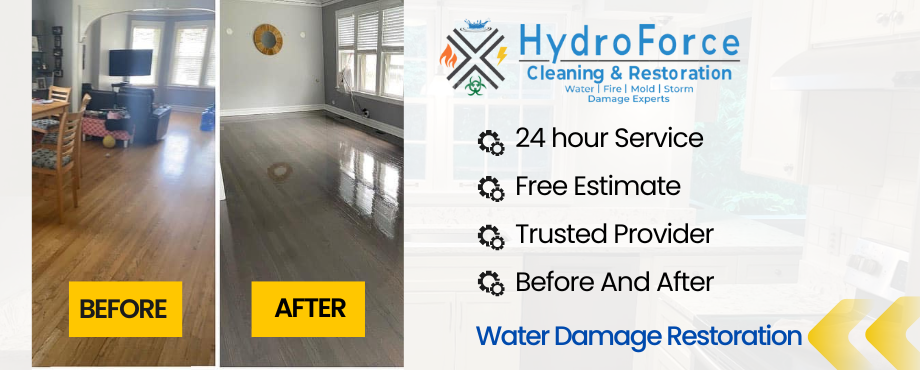
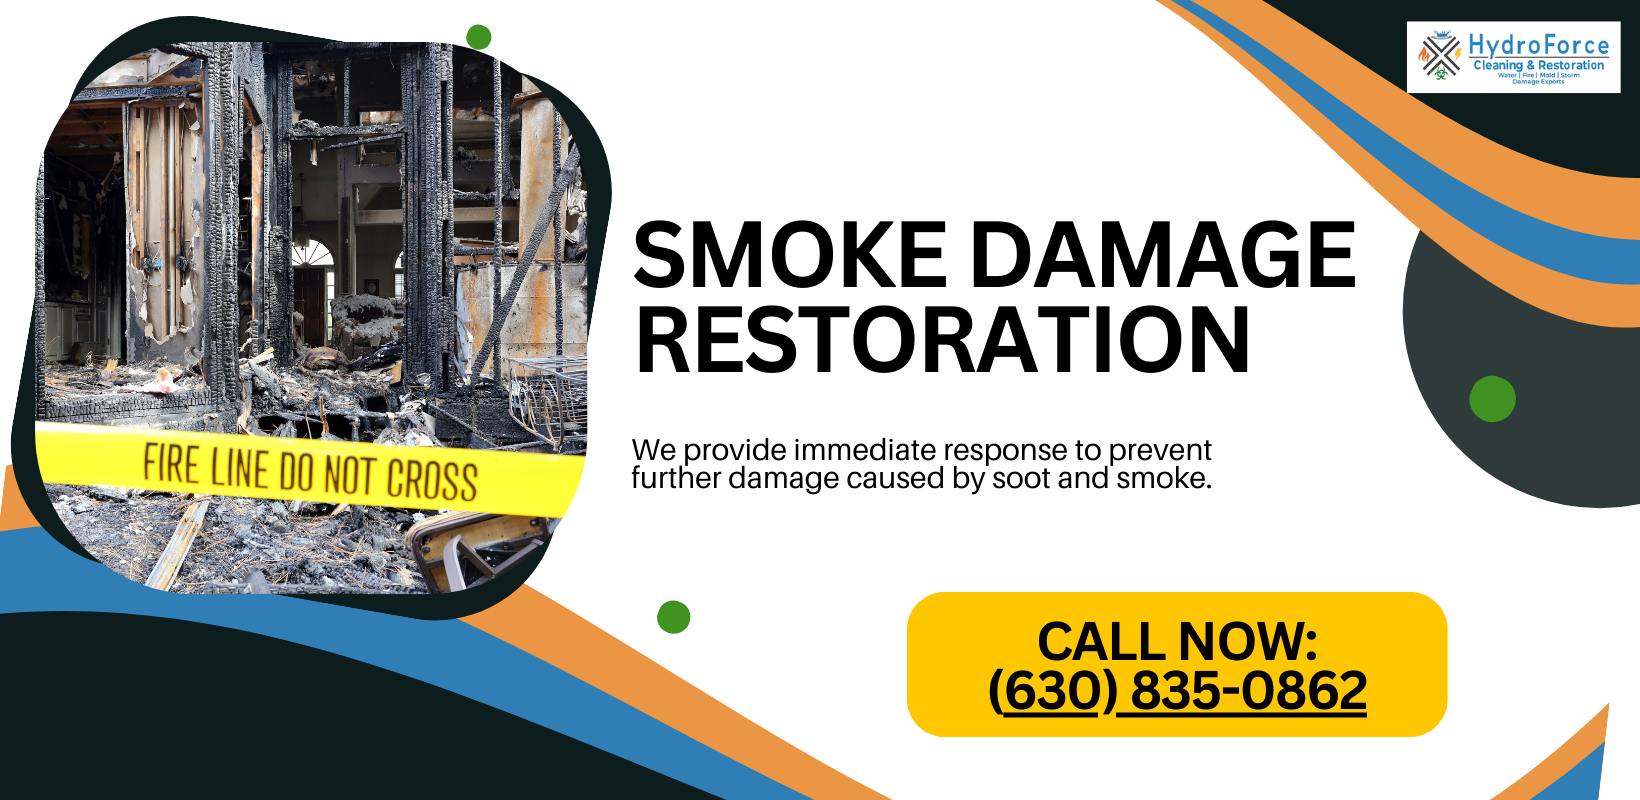
If you’re dealing with mold in your home, don’t wait for the problem to get worse. The team at HydroForce Cleaning & Restoration offers professional mold damage restoration services designed to fully address the issue at its source and help protect your property long-term.
Taking action early can help prevent costly repairs, protect your home’s structure, and ensure a safer living environment for you and your family. Give us a call at (630) 835-0862 if you need mold remediation in Chicago, IL or the surrounding areas.