Why Mold on Wood is a Serious Problem
Mold on wood is more than just an eyesore; it can damage the structural integrity of your furniture, flooring, or home and even pose health risks if left untreated. Whether it’s a musty smell from a wooden cabinet or visible patches on a basement wall, addressing mold promptly is essential to protect both your property and your well-being. Fortunately, with the right tools, techniques, and a little elbow grease, you can safely remove mold from wood surfaces and prevent it from coming back. In this article, we’ll cover everything you need to know about mold and wood, including how to identify it, the best ways to kill mold, step-by-step instructions for removing it, tips to prevent future growth, and when it’s time to call a professional mold remediation company.Can Mold Grow on Wooden Surfaces?
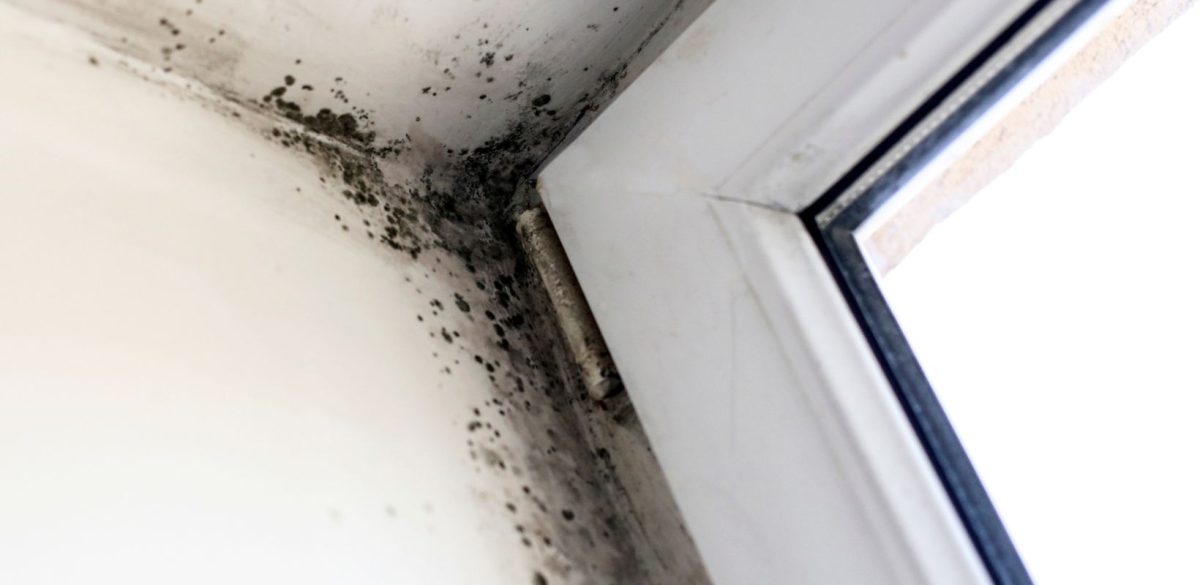
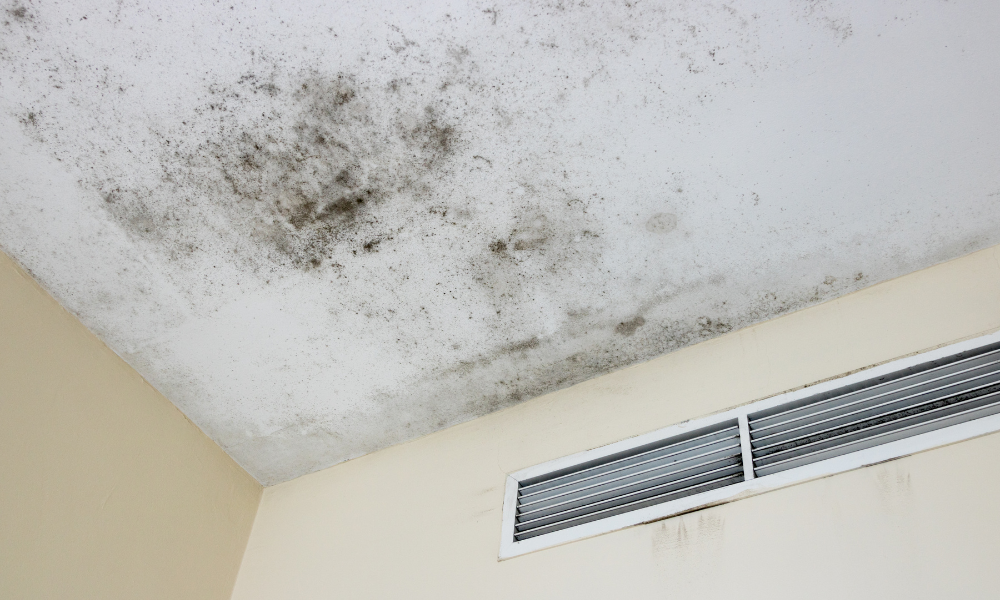
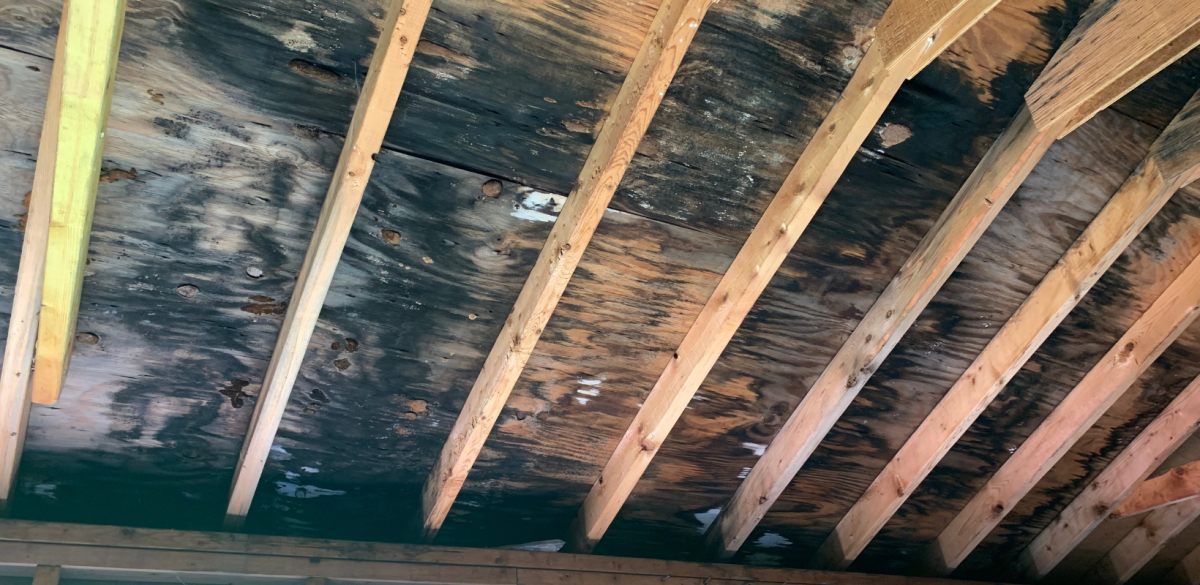
Mold thrives on wooden surfaces, as wood provides an ideal damp and humid environment, especially when water damage is involved. Common types of mold that can grow on wood include black mold, green mold, and white mold. Mold not only discolors the surface but can also cause structural damage and pose health risks to those exposed. To prevent further damage and protect your health, it’s important to address mold growth promptly and effectively.How Do You Tell If Wood Has Mold?
It is very easy to tell if a wooden surface has mold, as there are some clear signs. Here are a few to look out for so you can avoid further damage to your property:- Discoloration: Mold usually appears as spots of green, black, or brown discoloration. Over time these patches may spread.
- Musty Odor: Mold growth usually has a musty odor. If you notice a strong musty smell within a space, you may have mold growth.
- Fuzzy Growth: Mold has a velvety texture in areas that have high humidity or excess moisture. If you notice a fuzzy growth on a wood surface, it is likely mold.
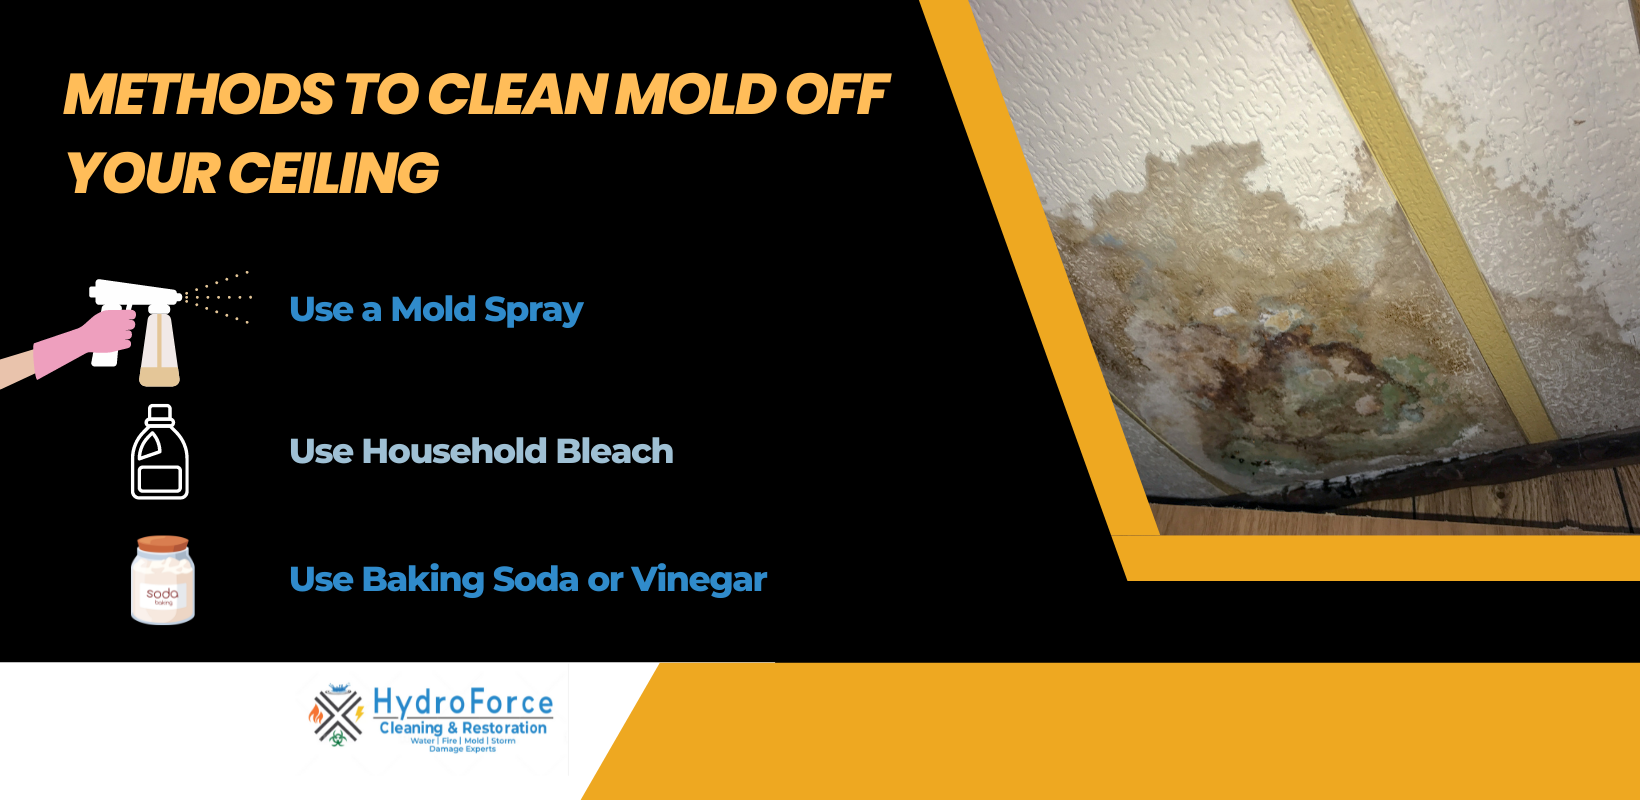
What Kills Mold on Wood?
When it comes to tackling mold on wood surfaces, not all cleaning agents are created equal. To effectively eliminate mold, it’s important to use substances that can penetrate the wood and neutralize the spores without causing damage. Below are some of the most effective solutions to kill mold on wood and prevent future growth, ensuring your surfaces stay safe and clean.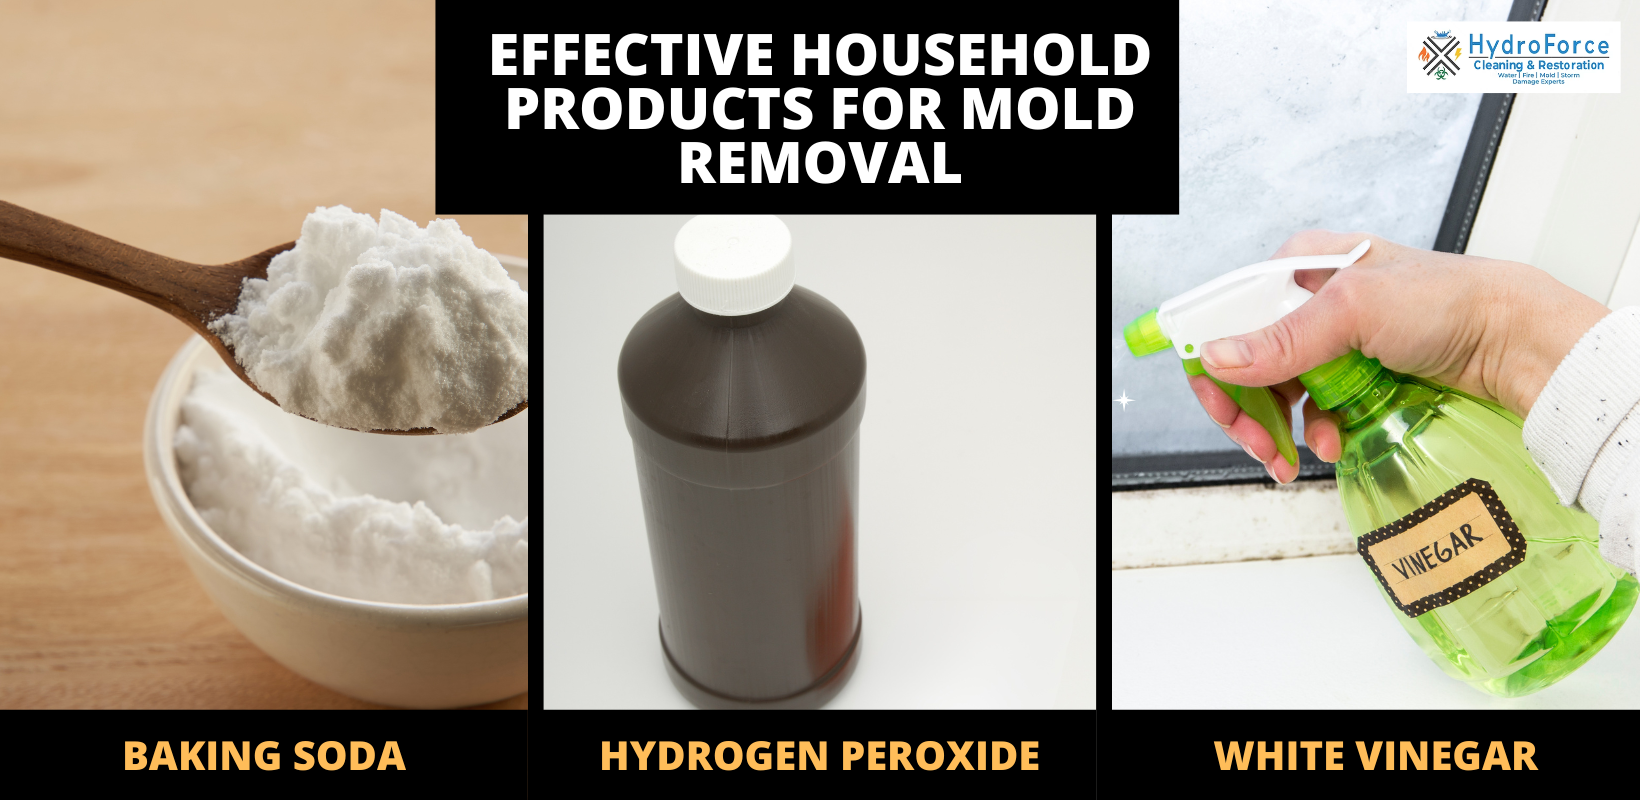
- Baking Soda: Baking soda (sodium bicarbonate) is a mild alkaline compound that disrupts the pH balance mold needs to thrive. It works by absorbing moisture from the wood surface, which deprives mold of the damp conditions it needs to grow. Additionally, baking soda has natural antifungal and deodorizing properties that help inhibit mold regrowth and eliminate musty odors.
- Hydrogen Peroxide: Hydrogen peroxide (H₂O₂) is a powerful oxidizing agent. When applied to mold, it releases oxygen that breaks down the mold’s cell walls through a process called oxidation. This not only kills surface mold but also allows the solution to penetrate porous wood and destroy mold spores embedded within the grain. It’s effective against various mold types, including black mold, and leaves no toxic residue.
- Vinegar: White distilled vinegar is mildly acidic (about 5% acetic acid), which alters the pH environment mold needs to survive. The acid in vinegar attacks the structure of mold and kills around 80% of mold species on contact. Because vinegar can seep into wood fibers, it’s able to reach and kill mold beneath the surface as well. Its antifungal properties also make it useful for long-term mold prevention.
How to Remove Mold from Wood Surfaces
To safely remove mold from wood, it’s essential to use effective cleaning agents and the right techniques to eliminate mold spores without damaging the surface. For small mold problems, natural solutions like baking soda, hydrogen peroxide, or vinegar are effective at killing mold and preventing regrowth. These substances penetrate wood fibers and neutralize spores at the root. However, for larger infestations, more intensive methods such as sanding or even replacing the wood may be necessary. Keep in mind that mold spores can spread and lead to bigger issues, so for severe cases, it’s best to consult professional mold restoration specialists who have the expertise to handle it properly. Here’s a step-by-step guide to safely remove mold from wood surfaces:-
Choose Your Cleaning Solution: Use baking soda, hydrogen peroxide, or vinegar, depending on the severity of the mold.
-
Baking Soda: Mix baking soda and water in a spray bottle, shake well, and spray on the moldy area. Let it sit for 10-15 minutes and then scrub with a brush or sponge.
-
Hydrogen Peroxide: Spray 3% hydrogen peroxide directly onto the moldy wood surface and let it sit for 10–15 minutes. Then scrub the area with a brush or sponge and wipe clean with a damp cloth.
-
White Vinegar: To remove mold from wood using vinegar, spray undiluted distilled white vinegar onto the moldy area and let it sit for 10-15 minutes. Then scrub the area with a brush or sponge. Repeat the process as necessary and let the surface dry.
-
-
Scrub the Mold Off: Use a sponge or soft-bristle brush to scrub the mold from the surface. Always wear protective gloves and an N95 mask to avoid exposure to mold spores.
-
Dry the Area Thoroughly: Mold thrives in moisture, so make sure the wood is dried completely after cleaning to prevent future growth.
-
Sanding (If Needed): If mold stains remain, lightly sand the affected area with fine-grit sandpaper. Clean the area again afterward to remove dust and loosened spores.
-
Use a HEPA Vacuum: After cleaning, vacuum the area with a HEPA filter to remove any lingering mold spores from the air and nearby surfaces.
-
Call a Professional for Large Infestations: If the mold covers more than 10 square feet, or if it’s deep within walls or structural wood, contact a certified mold remediation company.
How To Prevent Mold Growth on Wood
 Removing mold from wooden surfaces promptly is essential to prevent further damage. However, the most effective approach is to stop mold from developing in the first place, which also reduces the chances of it returning. Here are some practical tips to prevent mold growth on wood within your property:
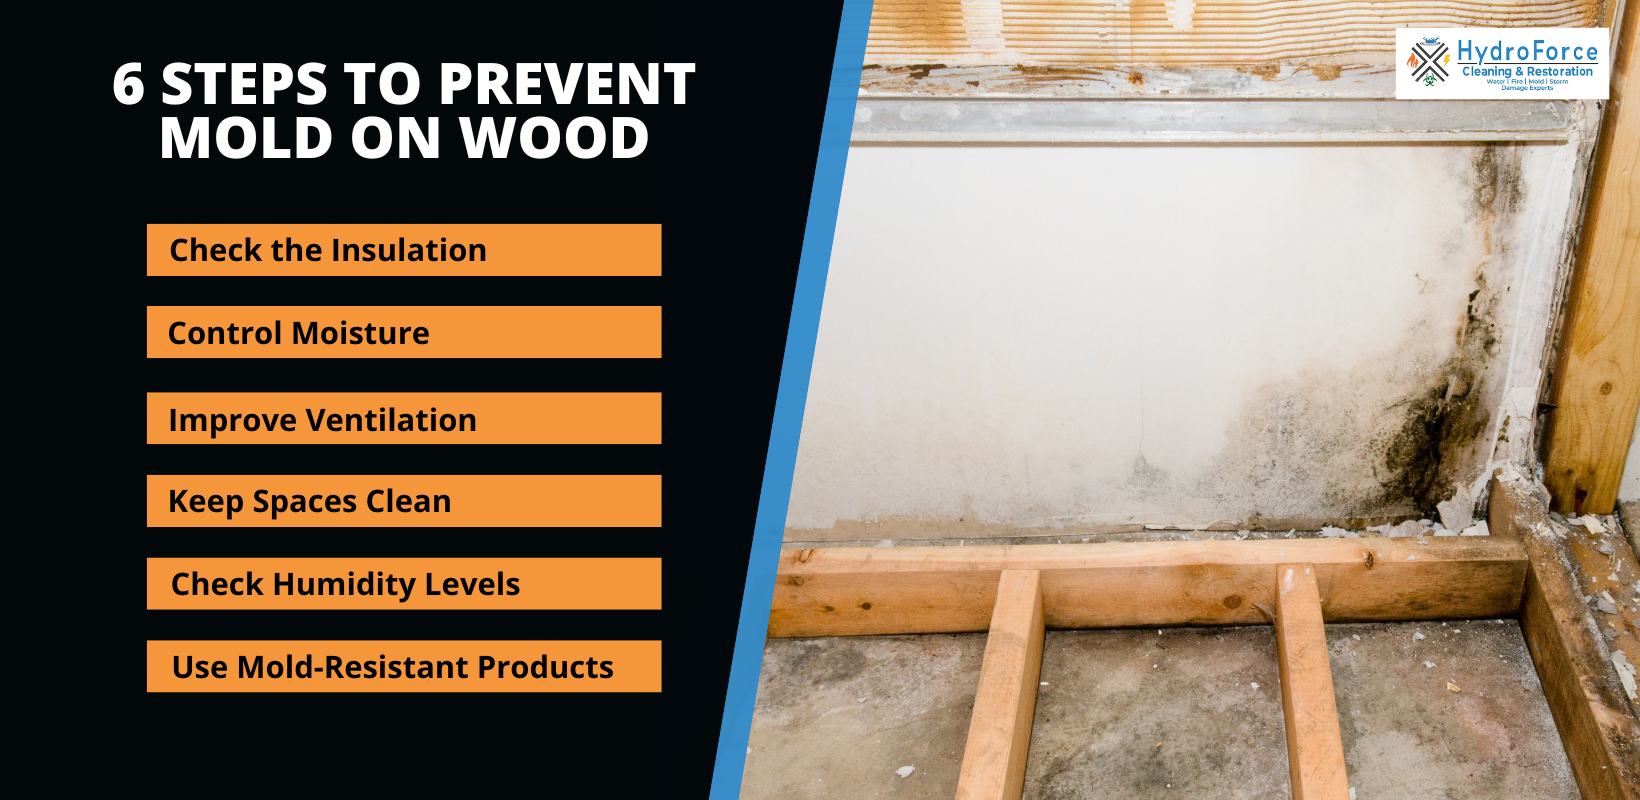
1. Check the Insulation
Inspect the insulation around your windows and water pipes, as these areas can encourage mold growth, especially in colder climates. Ensure the insulation is in good condition and free of gaps. Look for cold or damp spots and add insulation where necessary to prevent issues.2. Control Moisture
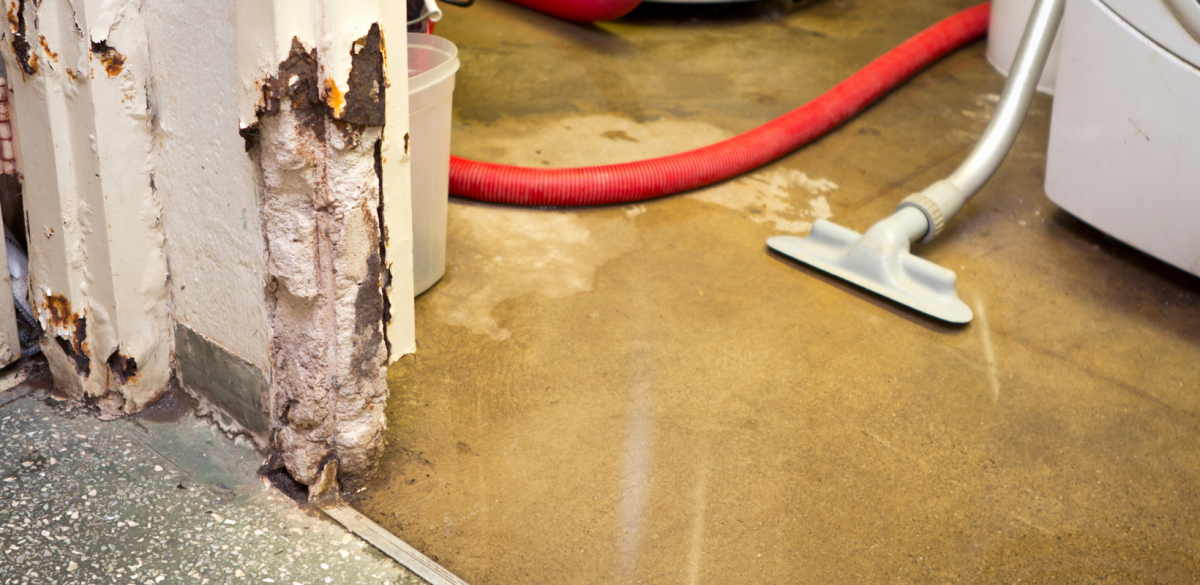
Reducing excess moisture is key to stopping mold before it starts. By addressing common sources of humidity and standing water, you can protect your home from mold-friendly conditions. Focus on these critical areas:-
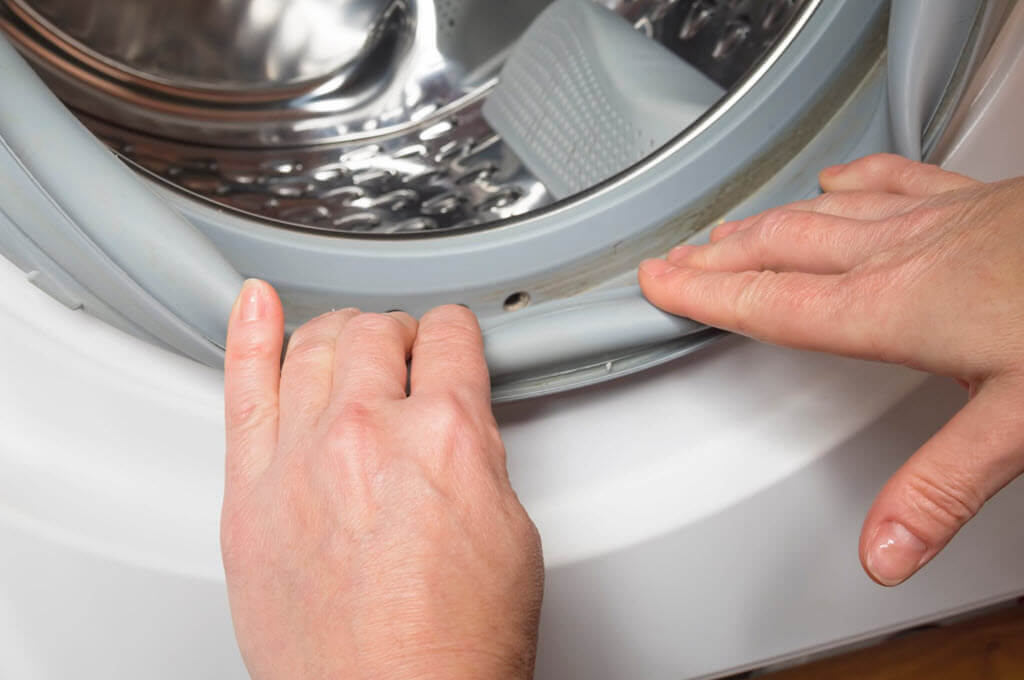
Ensure laundry, towels, and damp fabrics are completely dry before storing to avoid trapping moisture.
-
Maintain proper yard drainage to direct water away from your home’s foundation and basement, preventing water infiltration.
-
Keep gutters clean and in good repair to efficiently channel rainwater away from your home’s exterior.
-
Promptly repair leaks around roofs, pipes, windows, and doors to eliminate hidden moisture sources.
-
Regularly clean and empty drip pans from air conditioners and refrigerators to prevent water buildup.
-
Use a dehumidifier in basements, crawl spaces, and other humid areas to maintain optimal indoor humidity levels (between 30% and 50%).
-
Wipe up spills immediately and ensure adequate ventilation in bathrooms, kitchens, and laundry areas to reduce moisture buildup.
3. Improve Ventilation
Your home’s HVAC system plays a vital role in maintaining proper ventilation and preventing humidity buildup. Be sure to use exhaust fans in the bathroom and kitchen to improve airflow. Additionally, ensure that dryers and heaters are properly ventilated to keep your home safe and comfortable.4. Keep Spaces Clean
Certain areas in your home are prone to getting wet, so it’s essential to keep them dry and clean. If you notice a musty smell on fabric items, wash them immediately to prevent further issues. Additionally, ensure your floors are kept clean and dry to avoid mold.5. Check Humidity Levels
The humidity level in your home should be between 30% and 50%. Get a moisture meter for your home and set your humidifier and air conditioner to keep the moisture between these levels.6. Use Mold-Resistant Products
If you’re dealing with recurring mold issues, consider investing in building materials designed to combat mold. Mold-resistant paint is a great option, but be sure to clean any existing mold thoroughly before applying it. Additionally, using sealed and treated wood can help prevent future mold growth, keeping your space protected and healthier.When to Call a Professional Mold Remediation Company
If you have more than 10 square feet of mold in your home, it’s time to call a professional mold remediation company. Here are some situations where hiring an expert is essential:- Mold is growing inside walls, ceilings, or other hidden areas of your home.
- Mold has spread to your HVAC system or ductwork.
- Someone in your household has asthma, allergies, or other health concerns.
- Your home has experienced flooding.
- Structural damage caused by mold or water has occurred.