Severe storms are no longer a rare event in Chicagoland. The National Weather Service confirmed a record 63 tornadoes in the Chicago forecast area in 2024, breaking the record of 58 set just one year earlier. The July 15, 2024 derecho alone produced 32 tornadoes and left more than 430,000 homes without power.
The pattern has not slowed. Flooding in late July 2025 damaged homes across Chicago’s Southwest Side and suburbs, including Burbank, Justice, and Summit, prompting disaster proclamations from the city, Cook County, and the State of Illinois. And 2026 has already delivered an EF-3 tornado and record hail in March, a June outbreak with multiple EF-2 and EF-3 tornadoes, and flash flooding over the July 4th weekend.
In this guide, we cover why Chicago homes are vulnerable to storm damage, the biggest storm risks in the region, how to prepare your home before storm season, and what to do after a storm passes. It is based on what our restoration crews see in Chicago basements, roofs, and attics after every major storm.
Why Are Chicago Homes Vulnerable to Severe Storm Damage?
Chicago homes are vulnerable to storm damage because much of the housing stock is older, basements are common, mature trees line most neighborhoods, and Lake Michigan drives fast-changing weather.
Here is a closer look at each factor:
- Aging housing stock: Classic Chicago bungalows and two-flats come with specific storm weaknesses. Flat and low-slope roofs hold standing water after heavy rain, original clay drain tiles crack and fail, and brick parapet walls take the brunt of high winds.
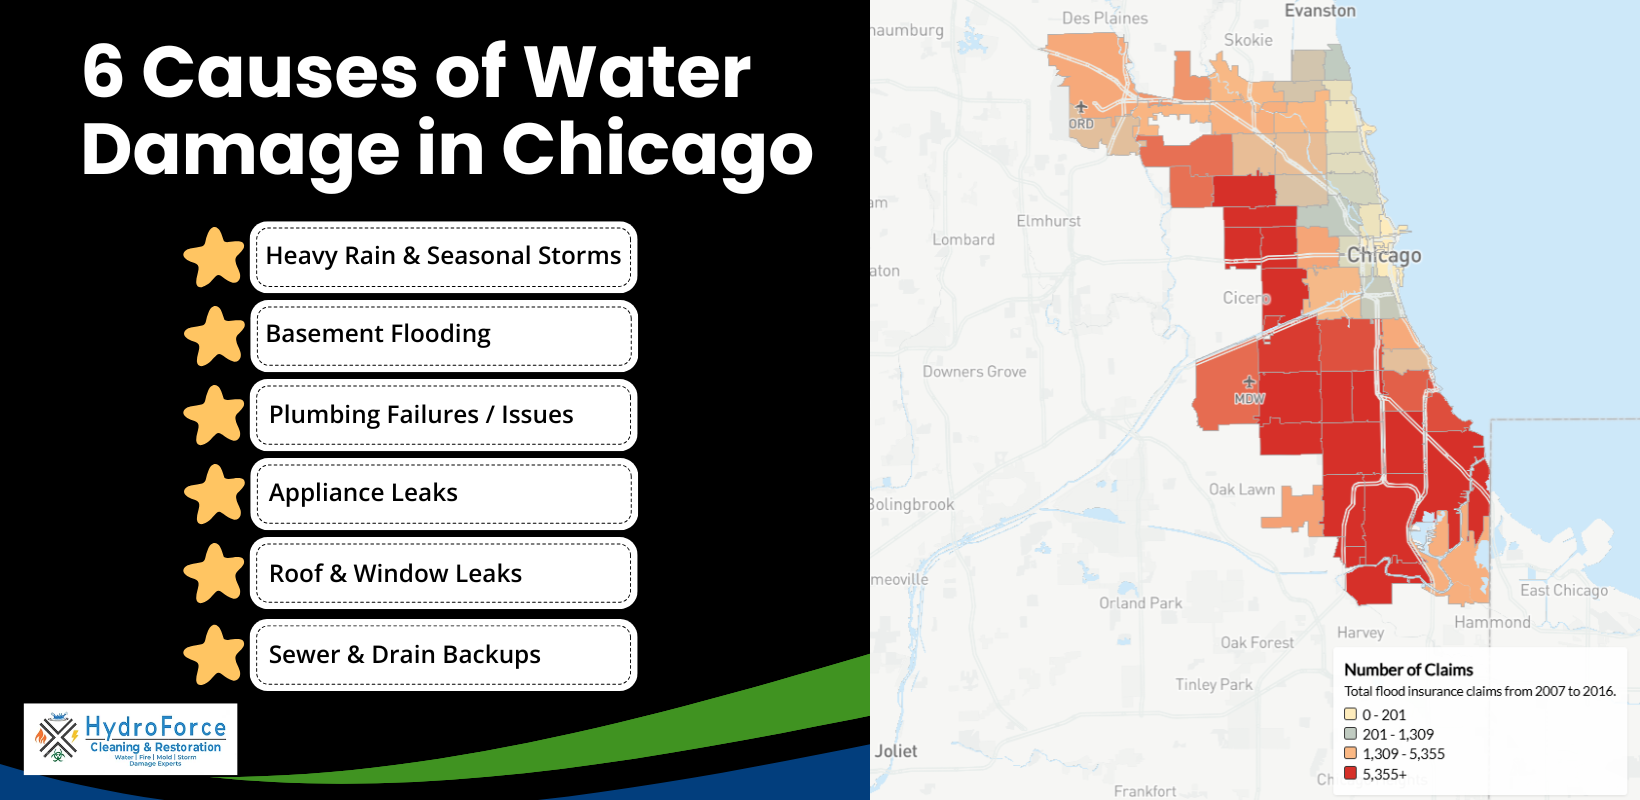
- Basements and combined sewers: Most Chicago homes have basements, and much of the city is served by a combined sewer system that carries stormwater and sewage through the same pipes. During heavy rain, that system can back up into basements even in homes that have never flooded before. According to the Federal Reserve Bank of Chicago, the overwhelming majority of flood damage claims in Chicago are for basement flooding caused by heavy rain overwhelming sewers, not rivers overflowing their banks.
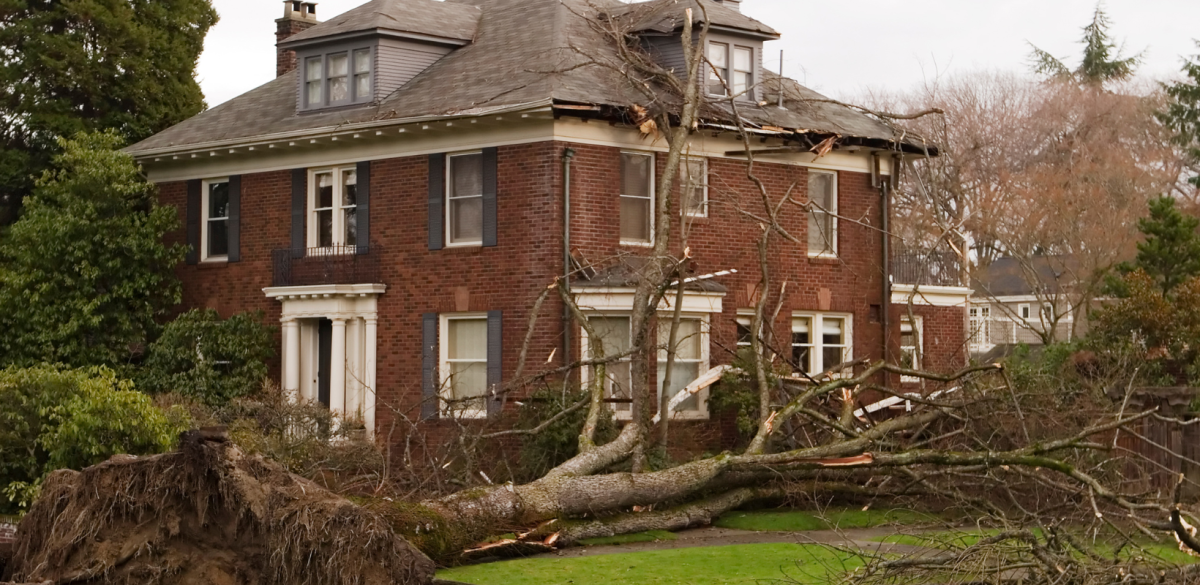
- Tree-lined neighborhoods: Mature trees are one of the best things about Chicago’s residential streets, but they become the biggest hazard in high winds. The July 15, 2024, derecho generated more than 7,100 reports of fallen trees in the city alone.
- Lake-effect weather: Proximity to Lake Michigan means conditions can change quickly, and storms can intensify with little warning.
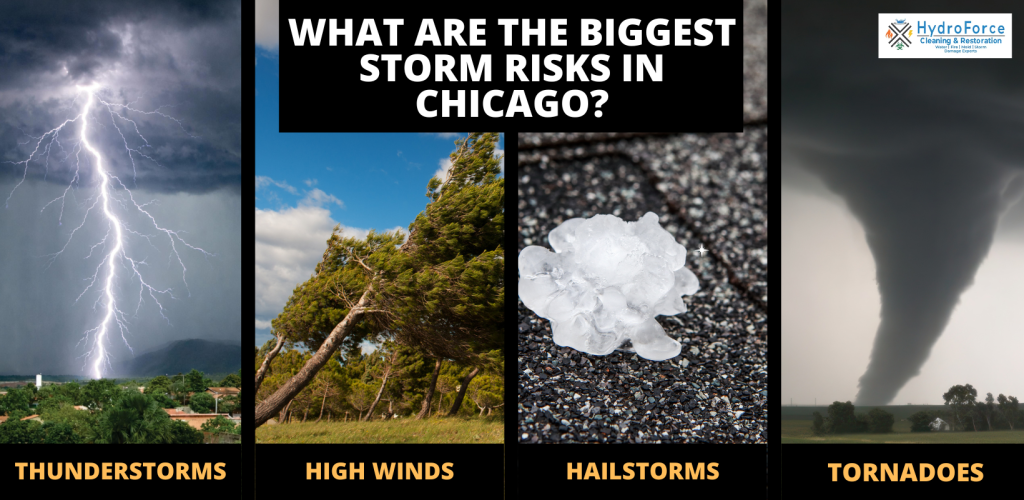
What Are the Biggest Storm Risks in Chicago?
The biggest storm risks for Chicago homeowners are thunderstorms with heavy rain, high winds, hailstorms, and tornadoes. Each causes a different type of damage, so it helps to understand what to watch for.
Heavy Rain and Basement Flooding
Thunderstorms and heavy rain are the region’s most frequent and most expensive sources of home damage. Chicago logged nearly 230,000 flood-related claims and $433 million in payouts between 2007 and 2016, according to the Center for Neighborhood Technology.
Here is what heavy rain can do to your home:
- Flash flooding: If you experience flash flooding at home, move to higher ground to stay safe. Property can be repaired; people come first.
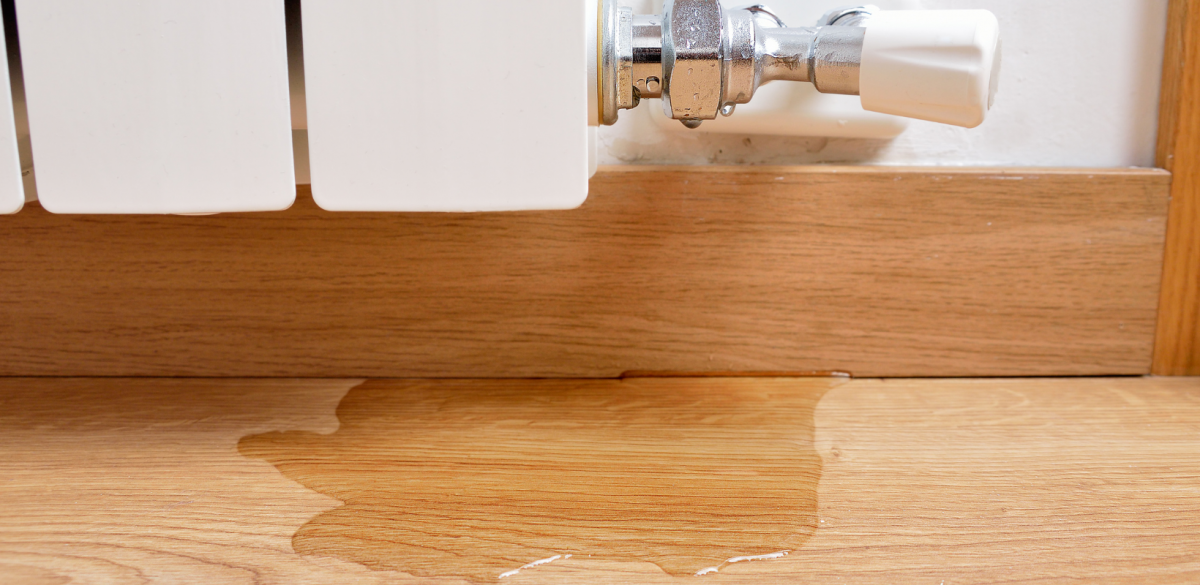
- Roof leaks: Leaks are common with heavy rain. Fix them promptly so you do not end up with hidden water damage or mold inside walls and ceilings.
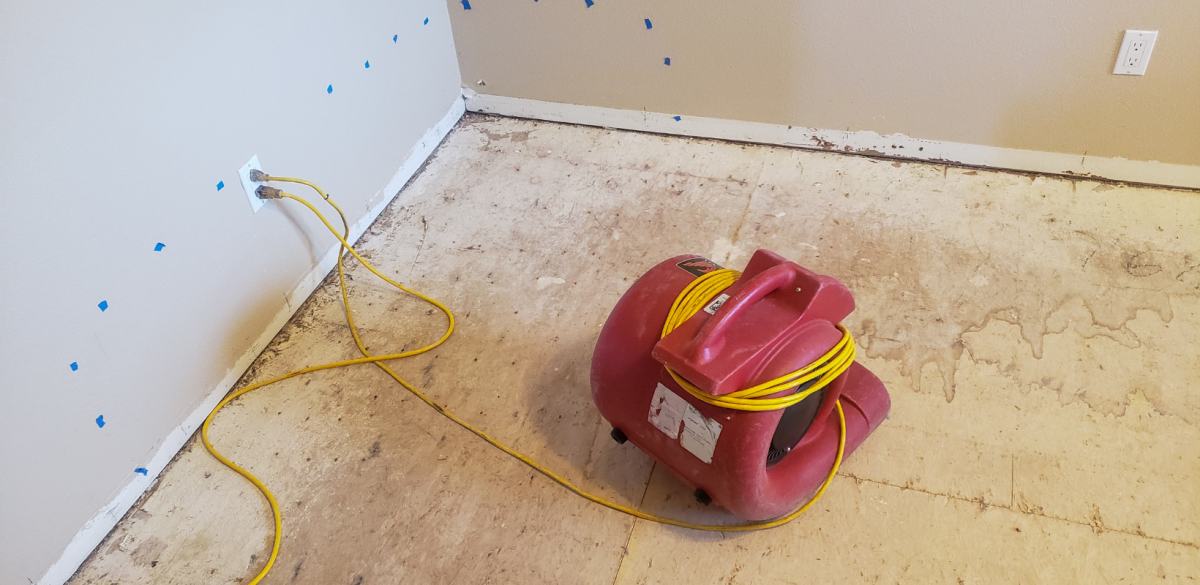
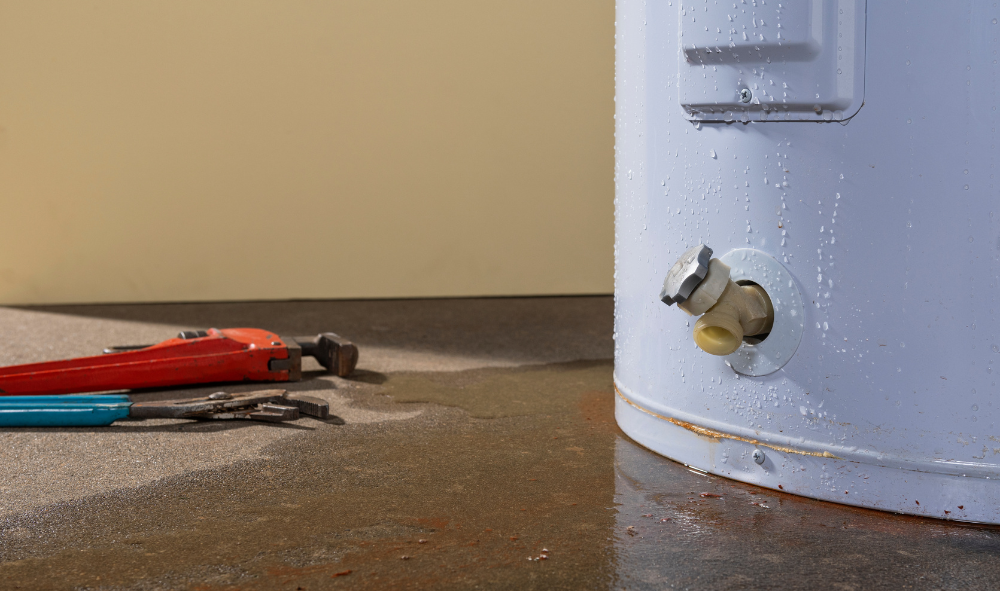
- Sump pump failure: Sump pump failure is the most common cause of basement flooding calls our crews respond to after heavy rain. In most cases, the pump did not break. It lost power mid-storm or could not keep up with the inflow. A battery backup pump costs a few hundred dollars. A flooded basement extraction and drying job typically costs several thousand.
- Sewer backup: Water rising from floor drains is sewer backup, not groundwater, and it is a health hazard that requires professional cleanup. Do not handle Category 3 water yourself.
High Winds and Derechos
High winds are one of the most common causes of storm damage in the Chicago area, and derechos have made them a defining local threat. The July 15, 2024, derecho brought straight-line winds of 60 to over 100 mph across northern Illinois. Here is what to be aware of:
- Wind can tear or lift shingles, opening the roof to leaks. Wind damage often is not visible from the ground, so have a professional inspect after any storm with significant gusts.
- High winds can snap branches or bring entire trees down onto roofs, fences, and vehicles. Stay clear of downed limbs near power lines and call for emergency board-up or tarping if the structure is opened up.
- Siding and gutters can pull away in strong gusts. Fix them promptly so water does not collect against the walls and foundation.
Hail Damage
Hail is an underestimated risk in northern Illinois. The March 10, 2026 storm system that produced an EF-3 tornado in the Kankakee River Valley also dropped record-large hail in the region.
Hail damage includes:
- Bruised or cracked shingles and dented siding. This damage is easy to miss from the ground, but shortens the life of your roof and is often claimable if documented promptly.
- Cracked skylights and windows that let water into the home.
- Damaged outdoor HVAC equipment. Have an HVAC company inspect the unit before running it again.
Tornadoes
Tornadoes in the Chicago area are more common than most homeowners believe, and recent years have proven it. The National Weather Service confirmed four tornadoes inside Chicago city limits on July 15, 2024, including one at O’Hare. The June 2021 EF-3 that tracked through Naperville and Woodridge and the June 2026 outbreak with multiple EF-2 and EF-3 tornadoes show that strong tornadoes reach the metro, not just downstate.
Key points:
- Tornadoes can cause major structural damage. Shelter in the basement or an interior room on the lowest floor, away from windows.
- Flying debris breaks windows and tears off roofing. This damage needs to be secured quickly with emergency board-up and roof tarping to prevent water intrusion, which often causes more total damage than the initial impact.
- Keep an emergency plan and kit ready: a designated family meeting place, radio, flashlight, important documents, and essentials.
How Do You Prepare Your Home Before Storm Season?
Prepare your home for storm season each year by inspecting the roof, clearing gutters, testing the sump pump, sealing foundation cracks, and trimming trees.
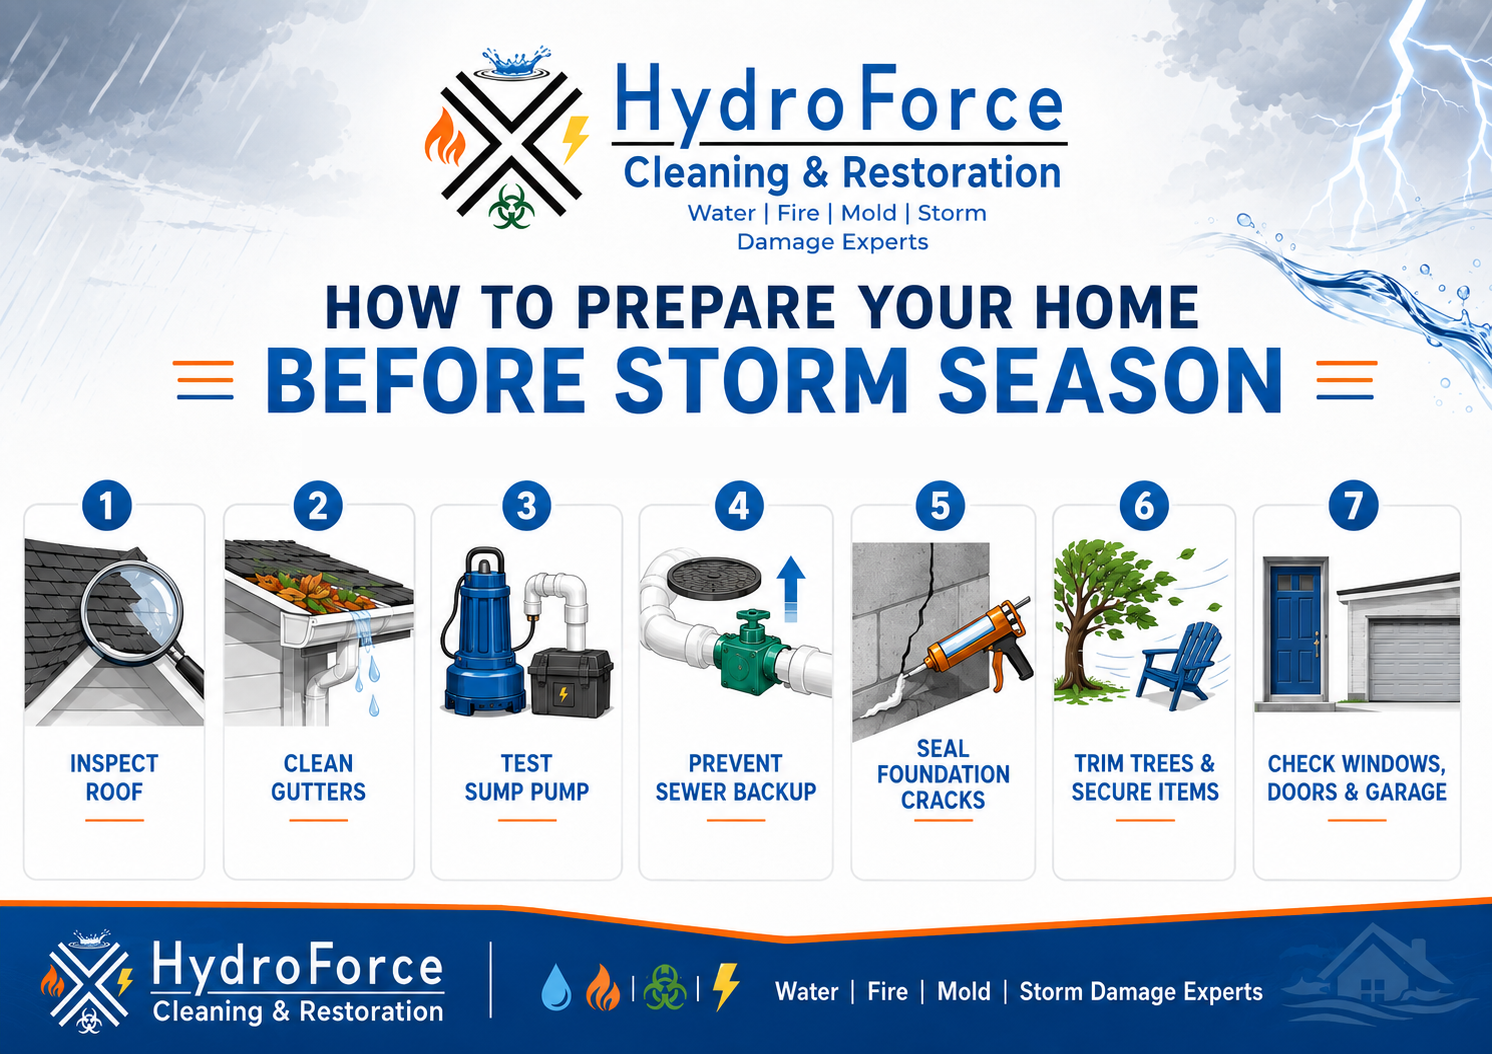
Work through this checklist every spring, before the June and July peak of Chicago’s severe weather season:
- Have your roof inspected and repair loose or damaged shingles before the wind finds them.
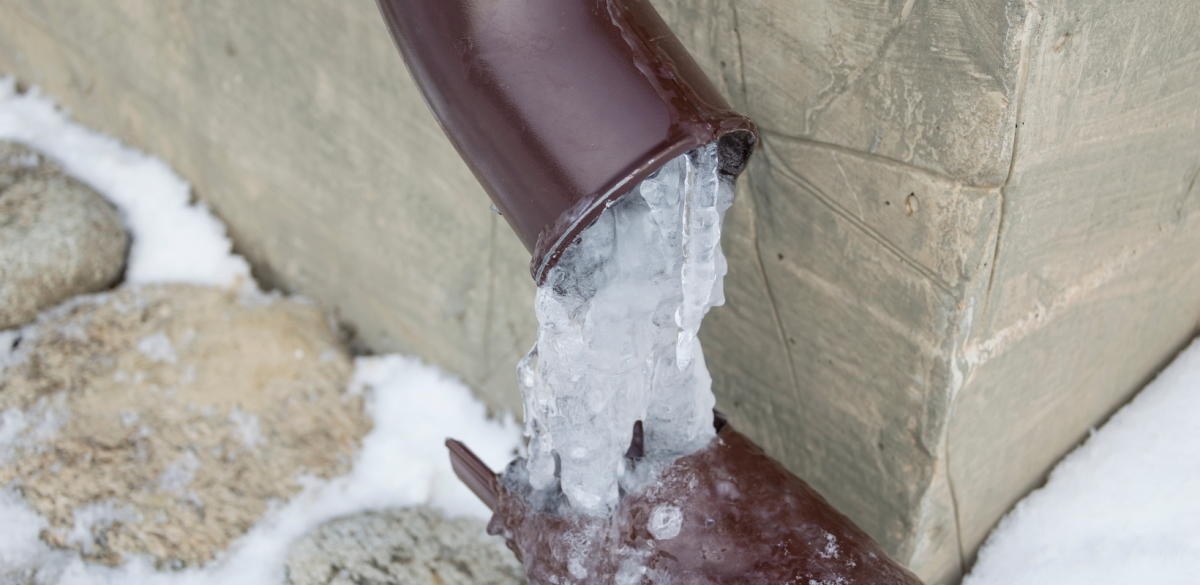
- Clean gutters and downspouts so water flows away from the home instead of pooling at the foundation.
- Test your sump pump by pouring water into the pit and strongly consider a battery backup. Power outages and heavy rain arrive together.
- Ask your plumber about overhead sewers or a backflow prevention valve if your basement has ever taken on sewer water. These are the two upgrades that stop combined sewer backups.
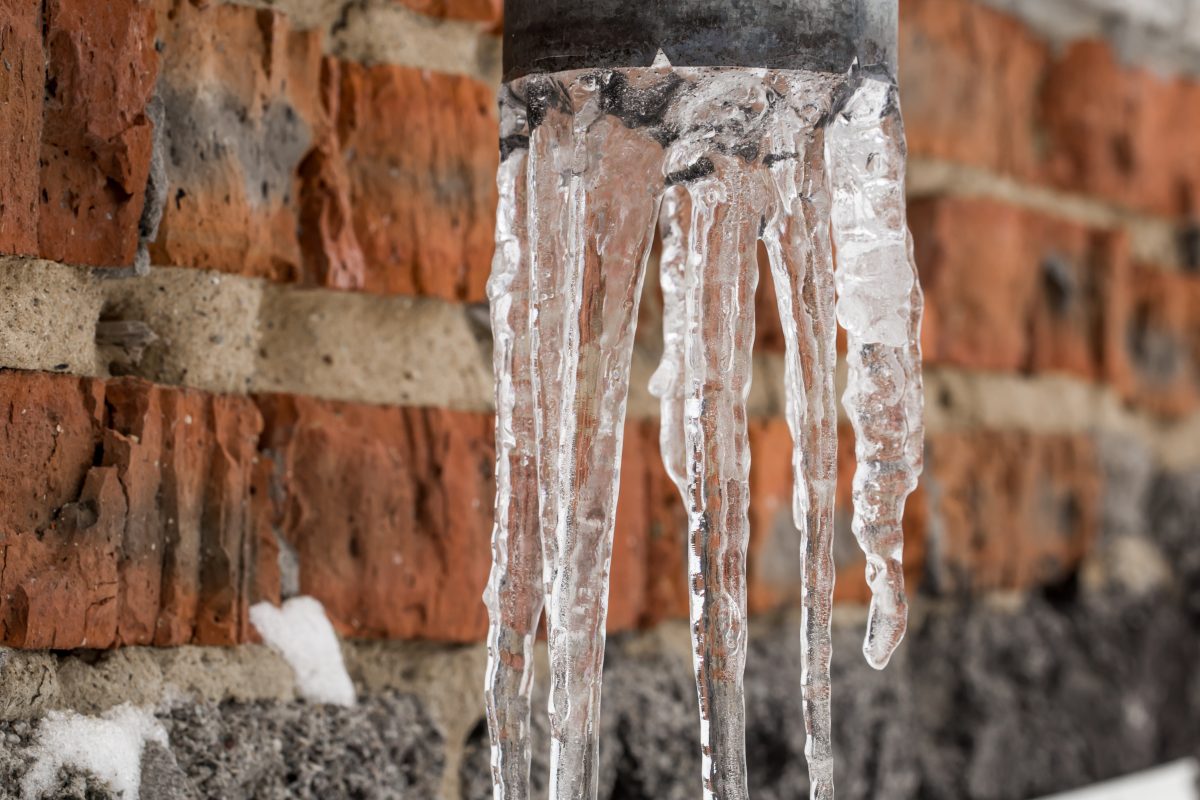
- Seal foundation cracks so water does not seep in during saturating rains.
- Trim trees and remove loose furniture, dead limbs, and unsecured equipment that become projectiles in high winds.
- Check windows, doors, and garage doors for gaps or worn seals.
What Should a Storm Emergency Plan Include?
A storm preparedness plan should include an emergency supply kit, protected copies of important documents, a clear understanding of your insurance coverage, and enrollment in local weather alerts.
Every family’s plan will look a little different, but these are the essentials:
- Build an emergency supply kit with a flashlight, radio, water, non-perishable food, blankets, and any medications your family needs.
- Protect important documents and valuables in a waterproof, fireproof container so they survive a fire or flood.
- Know what your insurance actually covers. Standard homeowner policies in Illinois cover wind and hail damage but exclude the two things Chicago basements need most: flood damage and sewer backup or sump pump overflow. Flood coverage requires a separate NFIP or private flood policy. Sewer and sump backup coverage is an endorsement added to your existing policy, usually for a modest premium. In our experience working claims with homeowners after major storms, a missing sewer backup endorsement is one of the most common reasons a basement claim gets denied.
- Sign up for local weather alerts through your phone and your village or county notification system so warnings reach you before the storm does.
What Should You Do During a Severe Storm?
During a severe storm, shelter in the basement or an interior room away from windows, stay out of floodwater, never run a generator indoors, and keep clear of downed power lines.
The hours during and immediately after a storm are when most injuries happen:
- Shelter correctly. For a tornado warning, get to the basement or an interior room on the lowest floor, away from windows. If flash flooding threatens the basement, shelter on the ground floor instead.
- Stay out of a flooded basement. Standing water can be energized by submerged outlets, appliances, or the furnace. Do not enter until power to the area is shut off, and call a professional if you cannot reach the breaker safely.
- Never run a generator indoors or in an attached garage. Carbon monoxide from portable generators kills people after storms every year. Run generators outside, at least 20 feet from the home, away from windows and vents.
- Do not drive through flooded streets or viaducts. Chicago’s viaducts flood fast during heavy rain and were the site of numerous water rescues during the July 2025 storms. Twelve inches of moving water can carry a car.
- Stay away from downed power lines and anything touching them, including fences and tree limbs, and report them to ComEd.
How Do You Inspect Your Home After a Storm?
After a storm passes, inspect your home for roof and gutter damage, water intrusion, fallen trees or structures, and early signs of moisture or mold:
- Look at the roof and gutters from the ground for visible damage, then have a professional check for lifted shingles and hail bruising you cannot see.
- Walk the perimeter and check the basement, garage, and around windows for water intrusion or active leaks.
- Check for fallen trees, fences, and exterior structures, and address hazards immediately. Stay away from anything touching power lines.
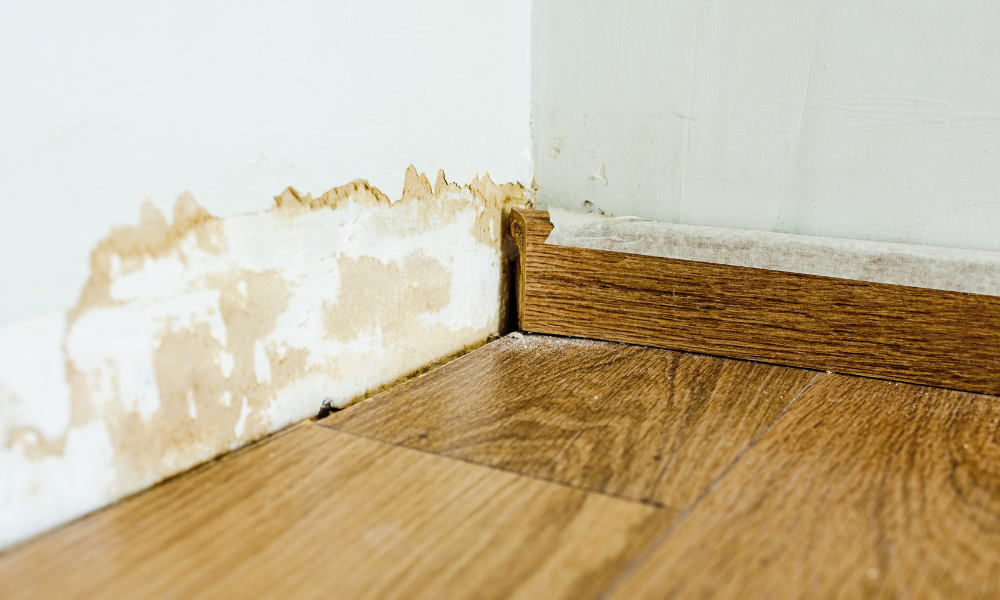
- Watch for moisture and mold. Mold growth can begin within 24 to 48 hours of water intrusion, so a small leak found today is a much cheaper problem than the same leak found next month.
What Should You Do Right After Storm Damage?
Immediately after storm damage, document everything, stop water from spreading if you can do so safely, notify your insurance company, and schedule professional restoration.
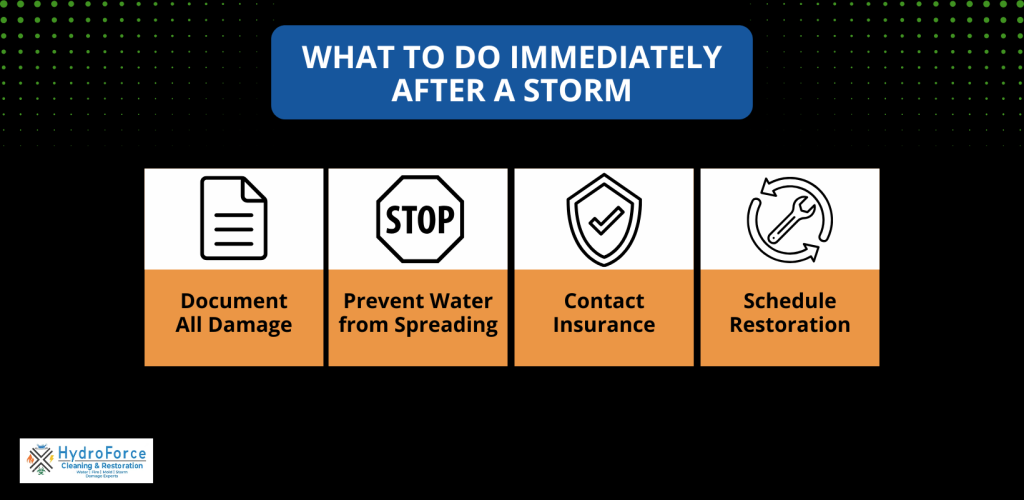
Follow these steps in order:
- Document all damage with photos and video before touching anything. This is the foundation of your insurance claim.
- Prevent water from spreading if you can do so safely, using tarps and buckets and moving belongings out of the way.
- Contact your insurance company as soon as you see storm damage and share your photos and videos.
- Schedule professional restoration. Call right away and describe what happened. A restoration crew will arrive with the equipment to stop damage from getting worse, and every hour matters when water is involved.
Dealing with storm damage right now? HydroForce responds 24/7 across Chicagoland. Call (630) 835-0862.
Frequently Asked Questions
How fast does mold grow after storm damage?
Mold can begin growing within 24 to 48 hours of water intrusion. That window is why fast water extraction and structural drying matter more than any other step after a flood or leak.
Does homeowners insurance cover storm damage in Illinois?
Wind, hail, and tornado damage are covered by standard homeowner policies. Flooding from rising water and sewer or sump pump backups are not. Flood damage requires separate flood insurance, and backup coverage requires an endorsement on your existing policy.
Who pays if my neighbor’s tree falls on my house?
In most cases, your own homeowner’s insurance covers the damage to your home, regardless of whose tree fell. The exception is negligence: if the tree was visibly dead or hazardous and your neighbor ignored documented warnings, their insurer may be responsible. File with your own insurance company first and let the insurers sort out liability between themselves.
When is storm season in Chicago?
Severe weather in the Chicago area historically peaks from May through August, with June and July the most active months. Recent years have stretched that window: the region has seen tornadoes in March and even February. Treat spring as your preparation deadline, but do not assume the calendar protects you outside of summer.
What does emergency board-up and roof tarping include?
Emergency board-up secures broken windows, doors, and wall openings with plywood, and roof tarping covers damaged roof sections with heavy-duty tarps anchored to sound decking. Both are temporary protections that stop rain and intruders until permanent repairs are made, and both are typically covered by insurance as damage mitigation.
How quickly should I call a restoration company after a storm?
Immediately, even before the insurance adjuster visits. Insurance policies require you to mitigate further damage, and restoration crews document conditions in a way that supports your claim rather than hurting it.
Get Emergency Storm Damage Support
Even a well-maintained home can experience damage when a severe storm rolls off the lake. When that happens, the speed of your response makes the difference between a minor repair and a major restoration project.
Has your home been damaged by a storm? HydroForce Cleaning & Restoration provides complete storm damage restoration in Chicago, IL, and the surrounding areas, including emergency roof tarping, board-up service, debris cleanup, water extraction and structural drying, and full roof, siding, and gutter repair. Our technicians respond 24/7, and our team works directly with your insurance provider to help you document the damage and secure fair compensation for your claim.
Call HydroForce today at (630) 835-0862 for a free estimate, or request a quote online. The sooner we get to your property, the more damage we can prevent.