A frozen water line is a disaster waiting to happen. The pipe could burst, spewing hundreds of gallons of water into the home. Flooding is expensive and time-consuming to clean up. Homeowners are advised to prevent this costly mishap by learning how to thaw a frozen water line.
How do pipes freeze?
Water pipes run through the entirety of the home. They carry hot and cold water to the various sinks, showers, tubs, and appliances. Homes located in colder geographic areas are subject to freezing temperatures. When the outside temps drop below 32 degrees Fahrenheit, exposed pipes could freeze.
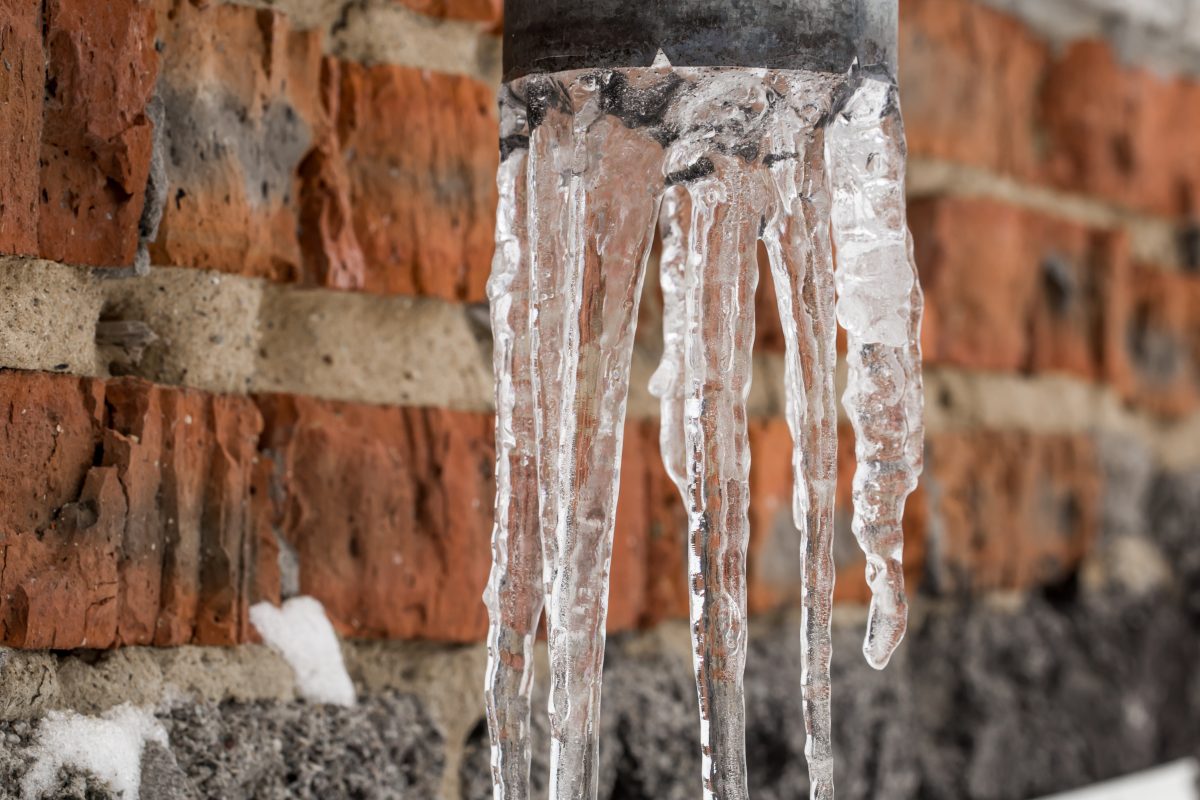
Once the exposed water lines are subject to subfreezing weather, the conditions are right for a block of ice to form inside. The chunk of ice reduces the water pressure and creates a watertight seal, thereby preventing water from flowing freely to the faucets.
Another calamity homeowners face during cold weather is a burst pipe. The water inside pipes exposed to freezing temperatures freezes and expands. The water line is no match for the rapidly expanding ice and, as a result, ruptures. Leaks or major flooding are the disastrous outcomes.

How do homeowners thaw frozen water lines?
Step 1: Pinpoint the frozen section
No homeowner wants to wake up to a flooded basement in the middle of winter. The key to disaster prevention is to first identify the frozen water line. Indications of a frozen pipe include reduced water pressure, leaks, and a lack of water coming through the faucets.
Turn on the faucets to determine if the issue is isolated or affects the entire home. When one or two faucets have reduced water pressure or the flow of water is completely stopped, trace the pipe from the faucet to locate the frozen area.
Usually, the frozen pipe is uninsulated or runs along an exterior wall. Look for frost or ice forming on the outside of the pipes to identify the section that is frozen. Thawing this frozen part of the pipe requires about 30 to 60 minutes—a gradual thaw is advised.
Don’t attempt to quickly thaw the pipe with an open flame; fire can damage the surrounding materials and pose a risk to the home. Plus, plastic water lines melt. Instead, utilize a hair dryer, a space heater, heat tape, a fan, or a dehumidifier to gradually warm the water line.
Step 2: Turn on the affected faucet
Even a steady trickle of water can prevent a water line from freezing. Turn on the faucet nearest to the frozen pipe. Opening the faucet also helps to relieve the pressure inside the plumbing and reduces the chances that the water line will burst.
Step 3: Access the frozen section
Pipe sections may run behind the wall or under the floor. When this is the case, cut a hole in the drywall to access the frozen pipe. A homeowner who is able to reach the frozen part of the pipe is able to apply direct heat to thaw it out.
Step 4: Apply heat gradually
Avoid damaging the water line by applying heat gradually. Run a space heater in the vicinity; blow a hair dryer onto the pipe; or wrap heat tape around the frozen section. Turning up the heat in the home is another option but takes a long time to produce results.
The pipe thaws within 30 to 60 minutes. Once the pipe begins to thaw, the water pouring out of the open faucet starts to flow at a faster rate. Keep the heat on the pipe even once the water pressure is restored to ensure the ice is fully melted.
Step 5: Check for pipe damage

A frozen pipe can undergo damage due to the ice expansion. A minor crack in the pipe may go unnoticed unless the homeowner actively searches for it. After the ice is thawed, wipe down the pipe with a rag or paper towel. Then inspect the pipe for damage or leaks.
Step 6: Consult a water damage restoration service
Damage to the water line requires the services of a water damage restoration company. Turn off the water at the main shut-off valve before calling the professionals to replace the cracked pipe or repair the leak. Dry the area thoroughly with fans or a dehumidifier to prevent mold colonies.
What prevents a frozen water line?
Protect water lines from freezing by wrapping them in pipe insulation. Heat tape is another option whereby a wire that runs through the tape heats the pipe. Install insulation along the outer walls or in the basement. Set up a space heater to keep the pipe at optimal temperatures.
A flooded home is an overwhelming experience. When you are unexpectedly confronted by significant water damage, consult the water damage restoration pros at Hydroforce Cleaning & Restoration. Our highly skilled crews arrive within 45 minutes, build an action plan, and begin the restoration process.
Our teams of certified technicians utilize cutting-edge equipment to extract all excess moisture from your property. We run professional-grade drying machinery to fully dry out the affected sections. Our specialists then restore water-damaged areas, returning your home to its pre-loss condition fast.
We offer numerous conveniences to streamline the restoration process. Homeowners easily monitor the progress of our work online. You have access to images, estimates, job progress, and an estimated timeframe for completion at your fingertips 24/7. We can also bill your insurance directly.

Water damage can happen in the blink of an eye. Hydroforce Cleaning & Restoration crews are available 24 hours a day, 7 days a week to provide swift frozen pipe repair. Our dedicated technicians stand by, ready to tackle your residential or commercial water damage disaster efficiently.
Extreme Chicago winters can wreak havoc on unprotected water lines. Hydroforce Cleaning & Restoration is committed to serving Chicagoland with excellence during all four seasons. Call our Bridgeview, Illinois, office to obtain a free estimate for high quality water damage restoration.