Mold in your air ducts can quietly spread throughout your home, affecting the air you breathe and the efficiency of your HVAC system. Over time, this hidden issue can trigger allergies, worsen respiratory conditions, and lower your home’s indoor air quality.
According to the EPA, Americans spend about 90% of their time indoors, where pollutant levels can be two to five times higher than outdoor air. If mold spreads through your HVAC system, it can significantly worsen your home’s air quality.
Understanding what causes mold in air ducts, how to spot the warning signs, and the best ways to remove and prevent it can help protect your family and your property. In this guide, we’ll cover how mold develops in HVAC systems, the symptoms of contamination, its health impacts, and professional solutions to eliminate it for good.
How Mold Gets Into Air Ducts
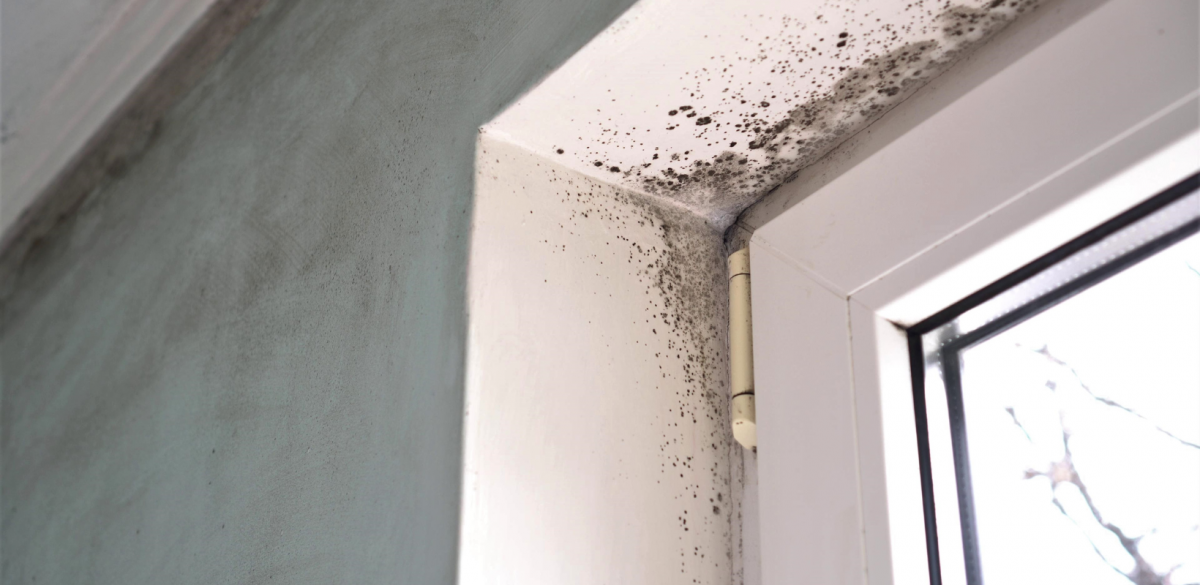
Mold in ductwork typically develops when moisture and organic matter combine under warm, humid conditions. Condensation often forms inside ducts, especially when cool air passes through warm areas of your home. Dust and debris in the ducts give mold spores a surface to cling to and feed on.
Some of the most common causes of mold in air ducts include:
- High indoor humidity or poor ventilation
- Leaky air ducts or inadequate insulation
- Clogged filters or dirty evaporator coils
- Water leaks near HVAC components
When these issues go unchecked, mold can spread quickly through the system and circulate spores throughout your home’s air supply.
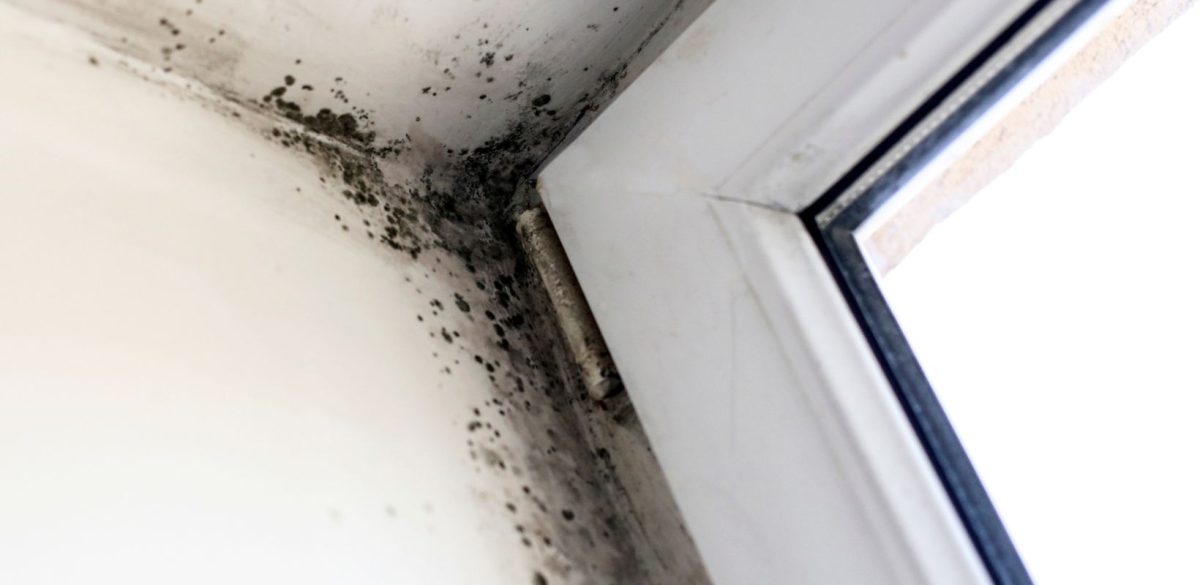
Common Signs of Mold in Air Ducts
Because air ducts are hidden, mold growth isn’t always obvious at first. However, a few key warning signs can signal a problem:
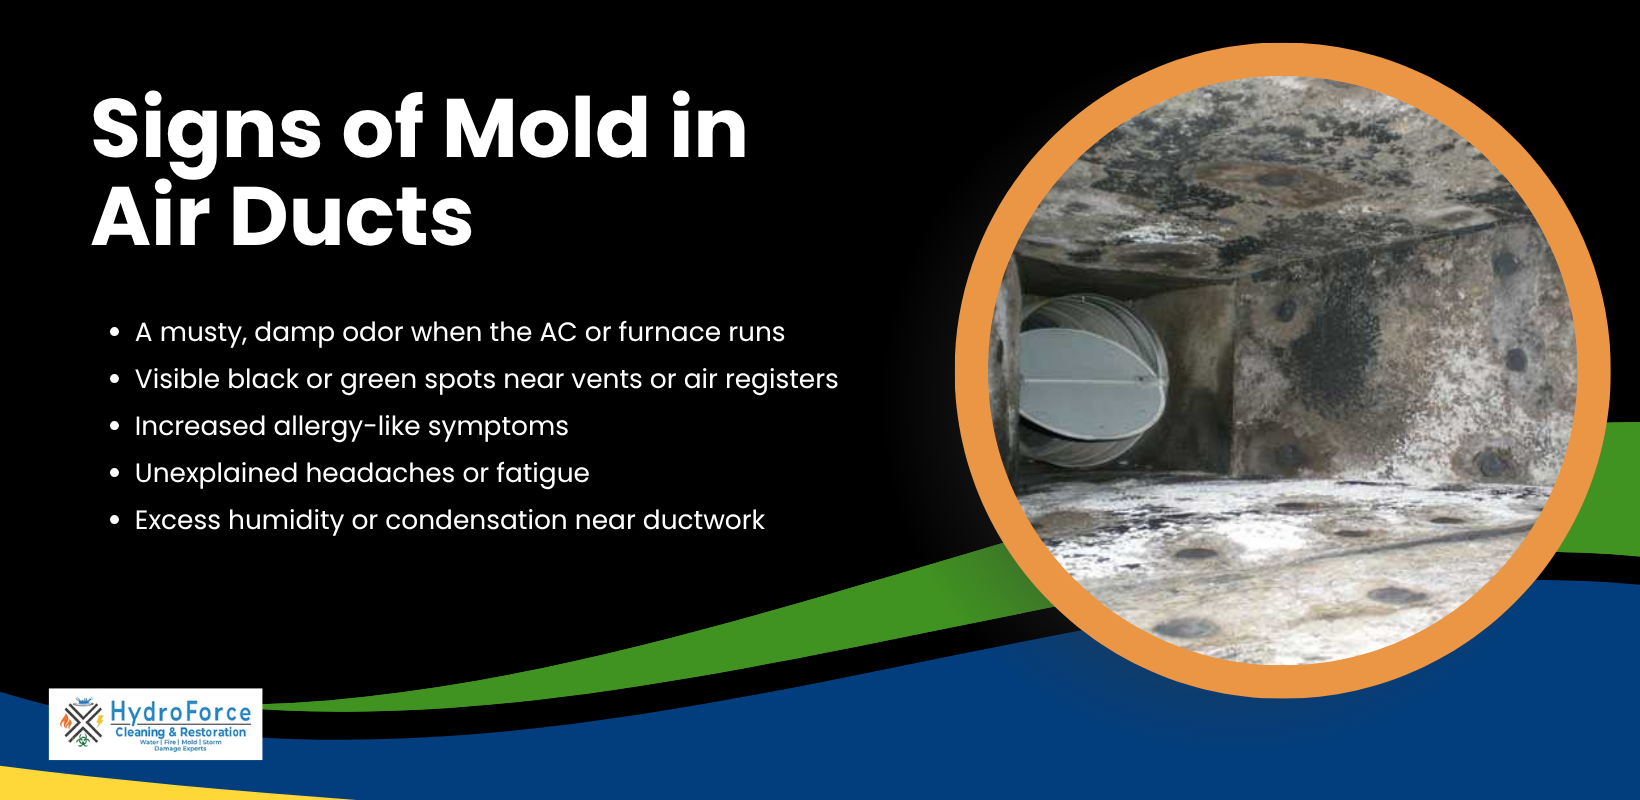
- A musty, damp odor when the air conditioner or furnace runs
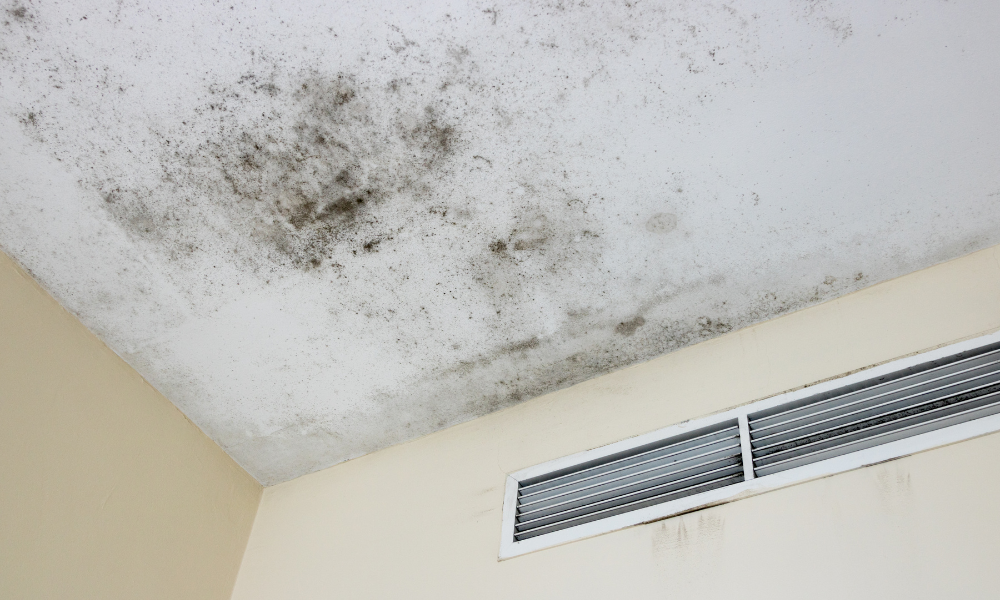
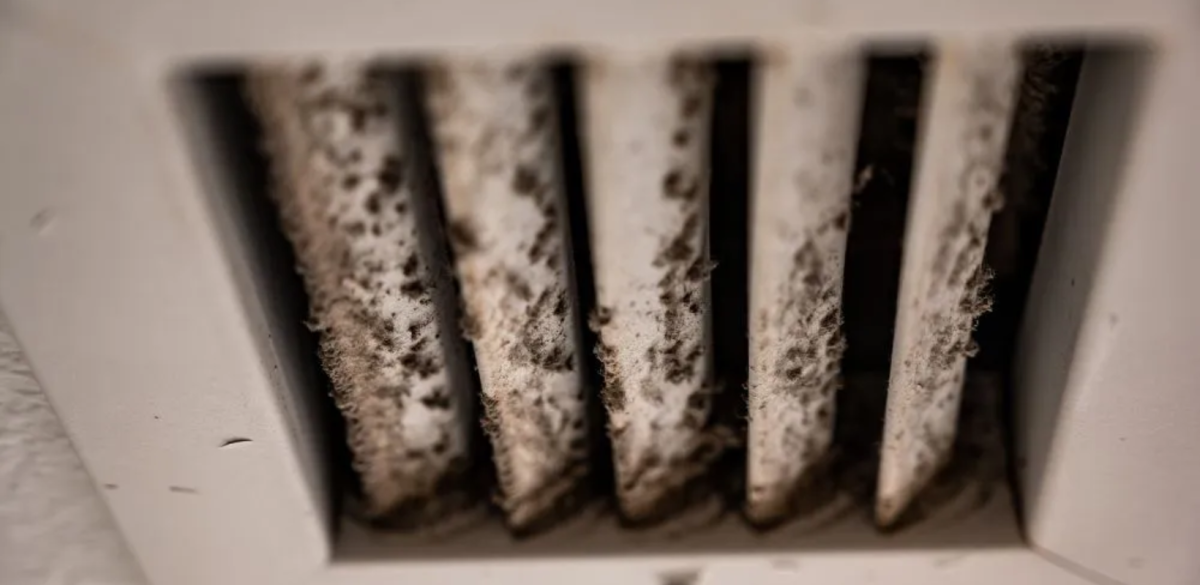
- Visible black or green spots near vents or air registers
- Increased allergy-like symptoms such as sneezing, coughing, or congestion indoors
- Unexplained headaches or fatigue that improve when you leave home
- Excess humidity or condensation near ductwork
Even if you can’t see visible mold, persistent odors or respiratory irritation are strong clues that you should have your HVAC system inspected by a mold remediation professional.
What Are the Health Risks of Mold in My Air Ducts?
When mold spores are pushed through the vents, they can easily be inhaled or settle on surfaces throughout the house. For many people, this leads to allergy flare-ups, sinus irritation, or asthma attacks. Children, seniors, and individuals with weakened immune systems are particularly vulnerable.
Prolonged exposure can cause more severe symptoms such as:
- Chronic coughing or throat irritation
- Eye, skin, or sinus inflammation
- Shortness of breath or chest tightness
- Worsened asthma or respiratory infections
In serious cases, certain types of mold produce mycotoxins that may contribute to fatigue, dizziness, and immune suppression. Addressing HVAC mold growth quickly helps reduce these health risks and restores healthy indoor air.
How Mold in Air Ducts Affects Home Air Quality
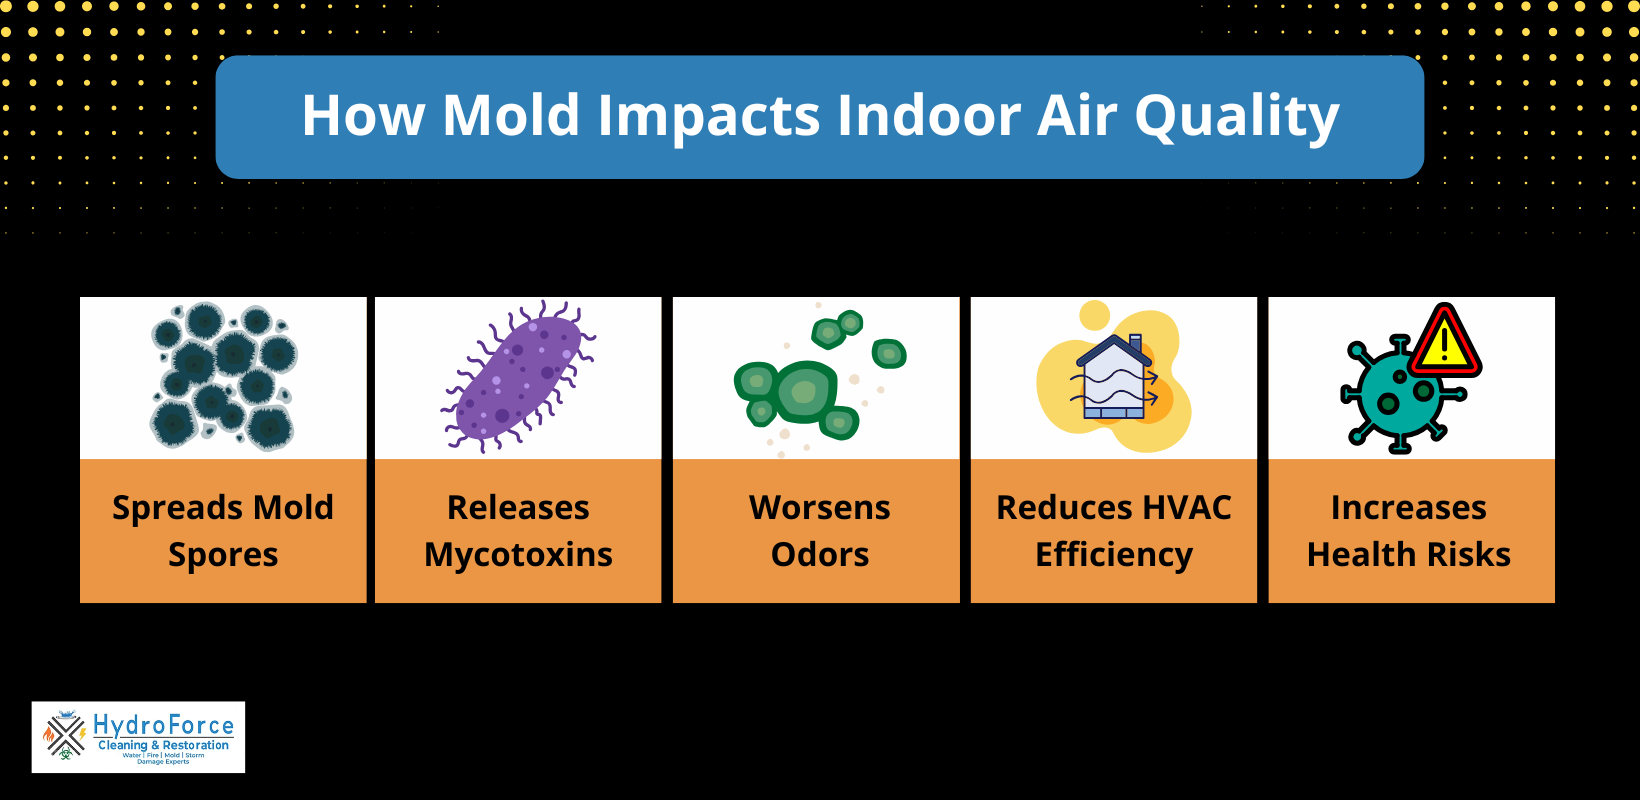
Your HVAC system is designed to circulate clean air throughout the home—but when mold grows inside the ducts, it does the opposite. Every time your system runs, spores and particles are distributed into every room, contaminating surfaces and lowering indoor air quality.
This can make your home feel stuffy or damp and leave behind a persistent odor. Over time, it may lead to chronic respiratory issues and make it harder to manage allergies. The National Air Duct Cleaners Association (NADCA) notes that contaminants in HVAC systems can reduce efficiency by up to 30%, increasing energy costs and spreading pollutants like mold spores throughout the home. The longer the mold remains in your ductwork, the more spores will settle in other parts of your HVAC system and home.
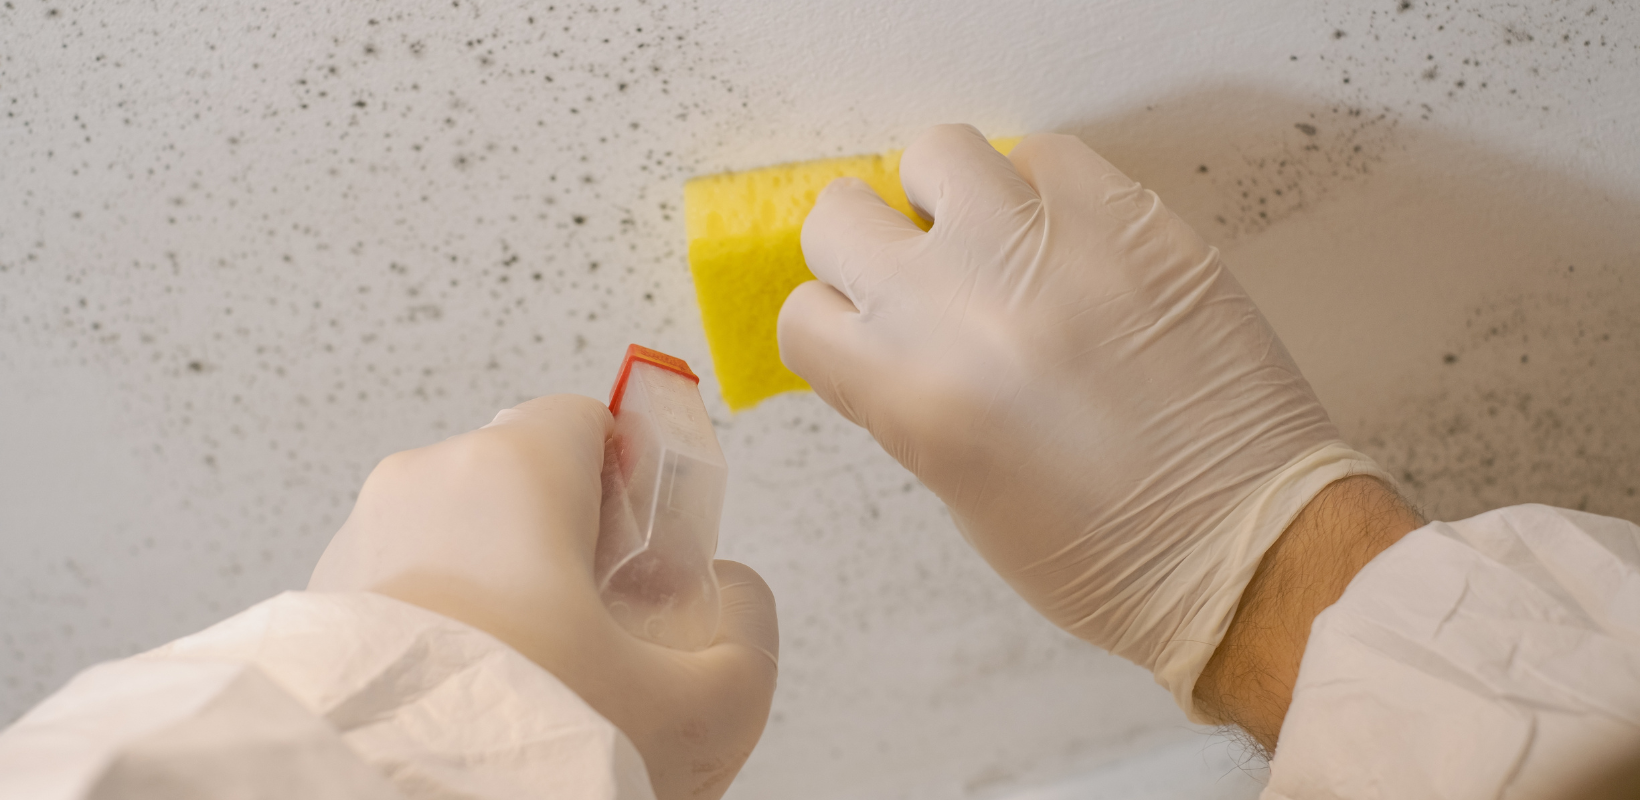
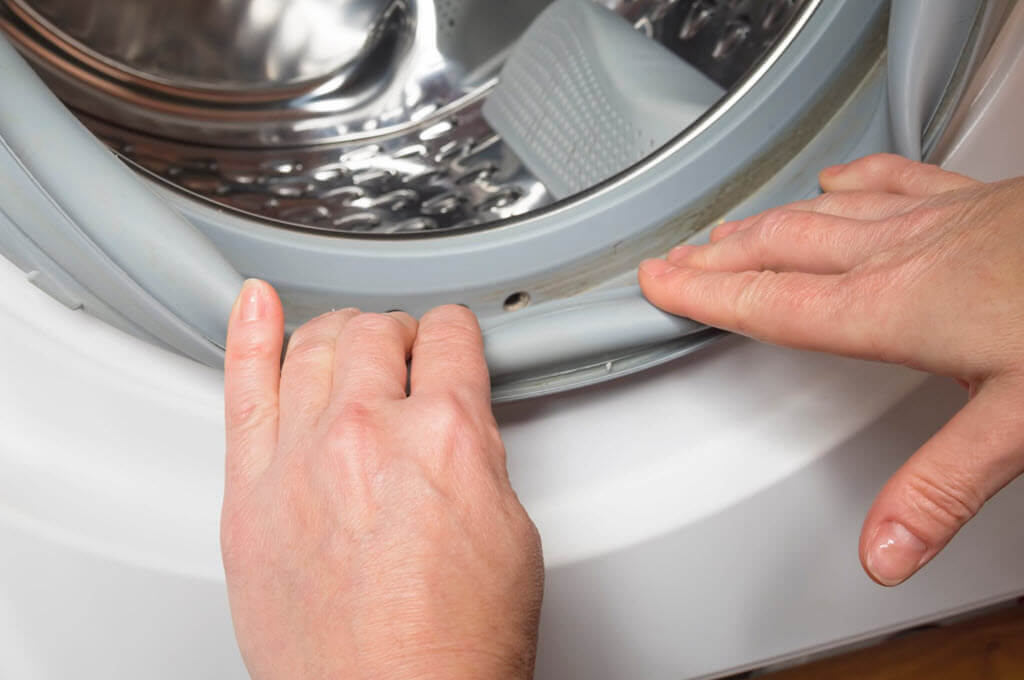
How to Check for Mold in Air Ducts
If you suspect there’s mold in your ducts, you can perform a quick inspection:
- Turn off your HVAC system.
- Remove a vent cover and use a flashlight to look inside the duct.
- Look for dark spots, fuzzy growth, or visible discoloration.
- Take note of any musty odors that intensify near vents.
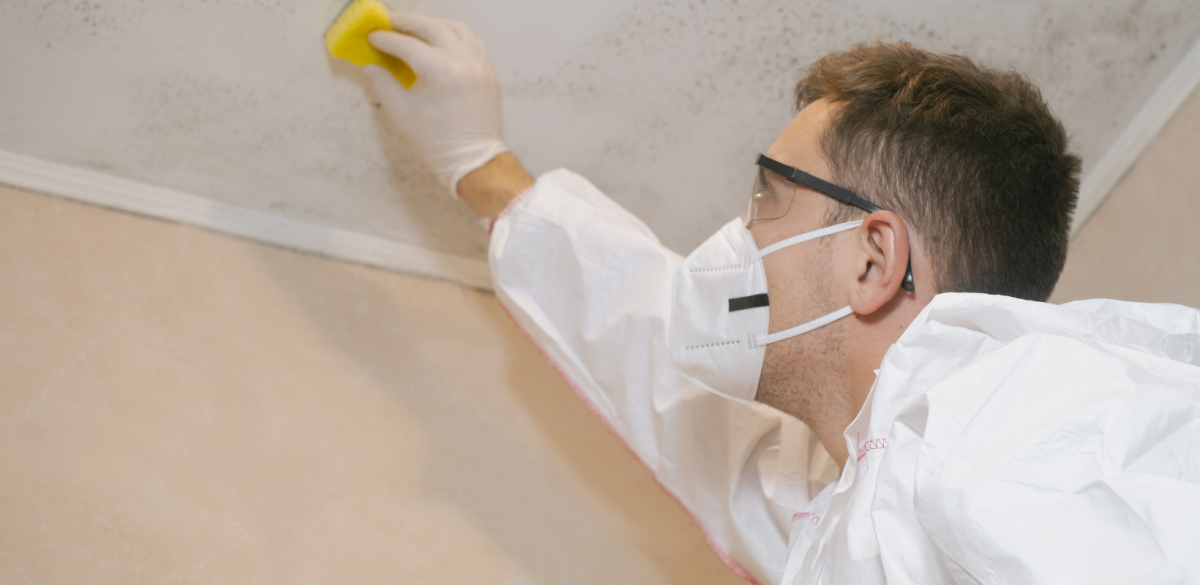
If you see visible mold or the odor persists, do not attempt to clean the ducts yourself. Scrubbing or vacuuming can spread spores throughout the house. At this stage, you need a certified mold remediation company with proper containment equipment and HEPA filtration to safely remove it.
Professional Mold Removal from Air Ducts
If you’re unsure how to properly clean your air ducts, it’s essential to hire professionals to remove any mold or contaminants. Here’s an overview of the process they typically follow:
- Inspection: The first step is a thorough inspection of your ductwork. Professionals will carefully examine your HVAC system to identify any issues such as mold growth, dust buildup, or signs of moisture and contamination. This step helps them determine the extent of the problem and develop an appropriate cleaning plan.
- Cleaning: Specialized equipment, including high-powered vacuums, rotating brushes, and air whips, is used to remove dust, debris, and other particles from the ducts. This process ensures that even hard-to-reach areas are thoroughly cleaned, preventing the spread of contaminants throughout your home.
- Sanitizing: After cleaning, EPA-approved sanitizers are applied to the duct system to kill bacteria, mold spores, and other harmful microorganisms. This step not only removes existing contaminants but also helps prevent future growth, improving the overall health and safety of your indoor environment.
- Sealing: All leaks, gaps, or damaged areas in the ductwork are sealed to prevent future contamination. Proper sealing ensures that the HVAC system operates efficiently, keeps dust and pollutants from re-entering the air, and protects the system from moisture-related issues that can promote mold growth.
- Testing: After cleaning and sealing, professionals conduct tests to confirm that the ductwork is clean, and the air quality has improved. This may include visual inspections, particle counts, or microbial testing to ensure that the air circulating in your home is safe and healthy.
- HEPA Filtration and Containment: During the cleaning process, HEPA filters are used to trap at least 99.97% of particles as small as 0.3 microns (EPA), including allergens, dust, mold spores, and other pollutants. Containment methods are also employed to prevent dust and debris from spreading into your living spaces, further improving indoor air quality.
- Post-Remediation Air Quality Testing: Once the remediation is complete, the air is tested again to ensure it meets safety standards. Professionals confirm that contaminants have been effectively removed and that the indoor air is safe for your family, giving you peace of mind that your home environment is clean and healthy.
Why Professional Help Is Essential
Attempting to remove mold from your ducts without professional equipment can make the problem worse. Certified remediation experts follow EPA, NADCA, and IICRC standards, ensuring safe removal, proper air filtration, and thorough disinfection.
Professionals can also identify the underlying moisture sources that allowed mold to grow, whether it’s a leak, poor insulation, or excess humidity, and provide recommendations to prevent it from returning. This expertise protects your health and your HVAC investment while ensuring long-lasting results.
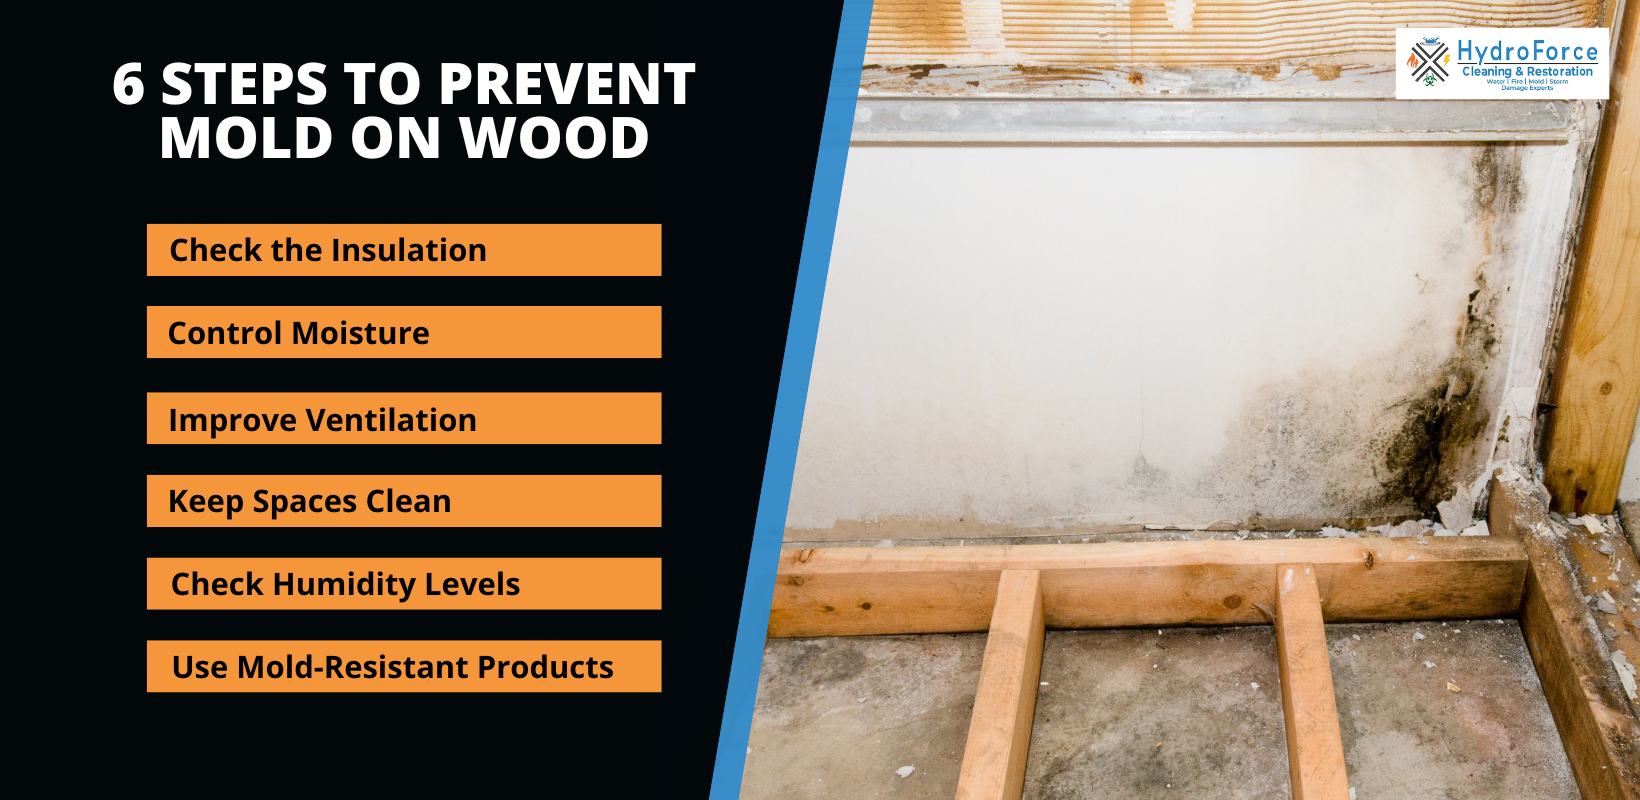
How to Prevent Mold Growth in Air Ducts
Preventing mold growth in your home’s air ducts is essential for maintaining healthy indoor air quality. Here are the key steps you should follow:
- Maintain proper humidity levels: Keep indoor humidity between 30% and 50% using humidifiers or dehumidifiers as needed. Proper humidity control helps prevent the damp conditions that mold needs to grow.
- Regular HVAC maintenance: Change your HVAC filters every 1 to 3 months and run your system regularly to ensure proper air circulation. This helps prevent stagnant moisture from accumulating in the ducts.
- Repair leaks promptly: Fix any leaks in your home immediately to prevent water from entering the ductwork and creating an environment where mold can thrive.
- Keep the condensate drain clear: Ensure that your HVAC condensate drain is unobstructed so moisture can drain properly, reducing the risk of mold growth.
- Schedule annual HVAC inspections: Have your HVAC system professionally inspected at least once a year. Regular inspections help detect issues early and prevent mold from developing in your ducts.
By following these preventive steps, you can significantly reduce the risk of mold in your ducts and maintain a healthier indoor environment for your family.
Professional Mold Remediation from HydroForce Cleaning & Restoration

If you notice moldy odors, visible growth near vents, or allergy symptoms that seem worse indoors, it’s time to have your air ducts inspected. HydroForce Cleaning & Restoration provides certified mold remediation using advanced HEPA filtration, sanitizing agents, and industry-approved containment methods.
Our technicians identify the source of the problem, remove all traces of mold, and ensure your indoor air is safe and clean again. With years of experience in HVAC mold cleaning and air quality restoration, HydroForce delivers results you can trust.
Call HydroForce Cleaning and Restoration at (630) 835-0862 today for professional air duct mold removal and full-service mold remediation in your home.