How to Remove Cigarette Smoke Odors from a Leather Couch
Home » Archives for July 2024
Leather couches are easy to maintain with proper care. Quick action is crucial when addressing issues, especially with cigarette smoke and tar. The longer smoke lingers on your leather couch, the harder it is to eliminate the smell.
In this article, we’ll explore various methods to remove cigarette odors from leather furniture. While these solutions aren’t foolproof, they can be effective depending on your specific situation. Always test any method on a small, inconspicuous area first, and be mindful of the couch material to avoid damage. Lastly, we’ll discuss how to prevent cigarette smoke from settling on your furniture and in your home, whether you’re a smoker or have smoking visitors.
Why Does Cigarette Smoke Stick to Leather?
Leather is known as a porous material that easily absorbs particles and odors. Although it appears smooth and non-absorbent, leather contains microscopic pores that trap cigarette smoke, tar, and nicotine. Here’s a breakdown of why cigarette smoke sticks to leather couches:
- Porous Material: Leather has microscopic pores that absorb smoke.
- Tar & Nicotine Residue: Smoke leaves a sticky residue on leather materials.
- Chemical Absorption: Smoke contains thousands of chemicals that easily become trapped in leather.
- Poor Ventilation: In closed spaces, smoke particles linger and settle onto surfaces.
- Smoke Film: The film created by smoke creates a thin, greasy layer that holds odors.
Why is Smoke Difficult to Remove from Leather?
Smoke consists of tiny particles containing soot, tar, and oils that cling to surfaces and penetrate deep into leather, making it difficult to remove. As these particles easily settle into the leather fabric, odors become increasingly challenging to remove without specialized treatments. Due to the delicacy of leather, harsh chemicals or abrasive cleaning methods can lead to discoloration, cracking, or drying.
What are the Different Kinds of Leather?
To effectively remove cigarette smoke from leather, it is important to understand the type of leather you are working with. Whether you have genuine leather or faux leather, the cleaning process will vary.
Genuine leather is more absorbent and delicate, making it sensitive to some cleaning methods. If the cigarette odors are not removed from your leather couch after utilizing the following cleaning methods, you may want to consider treating the cushions within the leather as they can absorb the particles.
Methods to Remove Cigarette Smoke Odors from Your Couch
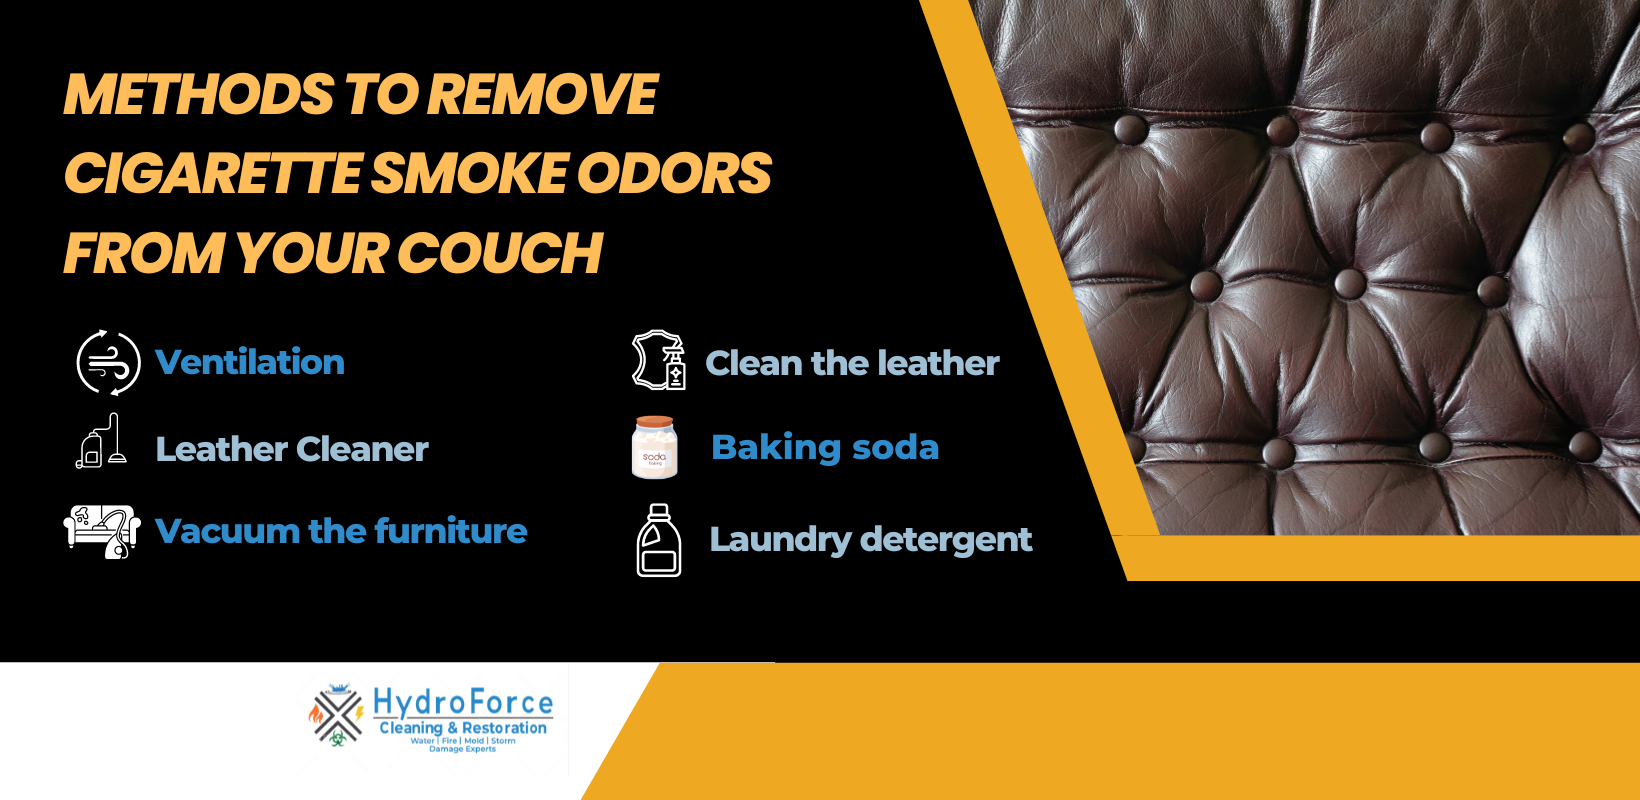
There are several methods you can use to remove cigarette smoke or tar from your leather couches. To prevent damage to the material, it’s essential to follow instructions carefully. Here are some options:
- Ventilation: Try ventilating the room first to remove smoke odors from your leather couches. This is most likely to be effective if the odor is recent to the leather couch and the room. You can also use an exhaust fan to help eliminate the smoke odor. Make sure to direct the air toward a door or a window so it can be removed from the room, and open windows to let the fresh air in.
- Leather Cleaner: You can purchase leather cleaner at home improvement stores or online. It effectively removes cigarette odor from leather surfaces and restores the leather’s pH balance, ensuring any lingering smells are eliminated. Be sure to use a high-quality leather cleaner and apply it thoroughly, especially to the seating and back areas, which are most prone to absorbing smoke.
- Vacuum the furniture: Use the flat brush attachment to swiftly and efficiently vacuum up any soot, ensuring you hold the brush above the leather surface. Then, gently clean the leather with a soft cloth and a specialized leather soap or conditioner.
- Clean the leather: To clean leather or vinyl, use rubbing alcohol or a 1:1 mixture of white vinegar and water. Separate your furniture as much as possible to access all crevices and improve ventilation. Apply the solution with a soft cloth, ensuring you do not over-saturate the leather.
- Baking soda: Since baking soda is a natural deodorizer that can absorb the smoke odors from leather. Using baking soda is a great way to get smoke removed from smaller leather items such as wallets, shoes, key chains etc. and it can be applied to leather couches.
- Laundry detergent: Put a couple of drops of mild laundry detergent in a spray bottle and just add warm water. Spray this solution on your couch and then wipe it down with a clean cloth.
Quick fixes for removing cigarette smoke from leather couches:
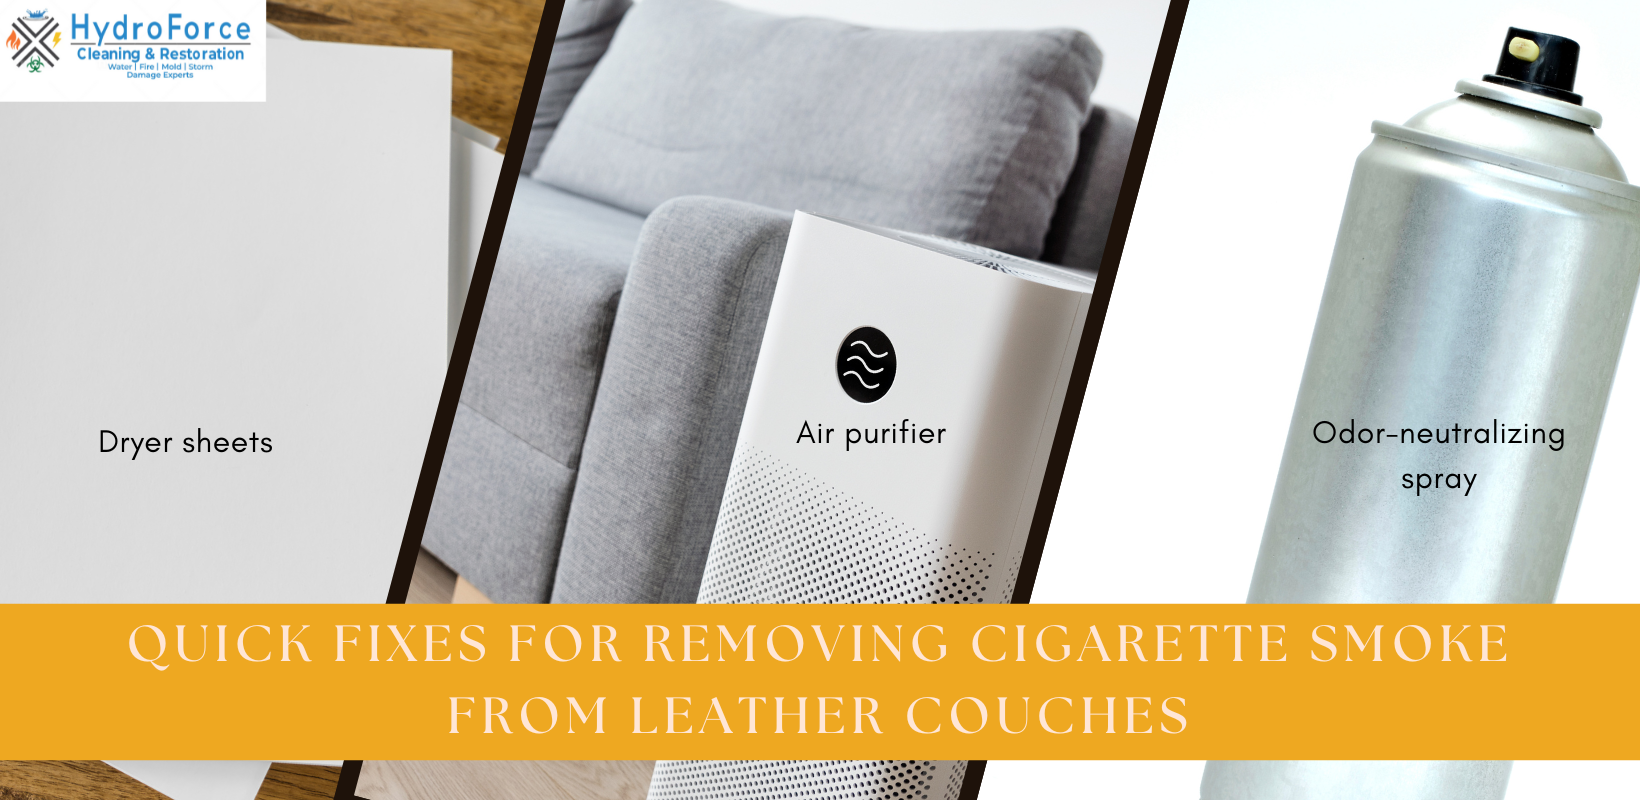
- Dryer sheets: Insert dryer sheets on the inside of the cushions or other areas you cannot see to help eliminate the lingering odor.
- Air purifier: Use an air purifier to mask the cigarette smell in your home. You can purchase one online or at a home improvement store. This will help mask the smell temporarily until you have more time to dedicate to properly cleaning the cigarette odor from your leather couches.
- Odor-neutralizing spray: This is a temporary solution for eliminating smoke odor from your home. Avoid spraying too close to the furniture to prevent potential staining and damage.
Please note: The methods mentioned above may end up discoloring the leather on your furniture which may require additional restoration. It is always best to try a new cleaning method on a small hidden area first to see how it affects the leather upholstery.
Preventing Cigarette Smoke from Lingering on Leather Furniture
If you’ve ever had to remove cigarette odor from leather furniture, you know that it requires a lot of time and effort. This is why it is important to prevent this issue from happening. The best way to protect your furniture from cigarette smoke is to not smoke near the furniture. Some other options include standing near a window so that the smell does not linger inside the room. You can also blow smoke out so that it does not stay inside the room using an exhaust fan.
Regular dusting of the room is essential. Dust particles can trap smoke odors, causing them to linger longer. You can prevent the transfer of smoke smell to leather furniture by keeping all non-porous surfaces, including leather, clean. Always dust and wipe down these areas to minimize smoke residue.
Additionally, never leave cigarette butts in the room, even in an ashtray. Dispose of them in a garbage can and wrap them in a paper towel to prevent further odors. This practice ensures a fresher, cleaner environment.
If you follow the above-mentioned steps, it will help keep your home free of cigarette odors and keep your leather furniture smelling fresh instead of like cigarette smoke.
Professional Smoke Odor and Fire Damage Restoration

Smoke odors, especially odors from cigarettes, are persistent and will linger for a long time unless the proper steps are taken to remove them. You can remove the smoke odors by following the steps above but if you cannot remove the odor yourself, you may need to seek the help of a professional that can provide advanced deodorization.
No matter what caused the smoke odor, whether a fire or cigarettes, our professionals at HydroForce Cleaning and Restoration can help with our fire and smoke damage restoration services. We use advanced equipment and methods to clean, dry, and restore your property back to its original state. We can also fully deodorize your home using professional deodorization methods. For your smoke odor removal needs, make sure to call HydroForce Cleaning and Restoration at (630) 835-0862.
Frequently Asked Questions (FAQs)
You can reduce cigarette smoke smell naturally by ventilating the room, wiping the leather with a diluted vinegar and water solution, and allowing baking soda to absorb odors nearby. Natural methods help with mild odors but may not remove deeply embedded smoke particles.
Cigarette smoke can cause long-term damage to leather if exposure continues over time. Tar and nicotine residue can dry out leather, cause discoloration, and weaken protective finishes, especially if the smoke odor is not removed promptly.
Yes. Leather is a porous material with microscopic pores that absorb smoke particles, tar, and nicotine. Even protected leather can trap odors in seams, cushions, and padding beneath the surface.
Baking soda can be used cautiously to absorb odors around leather furniture, but it should not be heavily rubbed into the leather surface. Excessive use can dry out leather and affect its finish.
Leather-specific cleaners are effective for removing surface residue and light smoke odors. They are less effective when odors have been absorbed deep into the leather or underlying materials.
2026 © Copyright HydroForce Cleaning and Restorations – All Rights Reserved.
Privacy Policy | Terms & Conditions | 630-835-0862
