Frozen pipes are a common winter problem in Chicago, and they can cause expensive water damage if not prevented. Knowing how to protect your home’s plumbing during harsh Chicago winters is essential. Even with precautions, accidents can happen, so it’s important to know how to respond quickly to prevent further damage.
In this guide, we’ll explain why pipes freeze in Chicago, which pipes are most at risk, effective prevention strategies, safe ways to thaw frozen pipes, and when to call an emergency professional. By following these tips, you can keep your home safe, avoid costly repairs, and ensure your plumbing stays functional all winter long.
Why Frozen Pipes Are a Serious Problem in Chicago Winters
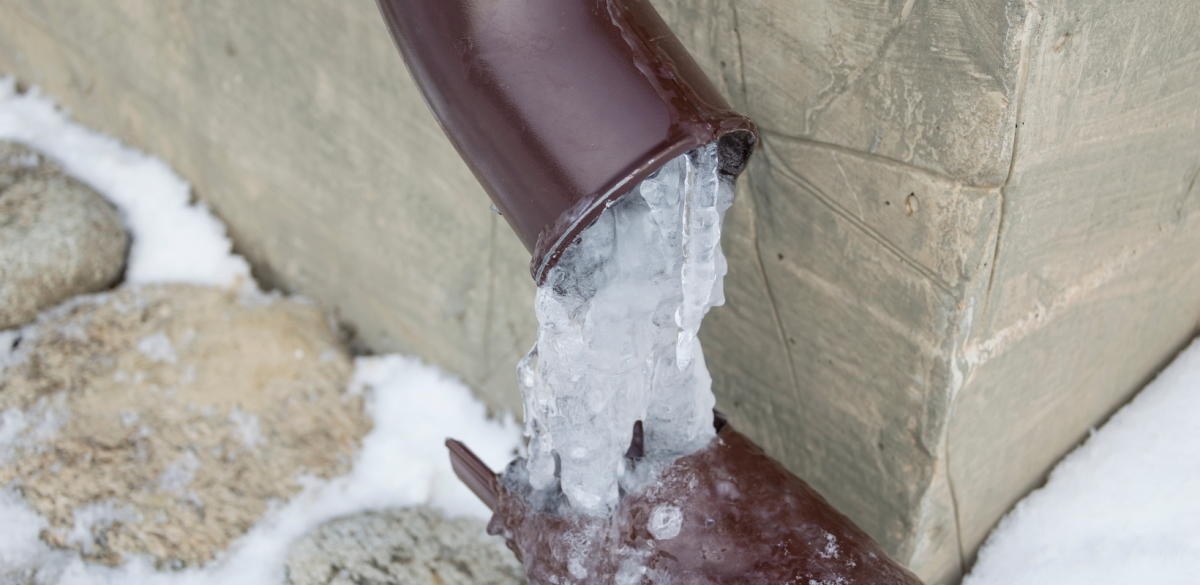
Chicago winters are severe, with average January lows around 18.8°F and more than 120 days each year below freezing, conditions that make pipe freezing a real threat for homeowners. When pipes freeze, water expands inside them, which can lead to cracks or bursts. A single burst pipe can flood your basement, damage walls and floors, and create costly repair bills.
When pipes freeze, water expands inside them, which can lead to cracks or bursts. A single burst pipe can flood your basement, damage walls and floors, and create costly repair bills.
Professional water damage restoration companies, like HydroForce Cleaning and Restoration, recommend proactive prevention and rapid response to protect homes. Acting quickly when a pipe freezes is essential to avoid extensive damage.
At What Temperature Do Pipes Freeze in Chicago?
Pipes typically freeze around 20°F, but wind chill and exposure can accelerate freezing. Outdoor pipes, pipes in exterior walls, basements, garages, and crawl spaces are especially vulnerable.
Tips to Protect Vulnerable Pipes:
- Install pipe insulation sleeves or heat tape on exposed pipes.
- Ensure basement and crawl space plumbing is properly weatherized.
- Protect garage and outdoor water lines from fluctuating temperatures.
What Pipes Are Most Likely to Freeze in Chicago Homes?
Some pipes in your home are more prone to freezing than others. Understanding which pipes are most at risk helps you focus your winter plumbing precautions:
- Exterior wall and attic pipes: Prone to freezing if the home isn’t kept warm.
- Basement and crawl space pipes: Require insulation and sleeves.
- Garage pipes: Risk increases with frequent garage door openings.
- Older plumbing: Historic Chicago homes may have pipes needing extra care, like heat tape or protective sleeves.
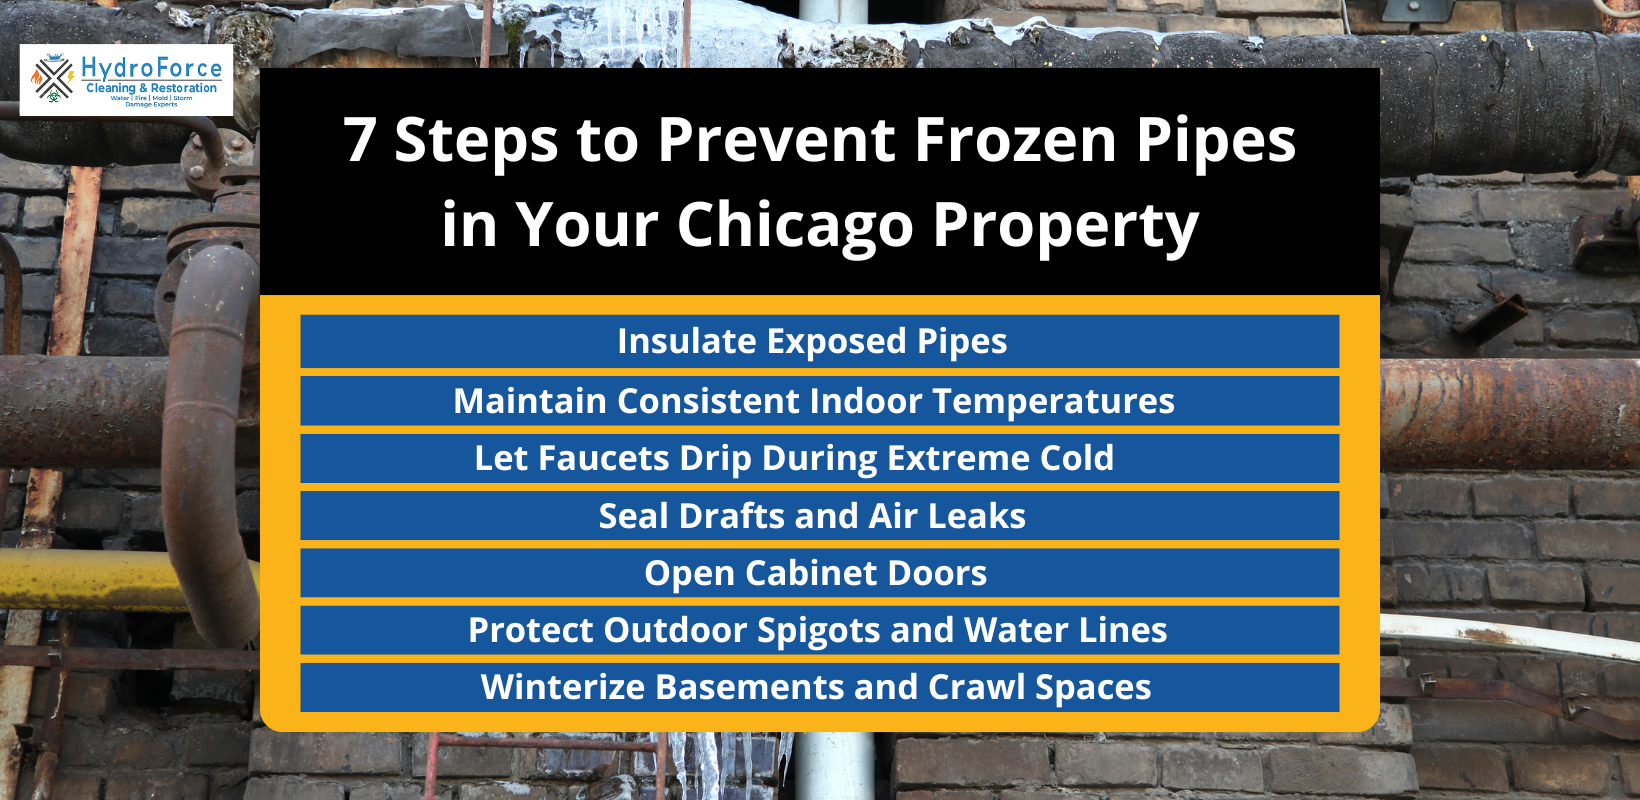
7 Proven Ways to Prevent Frozen Pipes in Chicago
Chicago winters can be brutal, and frozen pipes are a common risk for homeowners. Fortunately, there are several effective ways to protect your plumbing and prevent costly water damage.
1. Insulate Exposed Pipes
Proper insulation is one of the most important steps in preventing frozen pipes. Use pipe insulation sleeves, heat tape, or heat cables on exposed pipes, and don’t forget areas like basements and crawl spaces, which are particularly vulnerable.
2. Maintain Consistent Indoor Temperatures
Keeping your home at a steady, warm temperature helps prevent pipes from freezing. During cold snaps, set your thermostat to at least 55°F and avoid lowering it too much, even when you’re away.
3. Let Faucets Drip During Extreme Cold
Allowing a slow, steady flow of water through your pipes can keep them from freezing. During sub-freezing temperatures, let both hot and cold-water lines drip at roughly one gallon per hour. Faucets in vulnerable areas, like kitchens and bathrooms, are especially important to keep moving.
4. Seal Drafts and Air Leaks
Cold air seeping into your home can put pipes at risk. Seal drafty basement windows, gaps in the foundation, and any exterior wall penetrations. Close crawl space vents during freezing weather and consider having a professional address larger gaps to keep your home and pipes safe.
5. Open Cabinet Doors
Air circulation can make a big difference in preventing frozen pipes. Keep cabinet doors open under sinks, vanities, and any areas along exterior walls to allow warm air to reach the plumbing. This simple step can prevent pipes from freezing and potentially bursting.
6. Protect Outdoor Spigots and Water Lines
Disconnect garden hoses, cover outdoor faucets, and insulate external pipes. Small measures can prevent major winter plumbing issues.
7. Winterize Basements and Crawl Spaces
Install insulation, close vents, and ensure heating reaches these areas. Protecting hidden pipes can prevent unseen damage that leads to costly repairs.
By taking these precautions, you can reduce the risk of frozen pipes and avoid costly water damage during Chicago’s harsh winter months.
How to Protect Pipes When You’re Away from Home
Heading out on a winter vacation? Take these precautions before leaving:
- Set your thermostat to at least 60°F.
- Shut off the main water supply to reduce flooding risk.
- Drain pipes completely and ensure insulation is in place.
Following these steps minimizes the chance of frozen pipes while your home is unoccupied.
What to Do If Your Pipes Freeze in Chicago
Even with precautions, frozen pipes can happen. Acting quickly is key.
Signs Your Pipes Are Frozen:
- Reduced water flow or low pressure
- Frost on exposed pipes
- Unusual odors from plumbing
Safe Ways to Thaw Frozen Pipes:
- Shut off the main water supply.
- Open the faucet connected to the frozen pipe to release pressure.
- Apply gentle heat with a hair dryer, heat lamp, or space heater.
- Monitor the pipe as it thaws.
- Never use open flames, such as blowtorches, to thaw pipes.
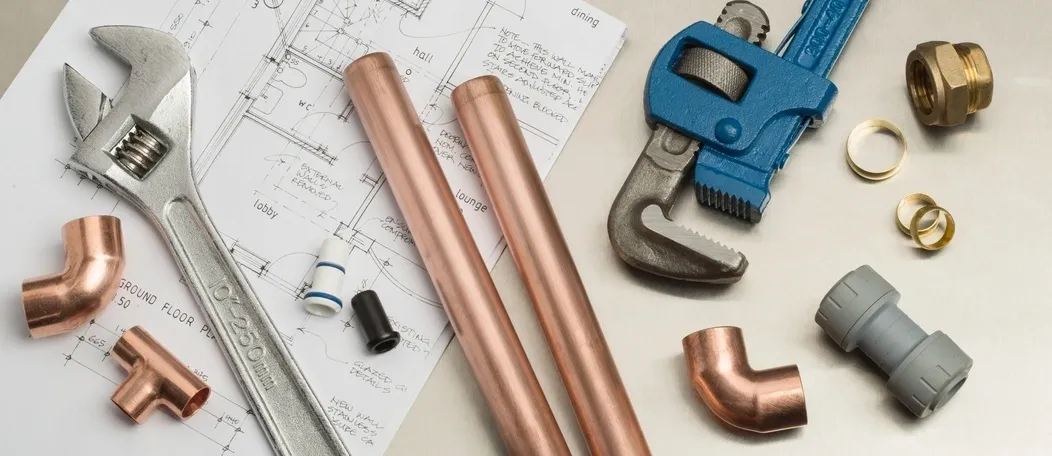
When to Call a Chicago Emergency Plumber:
- If multiple pipes freeze or show damage
- If a pipe is at risk of bursting
- For expert advice on proper weatherization and repair
Professional plumbers can prevent extensive water damage and ensure your pipes are safe for future winters.
Common Mistakes That Lead to Frozen Pipes
Frozen pipes are often the result of preventable errors. Being aware of these common mistakes can help you protect your home during Chicago’s harsh winters.
- Inconsistent Heating: Failing to maintain a steady indoor temperature during extreme cold is a leading cause of frozen pipes. Make sure your home stays consistently warm, even if you’re away.
- Neglecting Crawl Spaces: Crawl spaces are particularly vulnerable to freezing. Proper insulation is essential to protect pipes located in these areas.
- Relying Solely on Space Heaters: While space heaters provide localized warmth, they are not sufficient to keep your entire home and its pipes safe from freezing. Consistent whole-home heating is necessary.
- Unprotected Outdoor Spigots: Outdoor faucets and water lines must be properly weatherized. Leaving them exposed can easily lead to frozen pipes and costly repairs.
Avoiding these mistakes is one of the simplest ways to prevent frozen pipes and the water damage that can result from them.
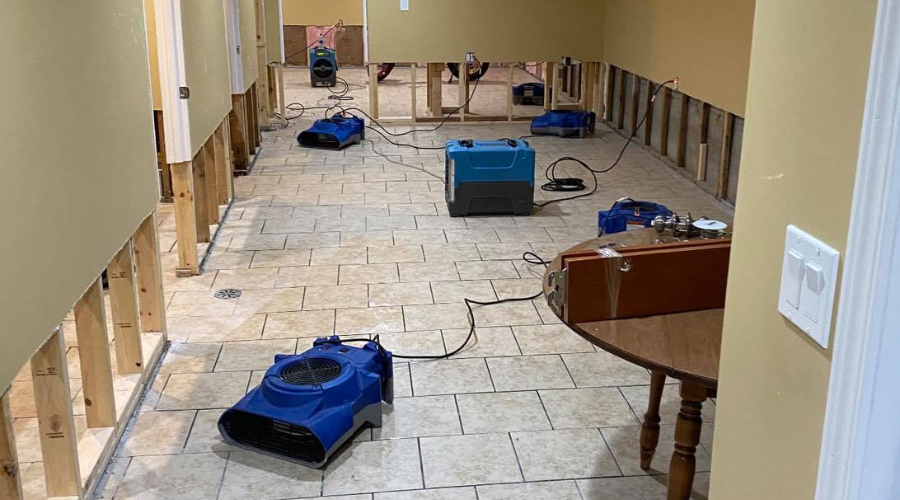
Winter Water Damage Restoration in Chicago
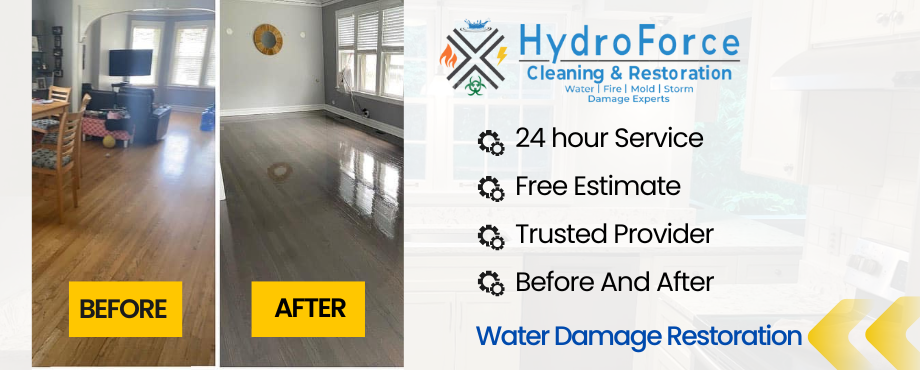
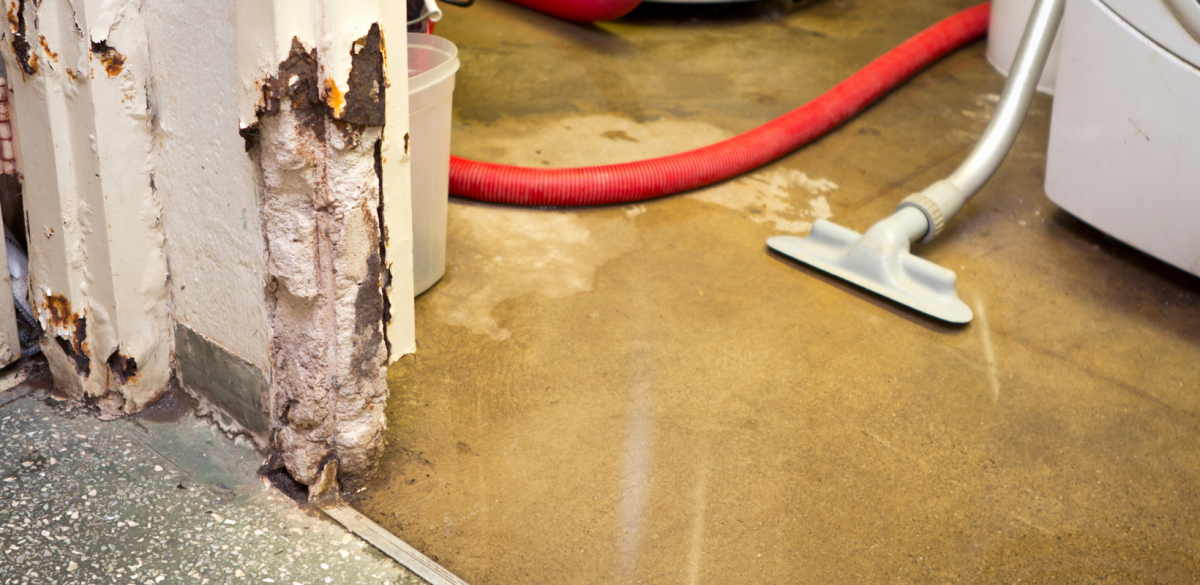
Frozen or burst pipes can still happen, and fast action is critical. HydroForce Cleaning and Restoration offers professional water damage restoration for Chicago homes. Our certified professionals can help with:
- Water extraction and drying
- Mold prevention
- Full restoration of affected areas
Whether it’s a flooded basement, burst pipe, or other water emergency, HydroForce provides expert solutions to minimize damage. Call 630-835-0862 today to protect your home this winter.