What You Need to Know About Water-Damaged Hardwood Floors
Water damage to hardwood floors can be both stressful and expensive to deal with. That’s why it’s important to recognize the signs of water damage early, understand what causes it, and know how to minimize the impact. Additionally, learning how to repair water-damaged hardwood floors and prevent future issues can save you time, money, and frustration.
What Happens When Hardwood Floors Get Water Damage?
Hardwood is porous, so when exposed to water, it absorbs moisture quickly. This causes the wood to expand, warp, or even develop mold if left untreated. Ignoring early signs can lead to costly structural repairs and permanent floor damage.
Water damage doesn’t just affect appearance. It compromises the integrity of your flooring, creates tripping hazards, and can spread into the subfloor or drywall. Acting fast is critical to saving your hardwood.
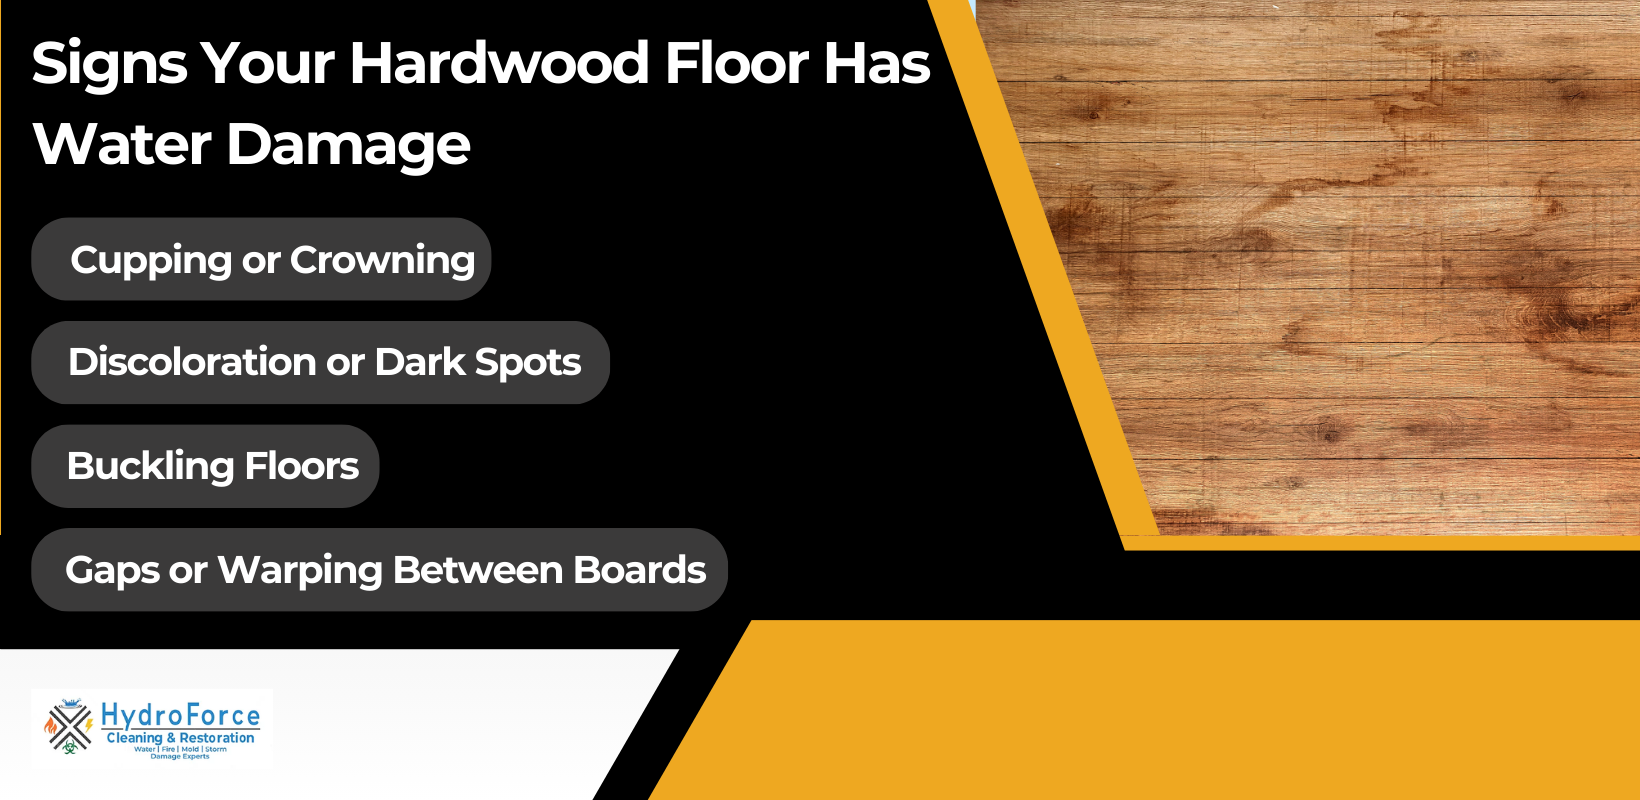
Signs Your Hardwood Floor Has Water Damage
Identifying water damage early is key to protecting your hardwood floors and preventing costly repairs. Here are some common signs to watch for and how to check for hidden issues:
- Cupping vs. Crowning
- Cupping happens when moisture seeps into the bottom of the wood, causing the edges of the planks to rise and curl upward.
- Crowning is the opposite—moisture saturates the top of the wood, making the center of the plank swell and the edges dip downward.
- Testing for Hidden Moisture
- Moisture meter readings: A pin or pinless moisture meter can detect elevated moisture levels inside the wood.
- Check subfloor or crawlspace: Look for dampness, discoloration, or mold growth below the hardwood.
- Infrared thermal imaging: Professionals use infrared cameras to identify cool spots that indicate moisture presence.
- Plastic sheet test: Taping a plastic sheet over the floor and checking for condensation after 24 hours can reveal excess moisture.
- Mold or Stains? How to Tell the Difference
- Mold typically appears in damp areas and may be green, black, white, or yellow. It has a fuzzy or powdery texture and is often found in spaces with excess moisture, such as bathrooms, basements, or behind walls.
- Stains are usually flat or glossy in appearance, with yellow or brown coloring. Unlike mold, they do not have a raised or fuzzy texture.
What Causes Water Damage to Hardwood Floors?
As a homeowner, it’s important to understand what can damage your hardwood floors. By knowing the common sources of water damage and how different types of damage are treated, you can take steps to prevent issues and respond quickly if they occur. Hardwood floors are vulnerable to water damage from several everyday situations.
Common Sources of Water Damage
- Burst or leaking pipes
- Flooding from storms or groundwater
- Malfunctioning appliances (dishwashers, refrigerators, washing machines)
- Spills or standing water left uncleaned
- Poor ventilation and high indoor humidity
| Cause of Water Damage | How It Affects Hardwood Floors | Prevention Tip |
|---|---|---|
| Plumbing leaks | Water seeps under planks, causing cupping | Inspect pipes regularly |
| Appliance malfunctions | Standing water warps wood | Maintain washing machines, dishwashers, refrigerators |
| Flooding | Severe swelling and discoloration | Elevate floors, install sump pump |
| High humidity | Slow, long-term cupping/crowning | Use a dehumidifier, proper ventilation |
Gradual vs. Sudden Damage (and Why It Matters)
Understanding the difference between gradual and sudden water damage is crucial, especially when it comes to insurance coverage.
- Gradual Damage: This occurs over time, often from standing water, persistent leaks, or high humidity levels. Gradual exposure can cause hardwood to swell, warp, or even rot. Because it’s considered wear and tear, gradual damage is usually not covered by standard homeowners insurance.
- Sudden Damage: This happens unexpectedly, often due to extreme temperature shifts, burst pipes, or severe humidity changes. The wood may expand or contract quickly, leading to cupping, crowning, or cracking. Since this type of damage is accidental and unforeseen, insurance policies are more likely to cover it.
Can Water-Damaged Hardwood Floors Be Saved?
In many cases, hardwood floors with water damage can be restored. The right approach depends on the extent of the damage and the condition of both the flooring and subfloor.
When Drying and Refinishing Is Enough
If the damage is minimal and the wood remains structurally sound, drying and refinishing may be sufficient. This option is typically viable when:
- Warping or buckling is minimal
- There are no signs of mold or mildew
- The subfloor is solid and stable
- The hardwood type and finish can match the existing floor for a seamless look
When Boards or Subflooring Need Replacement
In more severe cases, damaged boards or even the subfloor may need replacement. Warning signs include:
- Persistent squeaks or creaks
- Significant cupping or warping
- Cracked or popping tiles
- Sagging or uneven flooring
- Musty odors from mold or mildew
- Bubbling or lifting tiles
Step-by-Step Guide: How to Repair Water-Damaged Hardwood Floors
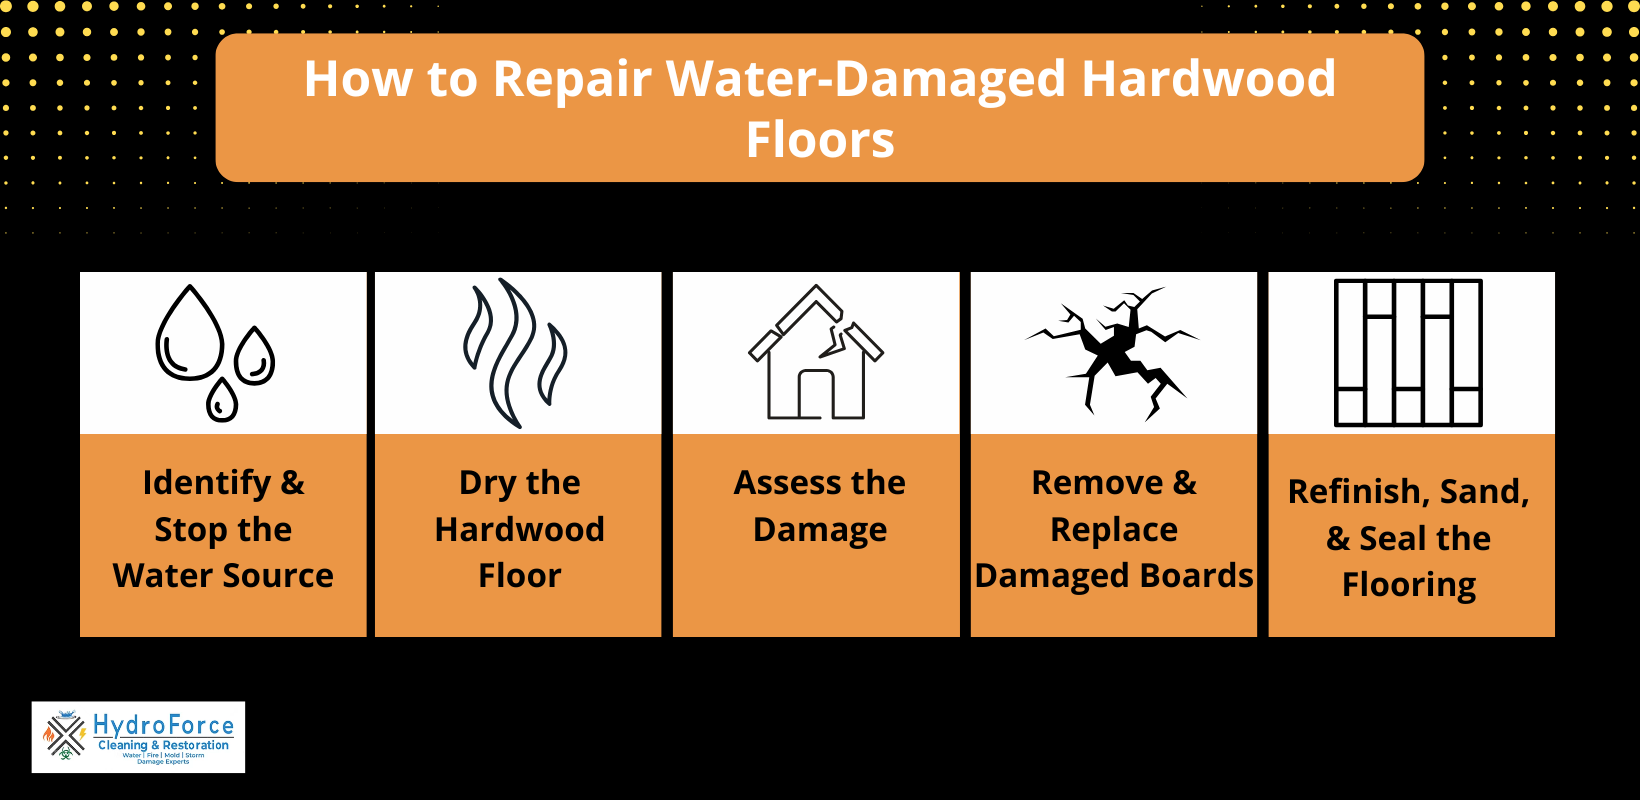
It’s crucial to take the right steps to repair water-damaged hardwood floors as soon as possible to prevent further damage and costly repairs. Here’s what to do:
Step 1: Identify and Stop the Source of Water
The most important step in preventing major water damage is identifying and stopping the source of the problem.
- Leak Detection Tips: Regular inspections can help you catch small issues before they turn into costly repairs. Pay close attention to common sources of leaks, such as plumbing systems, roofing, and household appliances. Leak detection tools can also help you identify hidden moisture. Finally, make sure you know where your home’s main shut-off valve is located so you can quickly stop the flow of water in an emergency.
- Address the Cause Before Repairs: Before starting any remediation work, it’s critical to resolve the root cause of the leak. Whether it’s a broken pipe, a faulty appliance, or water intrusion from heavy rain or flooding, fixing the source first ensures repairs will be effective and long-lasting.
Step 2: Dry the Hardwood Thoroughly
If you discover water damage in your home, acting fast is critical. The sooner you dry the area, the more likely you’ll be able to save materials and avoid costly replacements.
- Using Air Movers, Dehumidifiers, and Ventilation: Effective drying requires the right equipment. Air movers, dehumidifiers, and proper ventilation work together to circulate air, reduce humidity, and pull moisture from floors, walls, and furnishings. Be sure to use equipment that’s appropriately sized for the affected area to ensure thorough drying.
- Time Required for Complete Drying: The drying process can take anywhere from several hours to several days, depending on the extent of the damage. During this time, remove any salvageable items from the area to speed up drying and prevent secondary damage. Patience is key, as rushing the process can leave behind hidden moisture that may lead to mold growth.
Step 3: Assess the Damage to Floors and Subfloors
Once the area is dry, your property should be thoroughly inspected to determine the full extent of the damage and ensure it is safe to occupy.
- Inspecting Structural Integrity: After flooding or significant water damage, it’s essential to have a qualified water damage restoration professional evaluate your home. They will check for compromised structural integrity, weakened materials, and hidden issues that could pose safety risks.
- DIY vs. Professional Assessment: Homeowners should never attempt to assess structural damage on their own. Water damage can weaken flooring, walls, and foundations in ways that are not always visible. Only trained professionals have the expertise and tools to safely determine whether your home is secure. Attempting a DIY inspection could put you and your family at risk if the structure is unstable.
Step 4: Remove and Replace Damaged Boards
If water damage has compromised your hardwood floors, some boards may need to be removed and replaced. While some homeowners may attempt this themselves, it’s often best to hire a professional to ensure the job is done safely and correctly.
- How to Safely Pry Up Planks: Before removing any boards, clear the area of furniture and debris, and make sure the space is properly ventilated and inspected for hazards. Identify the type of flooring you have, then begin at a corner and carefully pry up the boards. Remove all nails or adhesive as you go and scrape away any remaining residue to prepare the surface for repair or replacement.
- Considerations with Tongue-and-Groove Flooring: Tongue-and-groove hardwood flooring offers several benefits, including:
- Simple and efficient installation
- Exceptional durability and stability
- Versatility for different applications
- Increased resistance to moisture
- Potential need for professional installation to ensure a seamless finish
Step 5 : Refinish, Sand, and Seal the Flooring
After damaged boards are removed, the next step is to repair the flooring, so it looks seamless and retains its durability. Depending on the extent of the damage, this may involve replacing individual boards or refinishing larger sections.
- Matching New Boards with Old: To create a consistent look, replacement boards should closely match the existing flooring. Techniques such as weaving, staining, refinishing, or using transition strips can help achieve a seamless result. If you’re unsure how to do this yourself, a professional can ensure the repair blends perfectly with your current floor.
- Sanding, Staining, and Sealing: Once new boards are in place, sanding smooths the surface, while staining restores the desired color and tone. Sealing then protects the wood from future moisture damage and enhances the floor’s overall appearance.
- Dealing with Mismatched Finishes: Achieving a flawless finish can be challenging, but with the right techniques, it’s possible to blend new and old sections of flooring. Important steps include:
- Identifying the wood species
- Matching the finish type
- Blending with existing floors
- Adjusting stain color
- Aligning grain patterns and layout
When to Call a Water Damage Restoration Professional
It’s important to recognize the difference between minor water damage you can handle yourself and situations that require professional expertise. Acting quickly and knowing when to call for help can save you time, money, and stress.
- Indicators That Damage Is Beyond DIY
If the affected area is extensive or if you lack the proper equipment and expertise to remediate it, it’s best to bring in professionals. Severe warping, mold growth, or structural issues are also clear signs that the job is beyond a safe DIY fix. - What Professionals Can Do That DIY Can’t
Certified water damage restoration specialists have the tools and training to dry, clean, and restore your property efficiently. They use industrial-grade air movers, dehumidifiers, moisture meters, and cleaning agents that most homeowners don’t have access to. Their expertise ensures that all hidden moisture is addressed, reducing the risk of mold or recurring damage. - Cost and Insurance Considerations
The cost of professional water damage restoration varies depending on the type and severity of the damage, your insurance policy, and deductibles. On average, insurance payouts for water damage claims range between $7,000 and $12,500, though exact amounts depend on coverage and repair needs. Reviewing your policy and documenting damage early can improve your chances of receiving fair compensation.
How to Prevent Future Water Damage to Hardwood Floors
While hardwood floors can often be repaired after water damage, prevention is always the best strategy. Taking proactive steps can help you avoid costly repairs or replacements in the future.
| Frequency | Prevention Task | Purpose |
|---|---|---|
| Weekly | Wipe up spills immediately | Prevents water seepage |
| Monthly | Inspect under sinks/appliances | Detects leaks early |
| Seasonally | Run a dehumidifier in humid months | Reduces long-term cupping |
| Yearly | Professional hardwood inspection | Ensures flooring longevity |
Use Rugs, Proper Sealing, and Humidity Control
Protect your floors by using rugs with waterproof backing, and place rug pads underneath to prevent moisture from seeping through. Maintain indoor humidity levels between 30% and 50% to minimize the risk of mold, mildew, and wood warping.
Best Practices for Moist Areas
Areas like kitchens, bathrooms, and basements are more prone to moisture. Ensure these spaces are properly ventilated to reduce humidity and prevent mold growth. Exhaust fans, dehumidifiers, and open windows (when weather permits) can help keep these areas dry.
Routine Maintenance Tips
Regular care extends the life of your hardwood floors and reduces the risk of water-related damage. Recommended practices include:
- Dusting daily with a soft-bristle broom
- Spot cleaning spills as soon as they occur
- Vacuuming floors every 3–7 days
- Wet mopping high-traffic areas twice a month
- Placing area rugs in high-traffic zones
- Maintaining proper humidity levels (30%–50%)
- Using curtains, blinds, or UV-protective window films to prevent sun damage
Professional Water Damage Restoration

Water damage to hardwood floors can be both costly and stressful, but with early detection, proper remediation, and preventive care, you can protect your home and extend the life of your flooring. Whether it’s identifying hidden moisture, repairing damaged boards, or maintaining proper humidity levels, taking action quickly is key. For extensive water damage or situations that go beyond DIY solutions, professional expertise is essential.
HydroForce Cleaning and Restoration offers comprehensive water damage restoration services for homes and businesses in Chicago, IL, and the surrounding suburbs, from assessment and drying to full repair and refinishing, ensuring your floors and home are safe and restored to their best condition. Don’t wait—contact HydroForce today to safeguard your home and prevent further damage.